
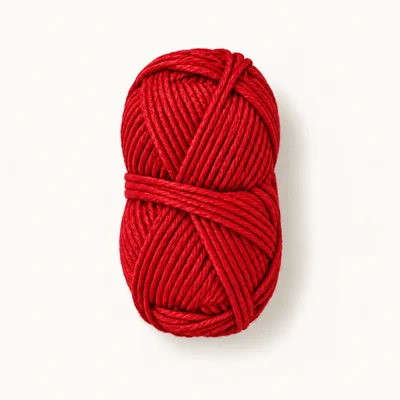
Yarn in red
6 g
Worsted (4) · 100% acrylic · 6 g
For the bottom and top of the ball (Rnds 1–5 and 10–13). About 6 g is an approximate, untested allowance, not measured consumption.
Crochet Christmas Ornaments
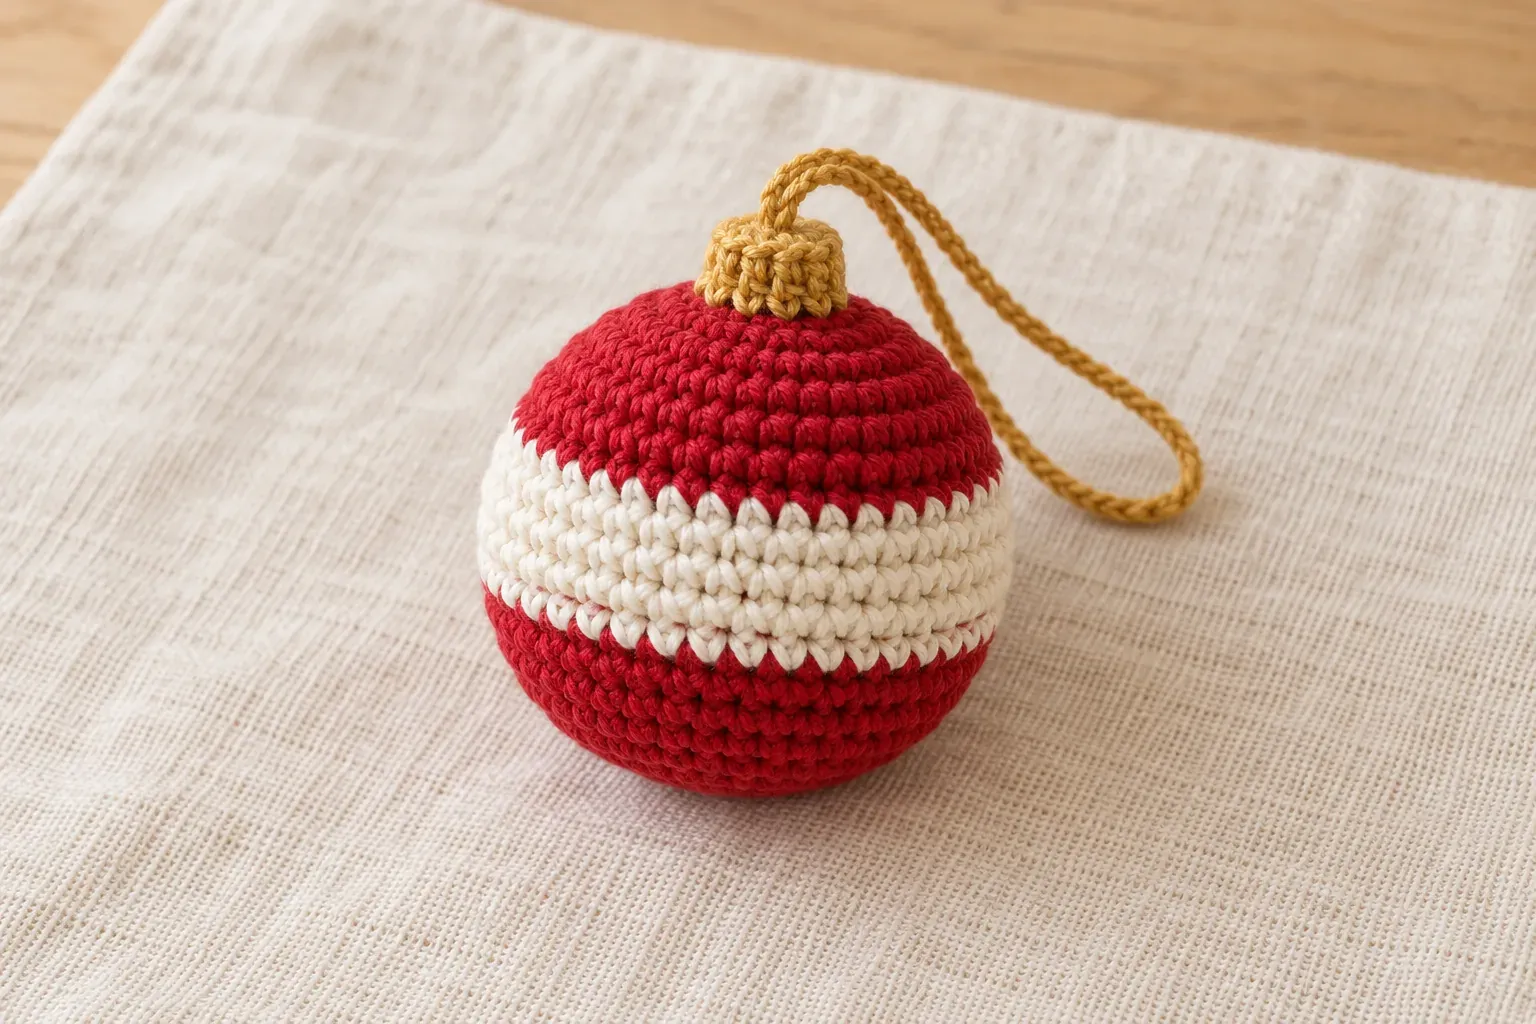
A stuffed, striped bauble with a gold cap, worked in one piece in single crochet
A round Christmas ball ornament crocheted in one piece: a red base, a cream-white stripe around the middle, a red top and a little gold cap that looks like the metal top of a glass bauble. It is worked in spiral rounds of single crochet from the bottom up, stuffed as you close it, and finished with a gold yarn hanging loop. There are no separate pieces to sew on, and it uses only worsted yarn scraps and beginner stitches.
Nobody has made this one start to finish yet. Check your stitch counts as you go, and tell us if something does not add up.
Construction
One piece worked bottom up in continuous spiral rounds of single crochet, stuffed before closing, with the cap worked straight on and a yarn hanging loop
No sewing required
Needs stuffing
Fiberfill stuffing
Gather these before you begin.
6 g
Worsted (4) · 100% acrylic · 6 g
For the bottom and top of the ball (Rnds 1–5 and 10–13). About 6 g is an approximate, untested allowance, not measured consumption.
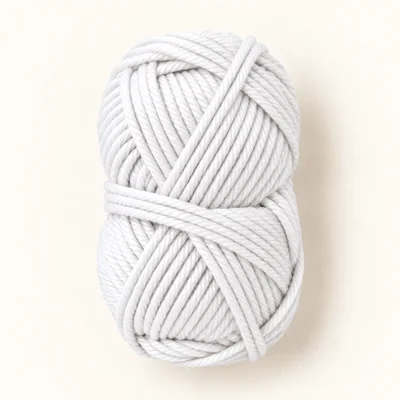
3 g
Worsted (4) · 100% acrylic · 3 g
A cream-white for the stripe (Rnds 6–9). About 3 g is an approximate, untested allowance.

2 g
Worsted (4) · 100% acrylic · 2 g
A matte gold or mustard for the cap (Rnds 14–15) and the hanging loop. About 2 g is an approximate, untested allowance that includes the loop.

5 g
Polyester
A small handful, about 5 g (approximate), to stuff the ball firmly.
Cotton worsted yarn instead of acrylic
Gives a firmer ball with sharper stitch definition; it may come out very slightly smaller.
Keep the same 3.5 mm hook and counts.
DK yarn with a 3 mm hook
Makes a smaller ornament with the same counts.
The yarn amounts go down a little.
Narrow ribbon instead of the gold yarn loop
Gives a dressier hanger; the ball itself does not change.
Thread it under the cap stitches the same way.
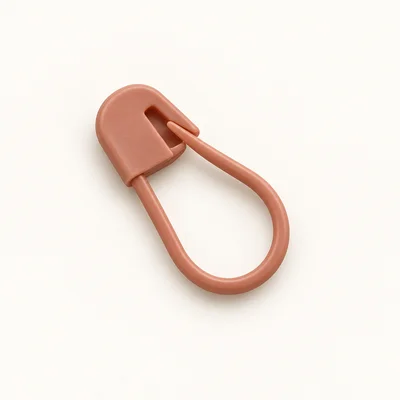
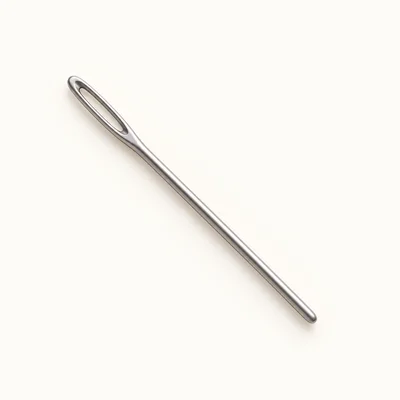
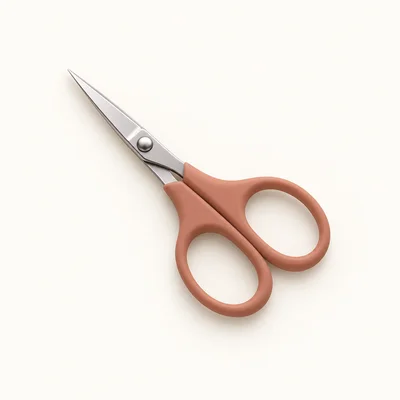
Check off each step to make sure you are ready. Preparation stays in this browser until you log in.
0 / 9 complete
Follow each step at your own pace.
Round 1 of 15
0%
Progress stays in this browser until you log in.
With red, make a magic ring and work 6 sc into it.
Stitch count: 6 stitches
Tips
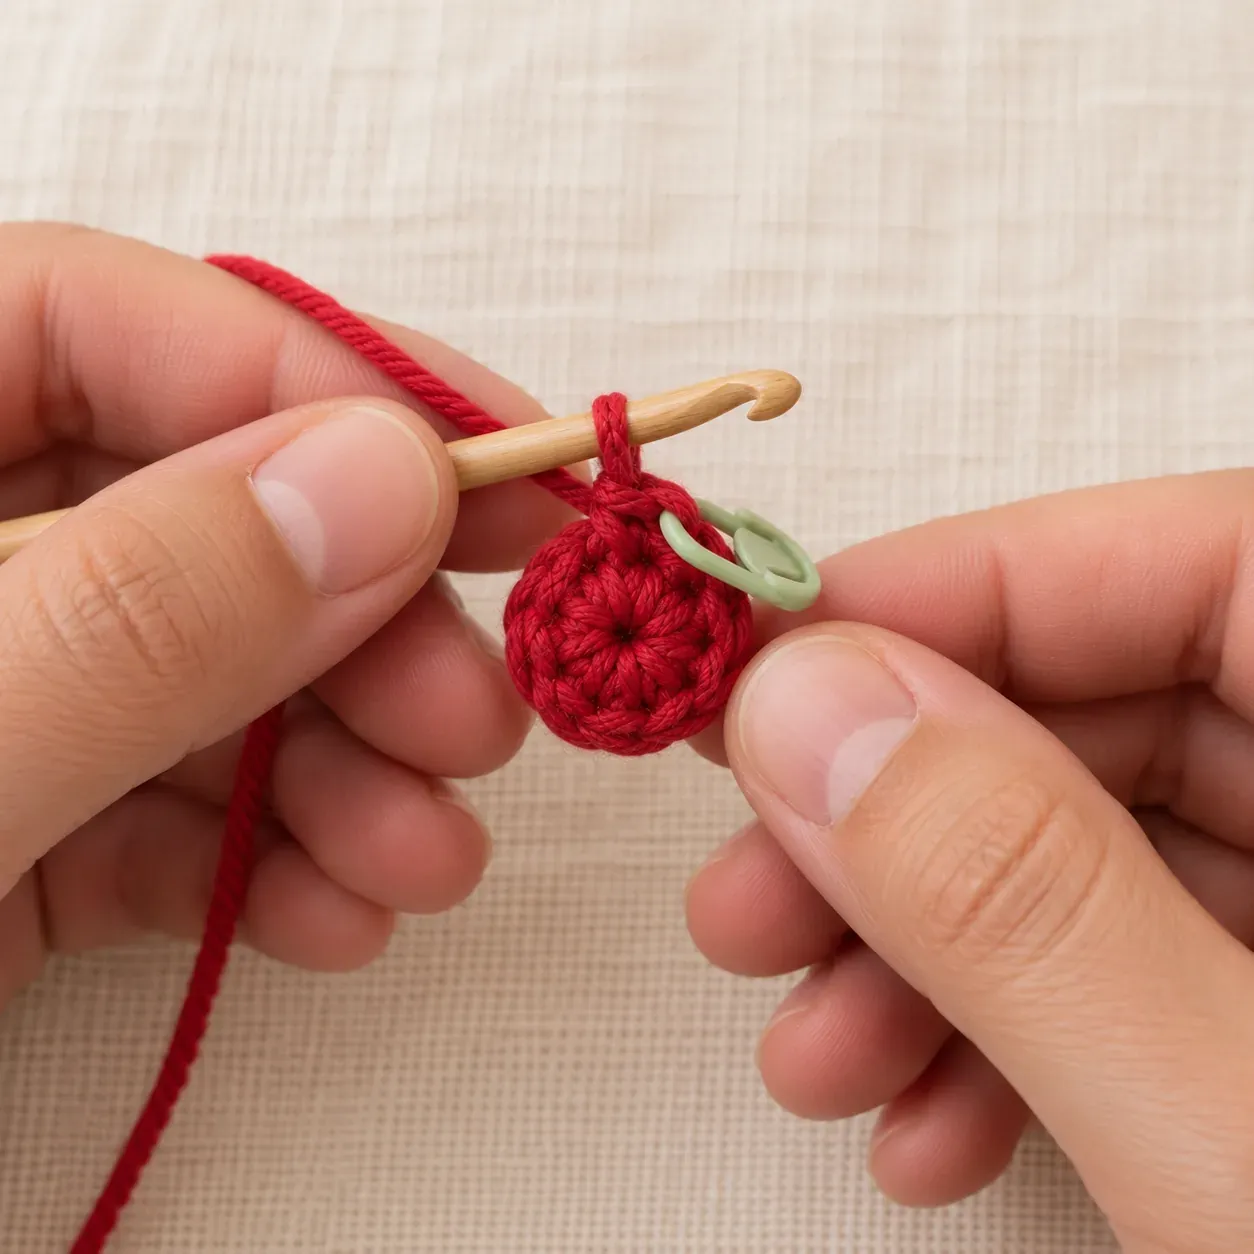
6 sc in the ring. Pull the starting tail to close the ring tightly and place the stitch marker in the first sc. The side facing you is the right side, the outside of the ball. Leave the starting tail at the back, on the wrong side, where it will end up inside the ball.
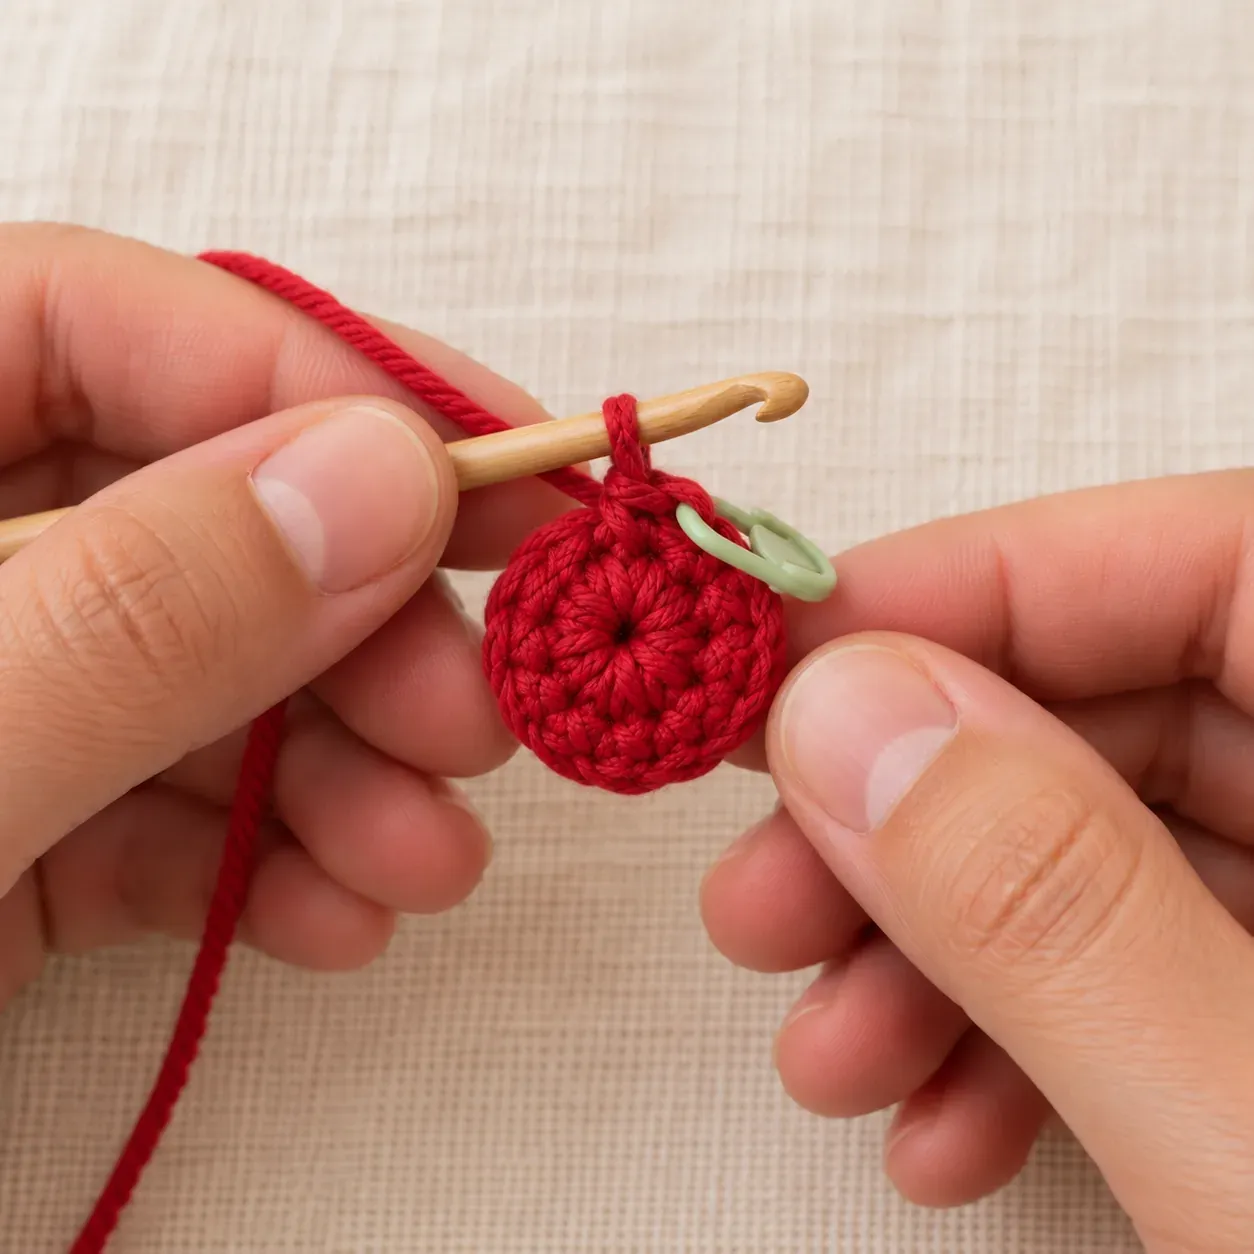
Inc in each st around.
Stitch count: 12 stitches
Tips
12 sc: 2 sc in each of the 6 stitches. The piece is a small flat circle. Move the marker up to the first stitch of each new round.
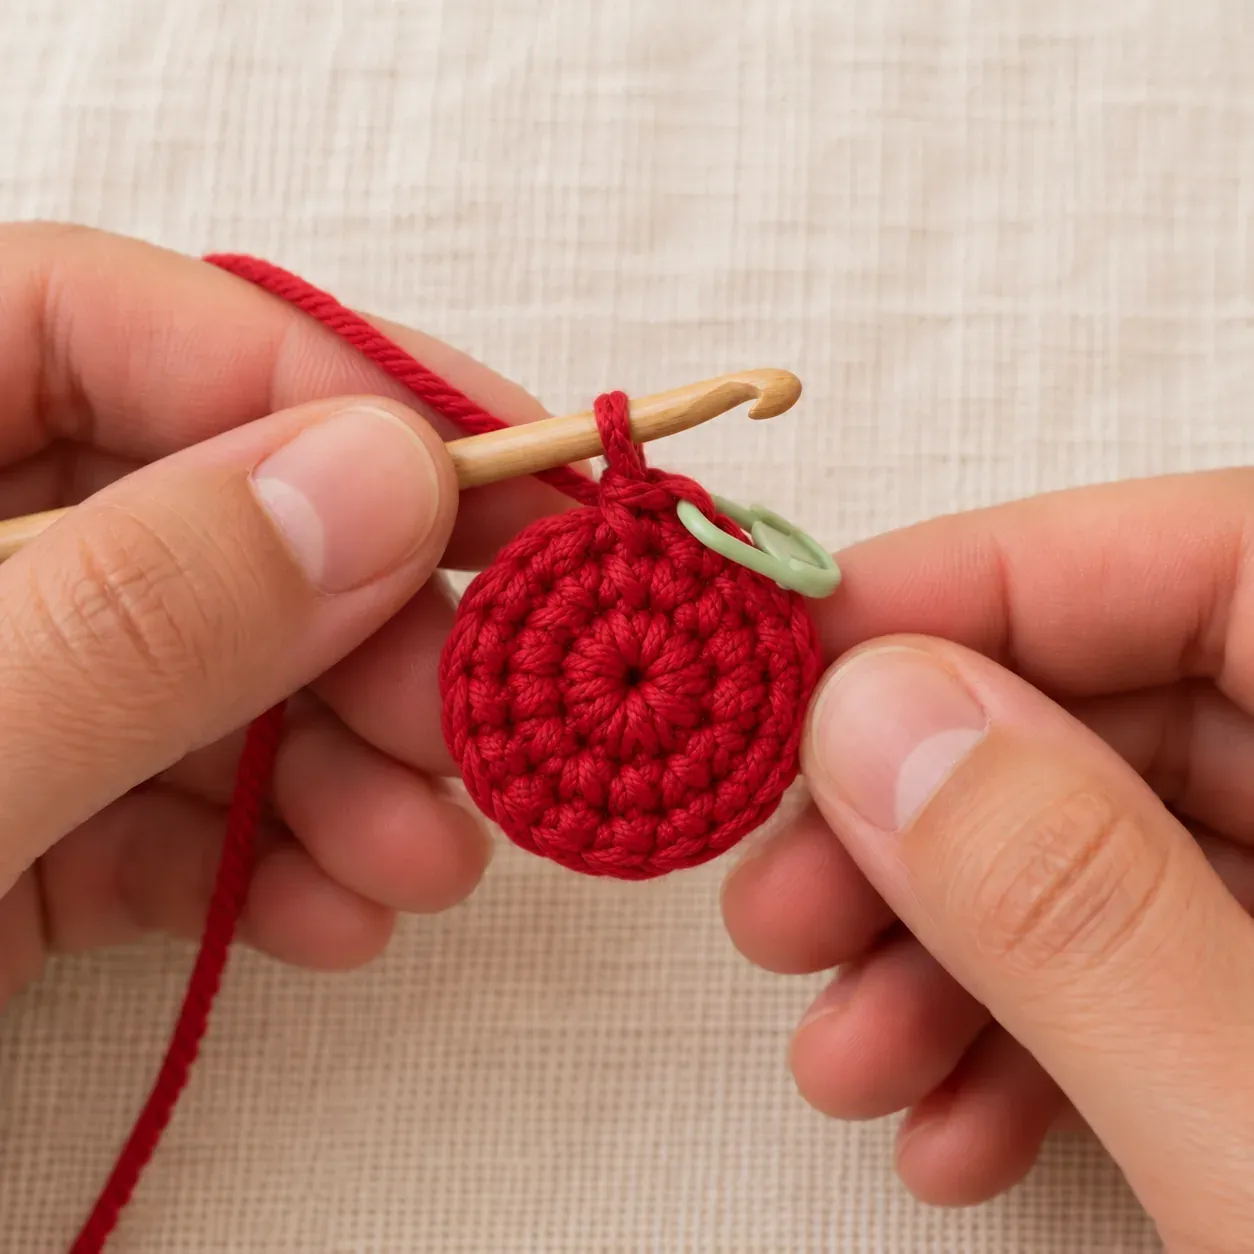
(Sc 1, inc) × 6.
Stitch count: 18 stitches
Tips
18 sc: six repeats of sc 1, inc. The circle is still flat.
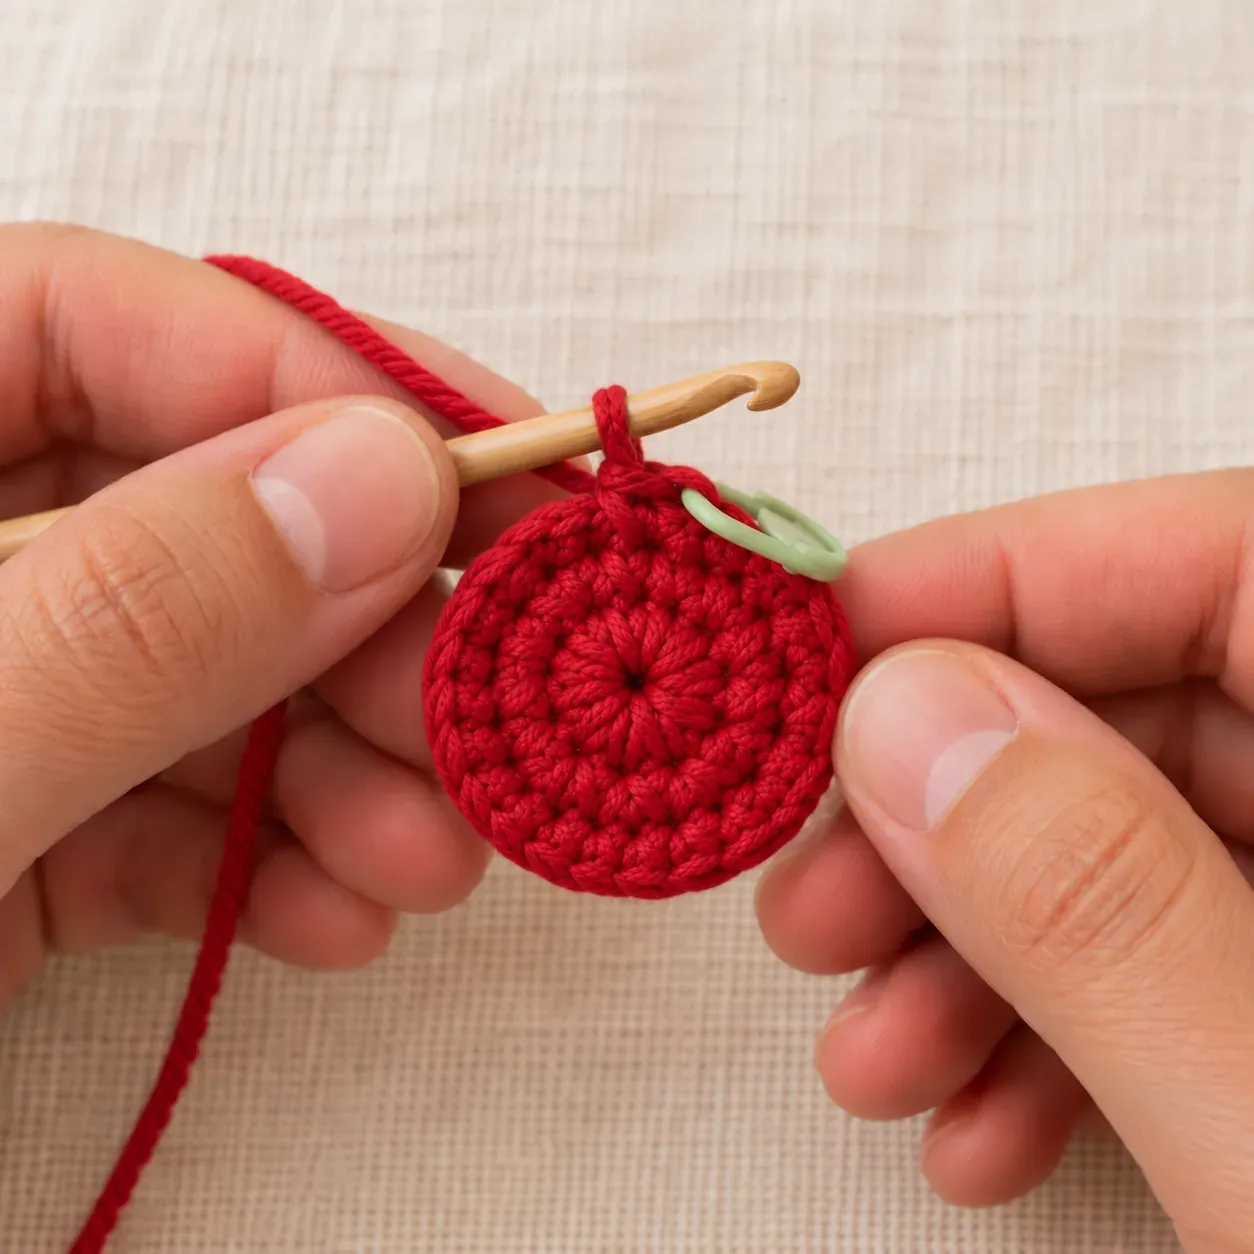
(Sc 2, inc) × 6.
Stitch count: 24 stitches
Tips
24 sc: six repeats of sc 2, inc. The edge may start to curl up a little.
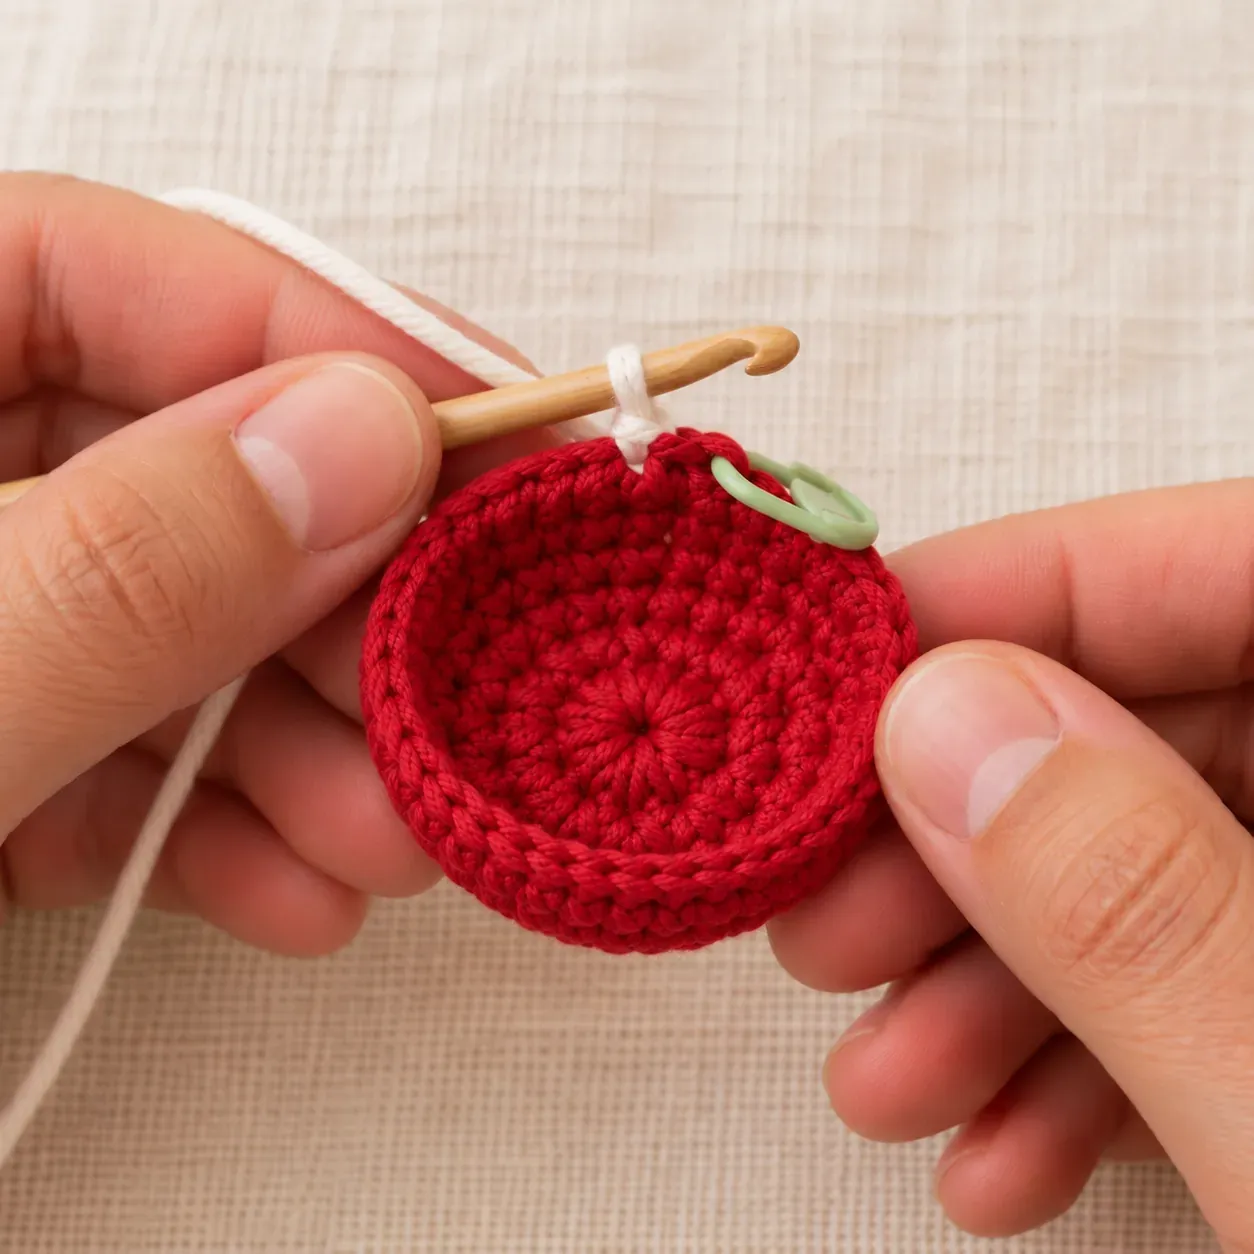
(Sc 3, inc) × 6.
Stitch count: 30 stitches
Tips
30 sc: six repeats of sc 3, inc. The piece is a shallow red bowl, about 2 in / 5 cm across. Next round starts with white: make the change in the last sc of this round, so its final yarn over is made with white. Cut red, leaving a 4 in / 10 cm tail on the wrong side.
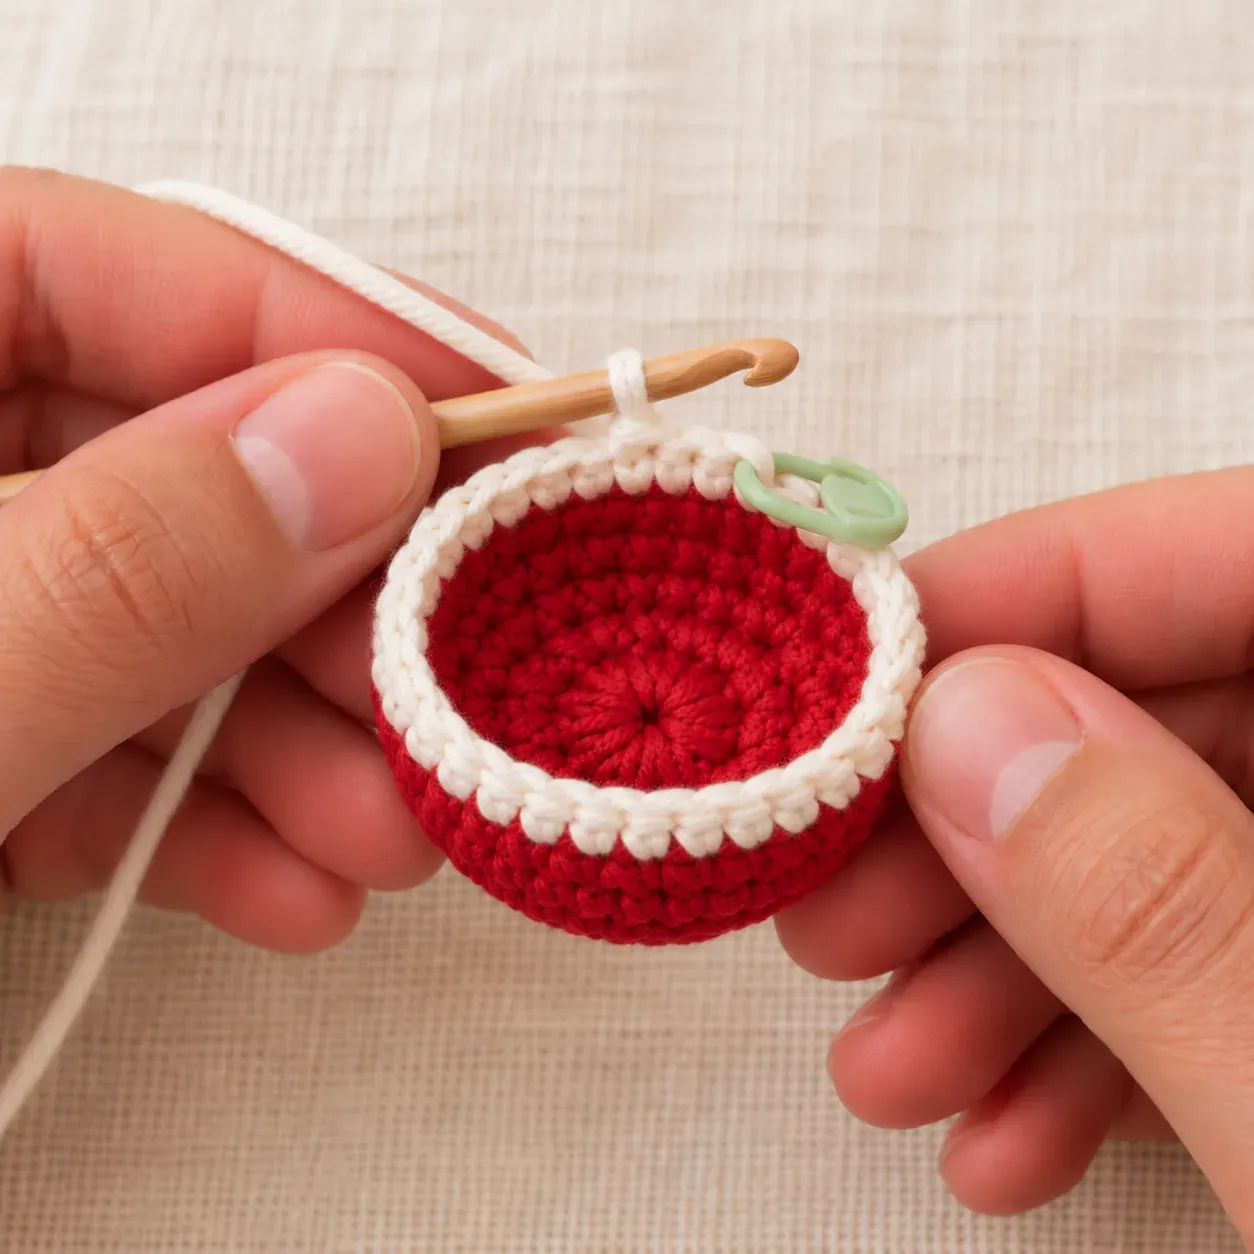
With white, sc in each st around.
Stitch count: 30 stitches
Tips
30 sc. The first white round sits on top of the red bowl; the sides now rise straight up.
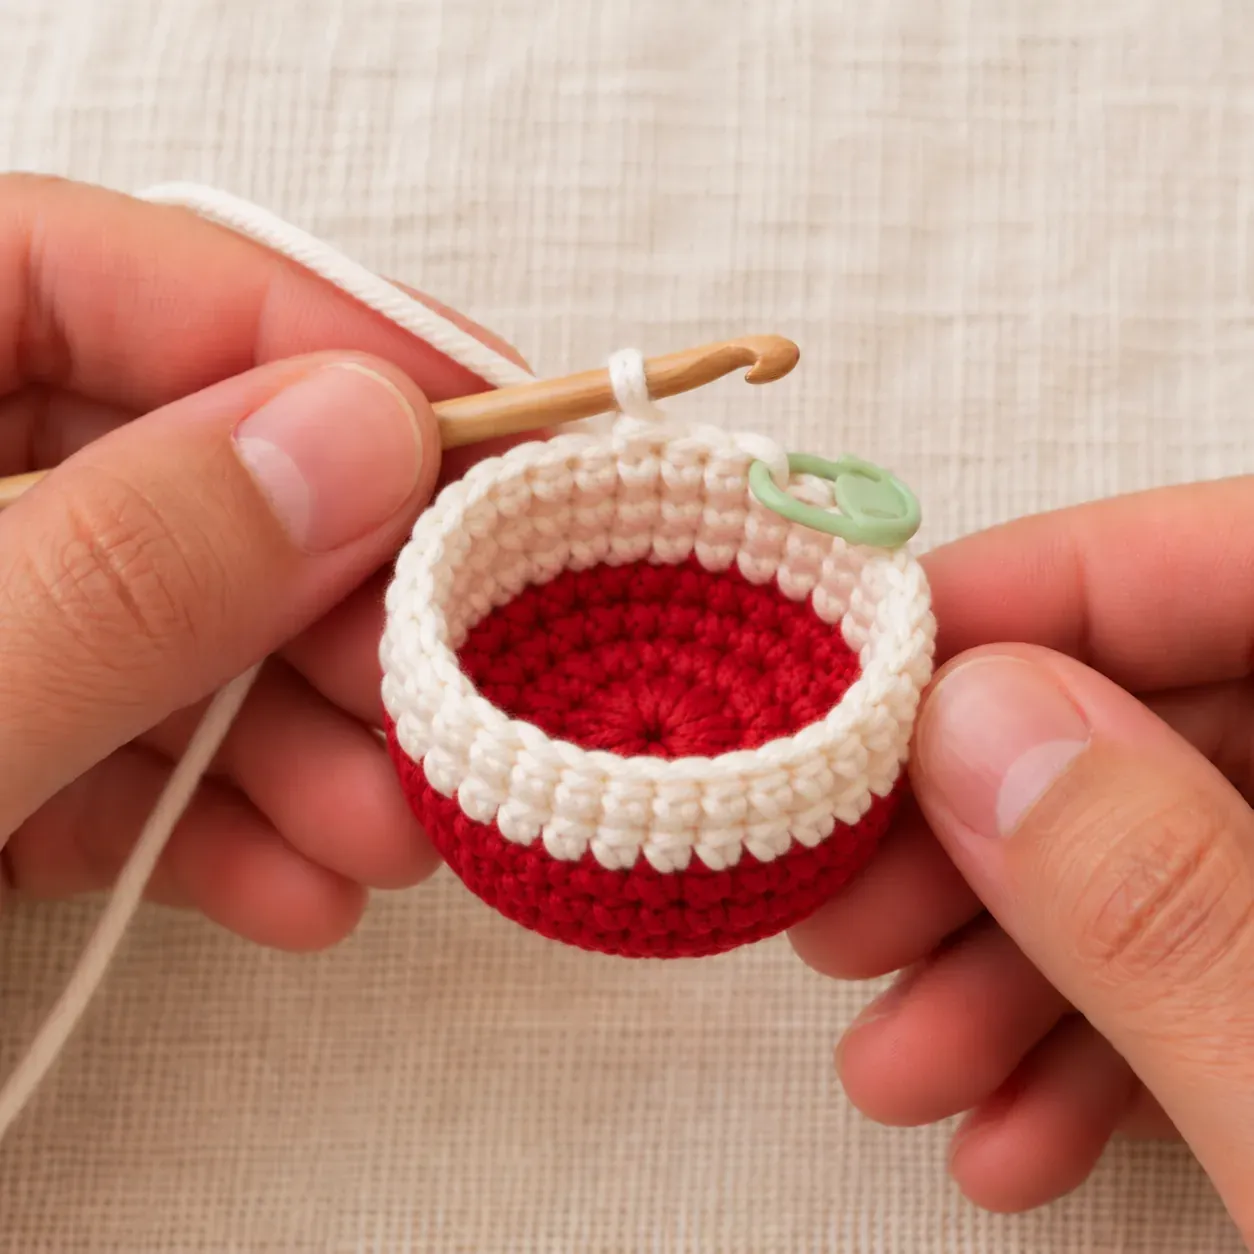
Sc in each st around.
Stitch count: 30 stitches
Tips
30 sc. Two white rounds are done.
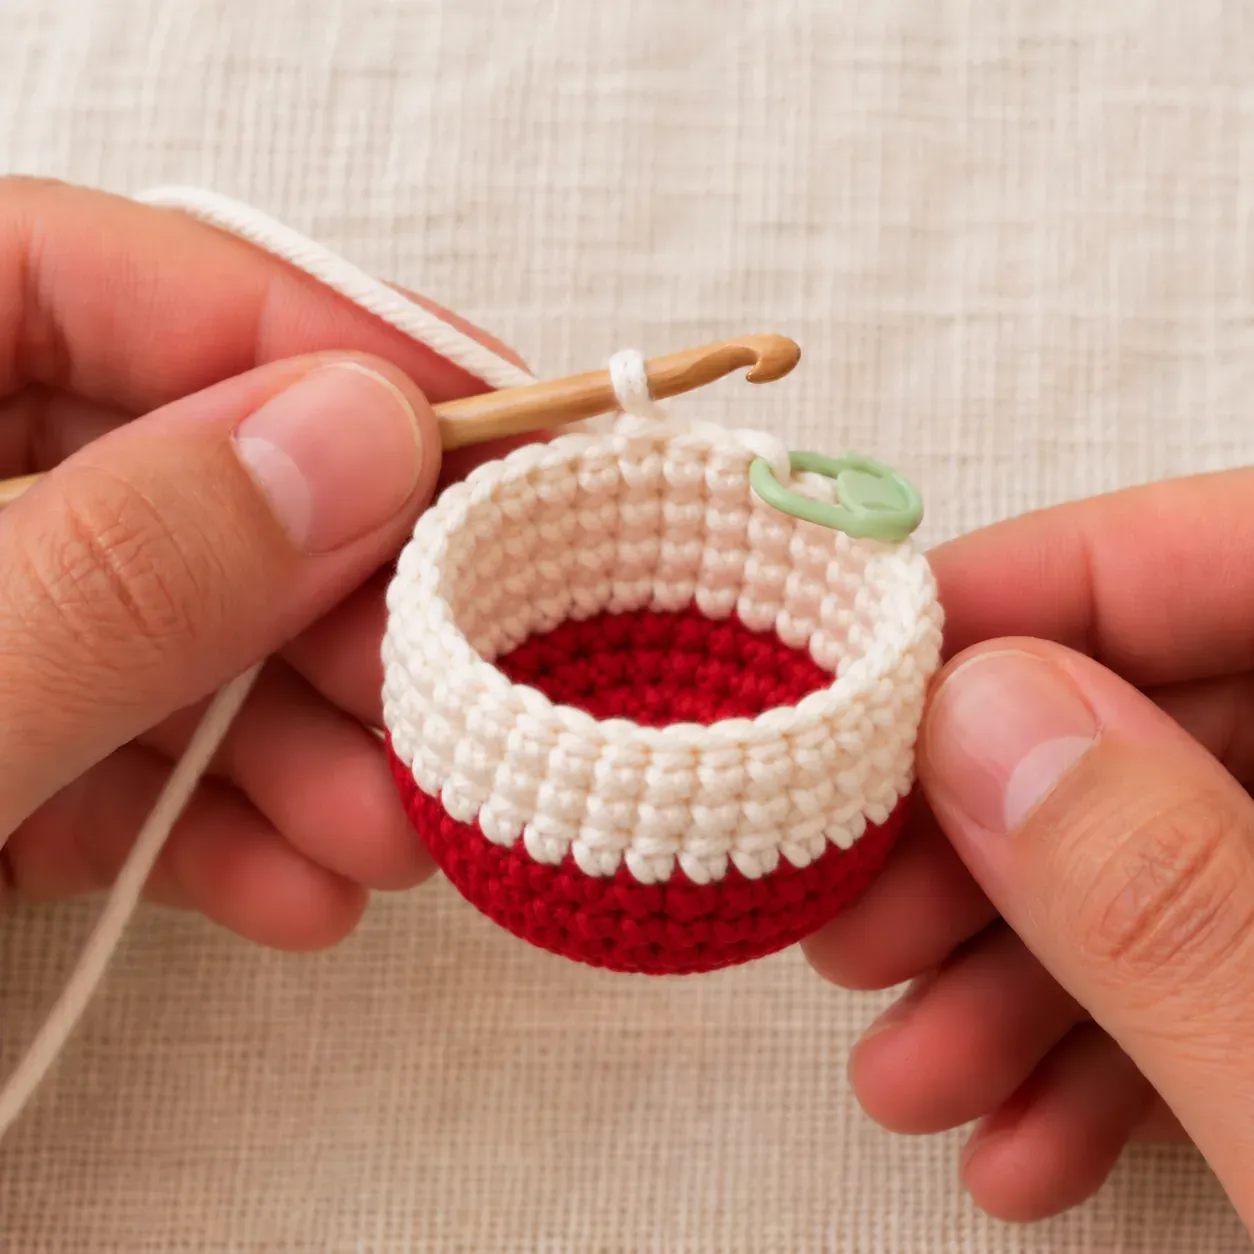
Sc in each st around.
Stitch count: 30 stitches
Tips
30 sc. Three white rounds are done.
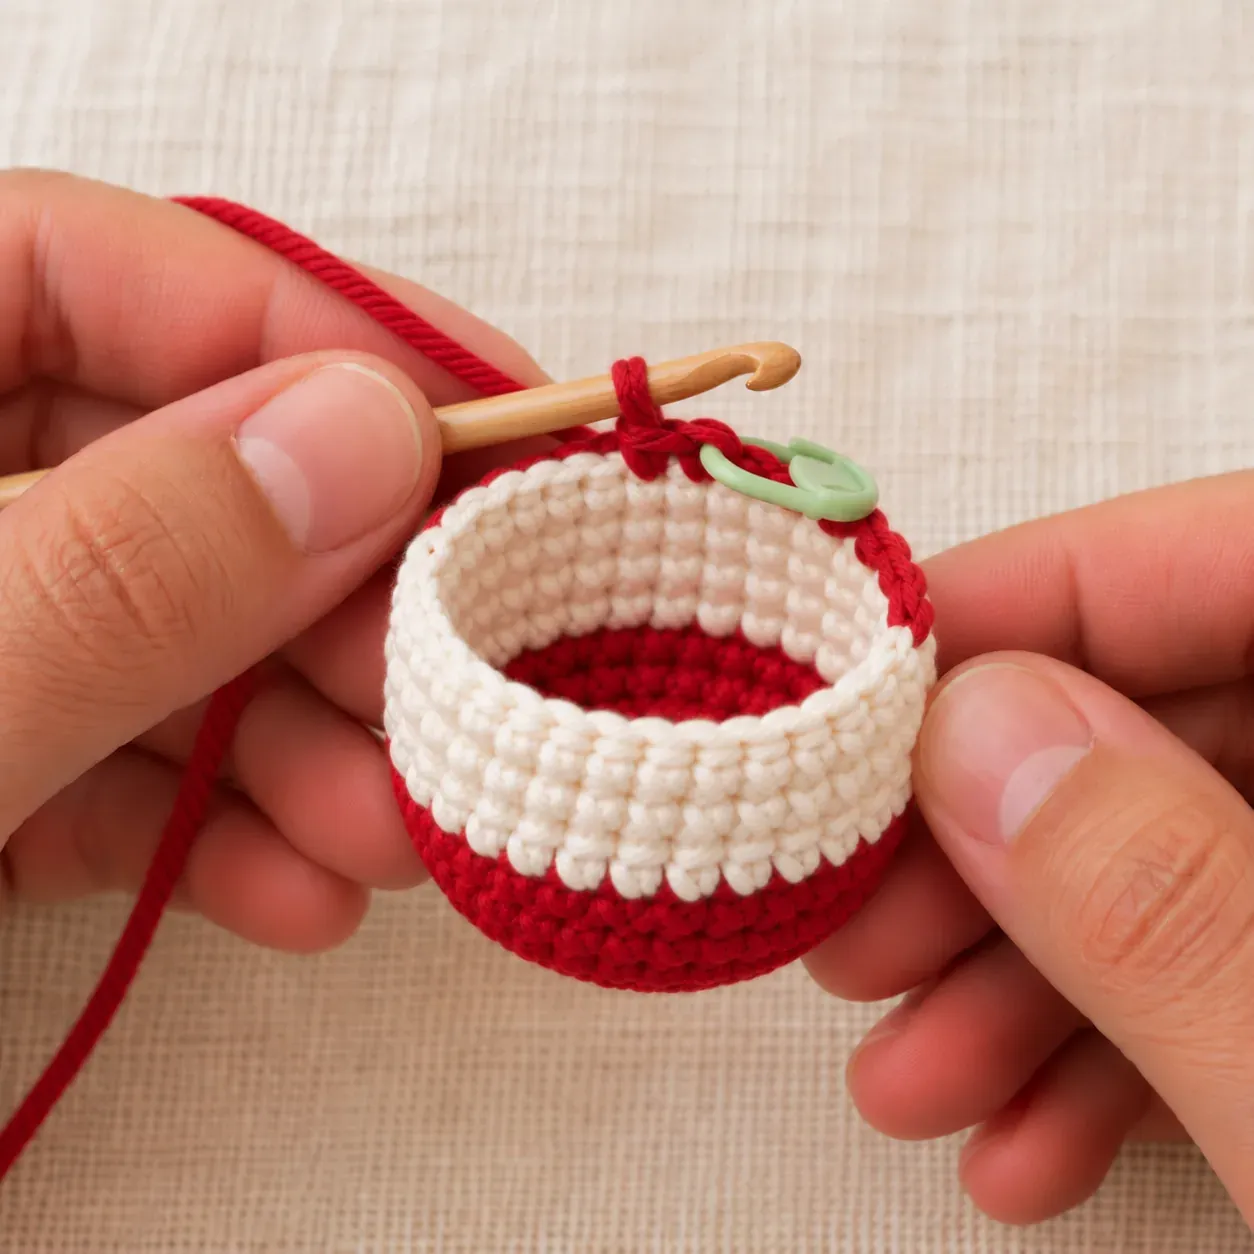
Sc in each st around.
Stitch count: 30 stitches
Tips
30 sc. Four white rounds make the stripe around the widest part of the ball. Next round starts with red: make the change in the last sc of this round, so its final yarn over is made with red. Cut white, leaving a 4 in / 10 cm tail on the wrong side.
With red, (sc 3, dec) × 6.
Stitch count: 24 stitches
Tips
24 sc: six repeats of sc 3, dec. The opening starts to close in above the white stripe.
(Sc 2, dec) × 6. Stuff the ball firmly with fiberfill.
Stitch count: 18 stitches
Tips
18 sc: six repeats of sc 2, dec. The ball is stuffed firmly, with the stuffing pushed into the bottom first and all yarn tails tucked inside.
(Sc 1, dec) × 6.
Stitch count: 12 stitches
Tips
12 sc: six repeats of sc 1, dec. Add a little more stuffing so the ball is firm and round.
(Dec) × 6.
Stitch count: 6 stitches
Tips
6 sc: six decreases. Before the last decrease, push in a last pinch of stuffing. Next round starts with gold: make the change in the last dec of this round, so its final yarn over is made with gold. Cut red, leaving a 4 in / 10 cm tail, and push it inside the ball.
With gold, working in back loops only, sc in each st around.
Stitch count: 6 stitches
Tips
6 sc in back loops only. The unused front loops make a small ridge, and the gold stitches stand up from the top of the ball like the cap of a glass ornament.
Sc in each st around. Fasten off, leaving an 8 in / 20 cm tail.
Stitch count: 6 stitches
Tips
6 sc. The gold cap is two rounds tall. The tail closes the cap in the next step.
With red, make a magic ring and work 6 sc into it.
Stitch count: 6 stitches
Tips
6 sc in the ring. Pull the starting tail to close the ring tightly and place the stitch marker in the first sc. The side facing you is the right side, the outside of the ball. Leave the starting tail at the back, on the wrong side, where it will end up inside the ball.
Thread the 8 in / 20 cm gold tail from Rnd 15 on the yarn needle. Weave it through the front loop of each of the 6 sc of Rnd 15 and pull gently so the top of the cap closes. Push the needle down through the center of the cap and the ball and out at the bottom center, then back up to the top, and trim the tail close so it disappears inside.
Cut a 10 in / 25 cm piece of gold yarn. Thread it on the yarn needle and pass it under two stitches at the very top of the cap. Even the two ends and tie them together in a tight double knot about 3 in / 8 cm above the cap. Trim the ends to about 1/2 in / 1 cm, or tie a small bow with longer ends instead.
Use a hook a little smaller than the yarn label suggests, such as 3.5 mm for worsted yarn, so the stitches are tight and the stuffing does not show.
Stuff a little at a time and shape the ball with your fingers between Rnds 11 and 13 so it stays round rather than egg-shaped.
Count the repeats instead of the stitches: every decrease round in red has exactly 6 decreases.
Work all of Rnds 1–13 in one color and skip both color changes. Change to gold at the end of Rnd 13 as written.
Work Rnds 1–4 in red, Rnd 5 in white, Rnds 6–8 in red, Rnd 9 in white and Rnds 10–13 in red, changing color in the last stitch of the round before each new color. The counts do not change.
Make several balls without hanging loops and thread them onto a long piece of gold yarn through the top of each cap, spacing them about 4 in / 10 cm apart.
Spot clean with a damp cloth and mild soap, then let it air dry. The ball is stuffed, so do not machine wash or tumble dry it.
Round 1
Round 2
Round 3
Round 4
Round 5
Round 6
Round 7
Round 8
Round 9
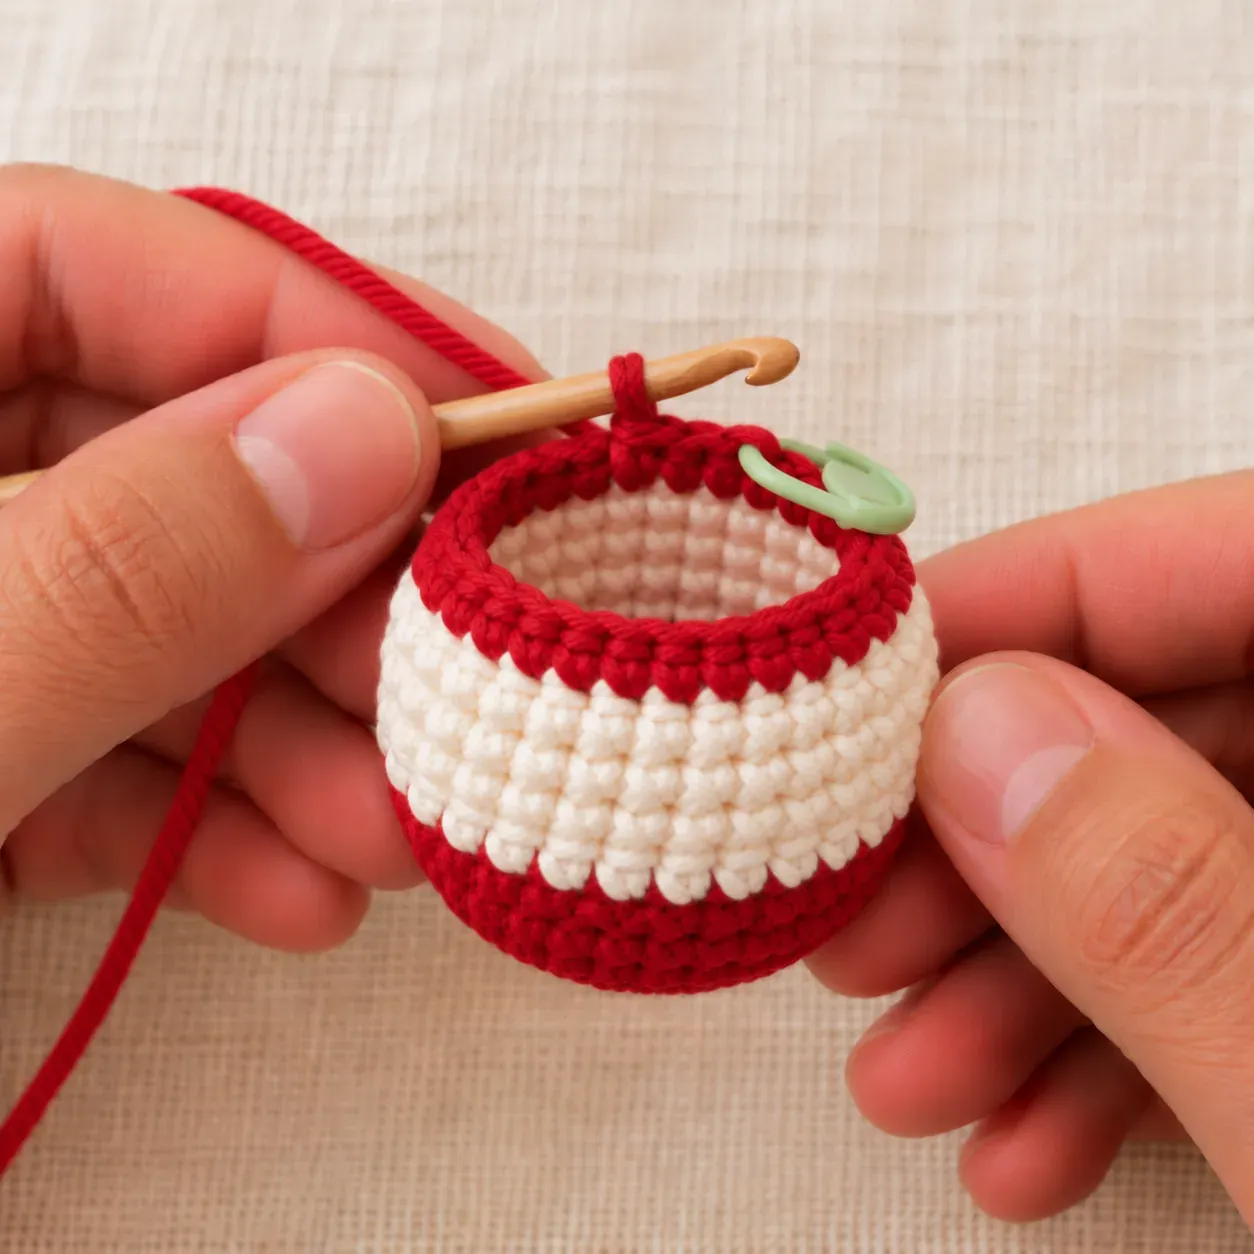
Round 10
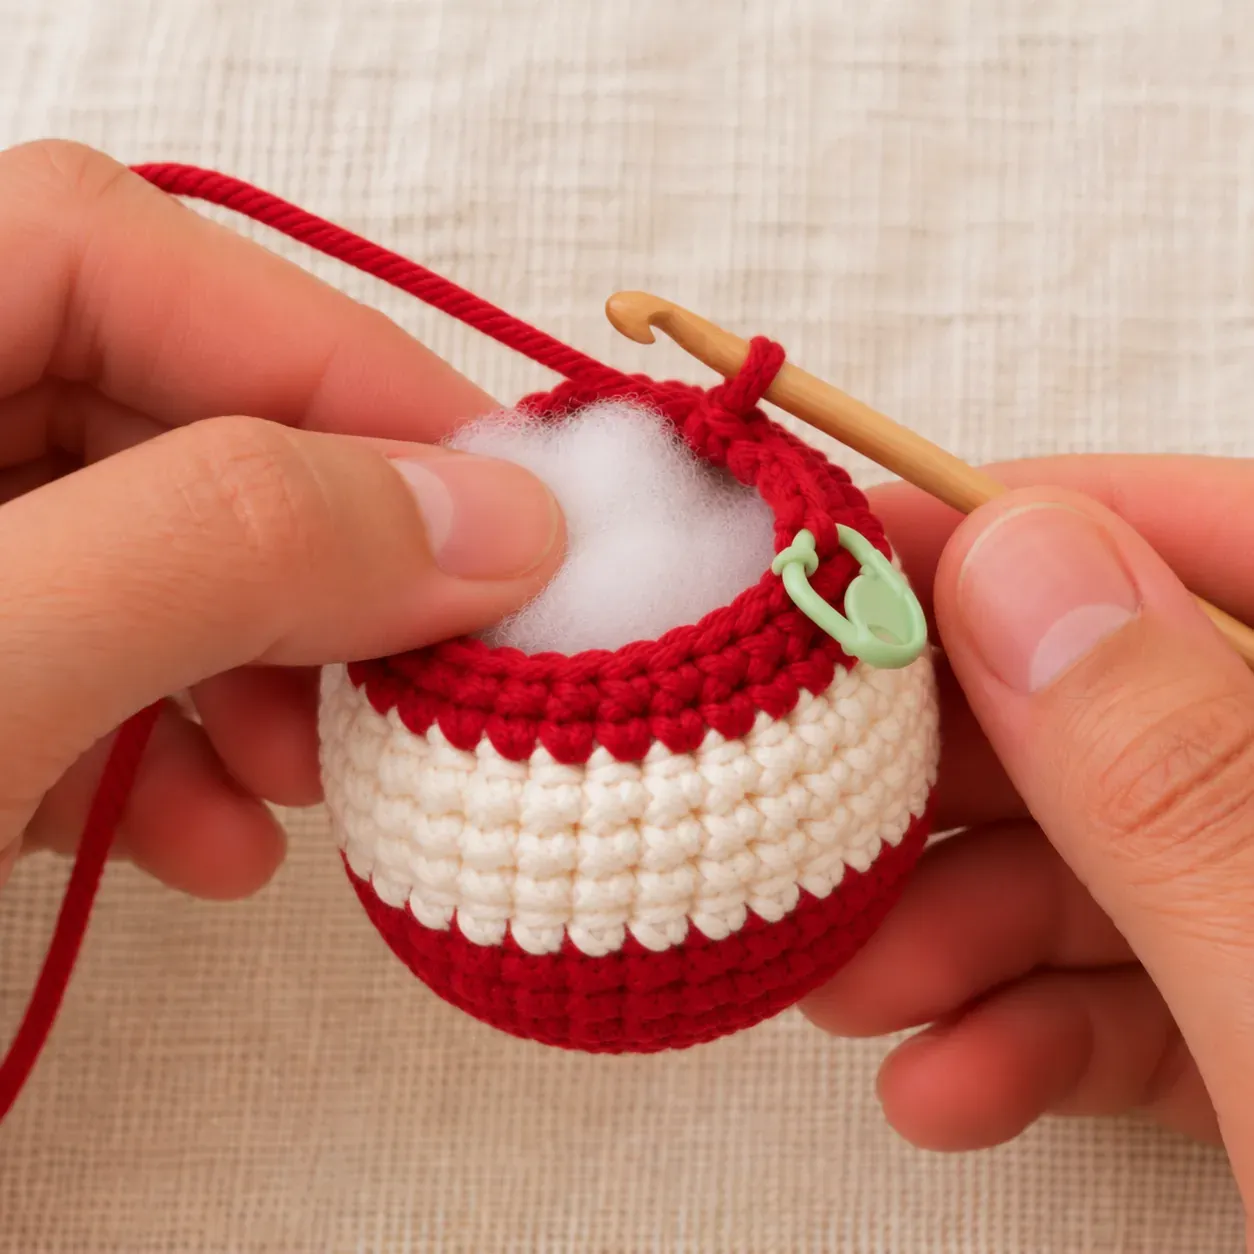
Round 11
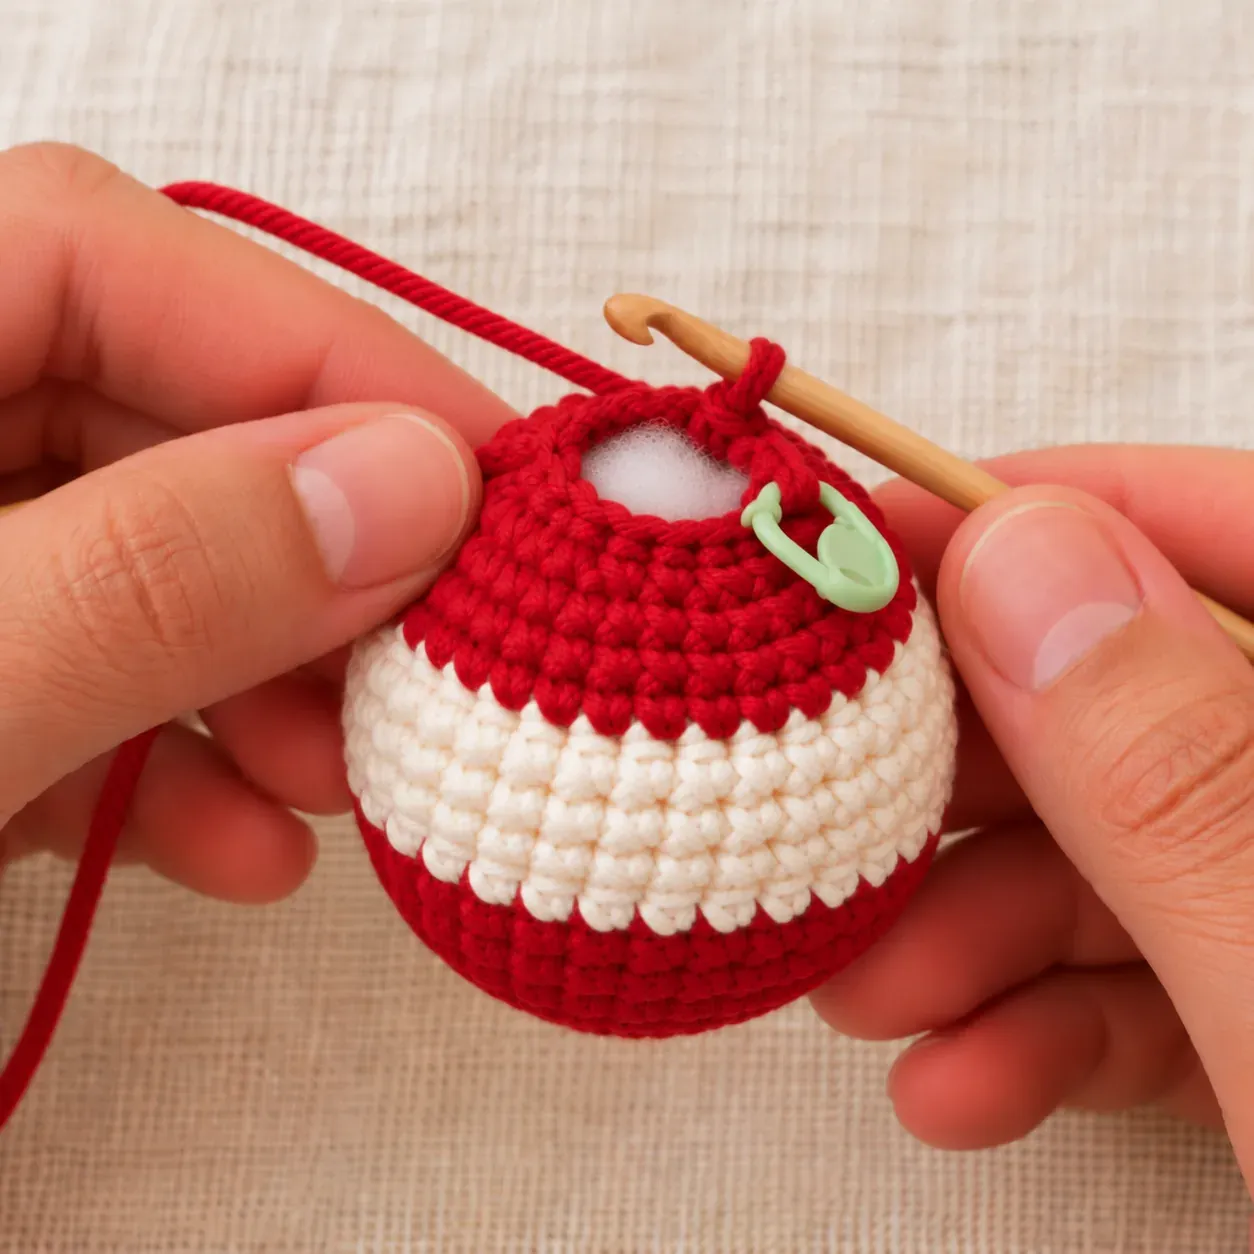
Round 12
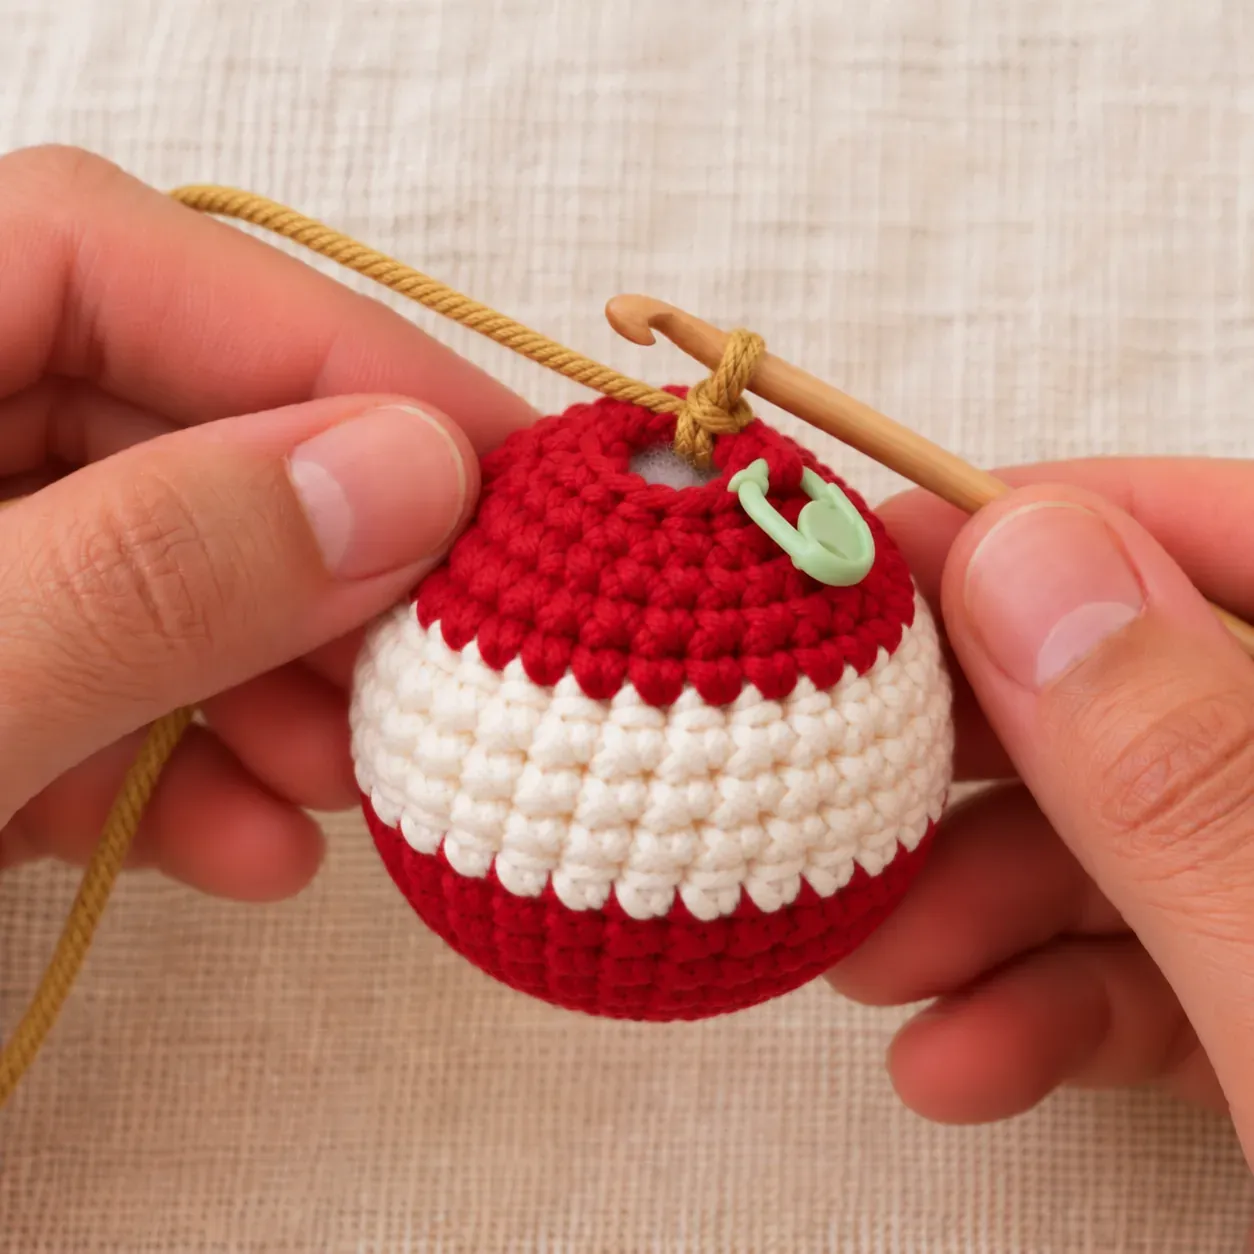
Round 13
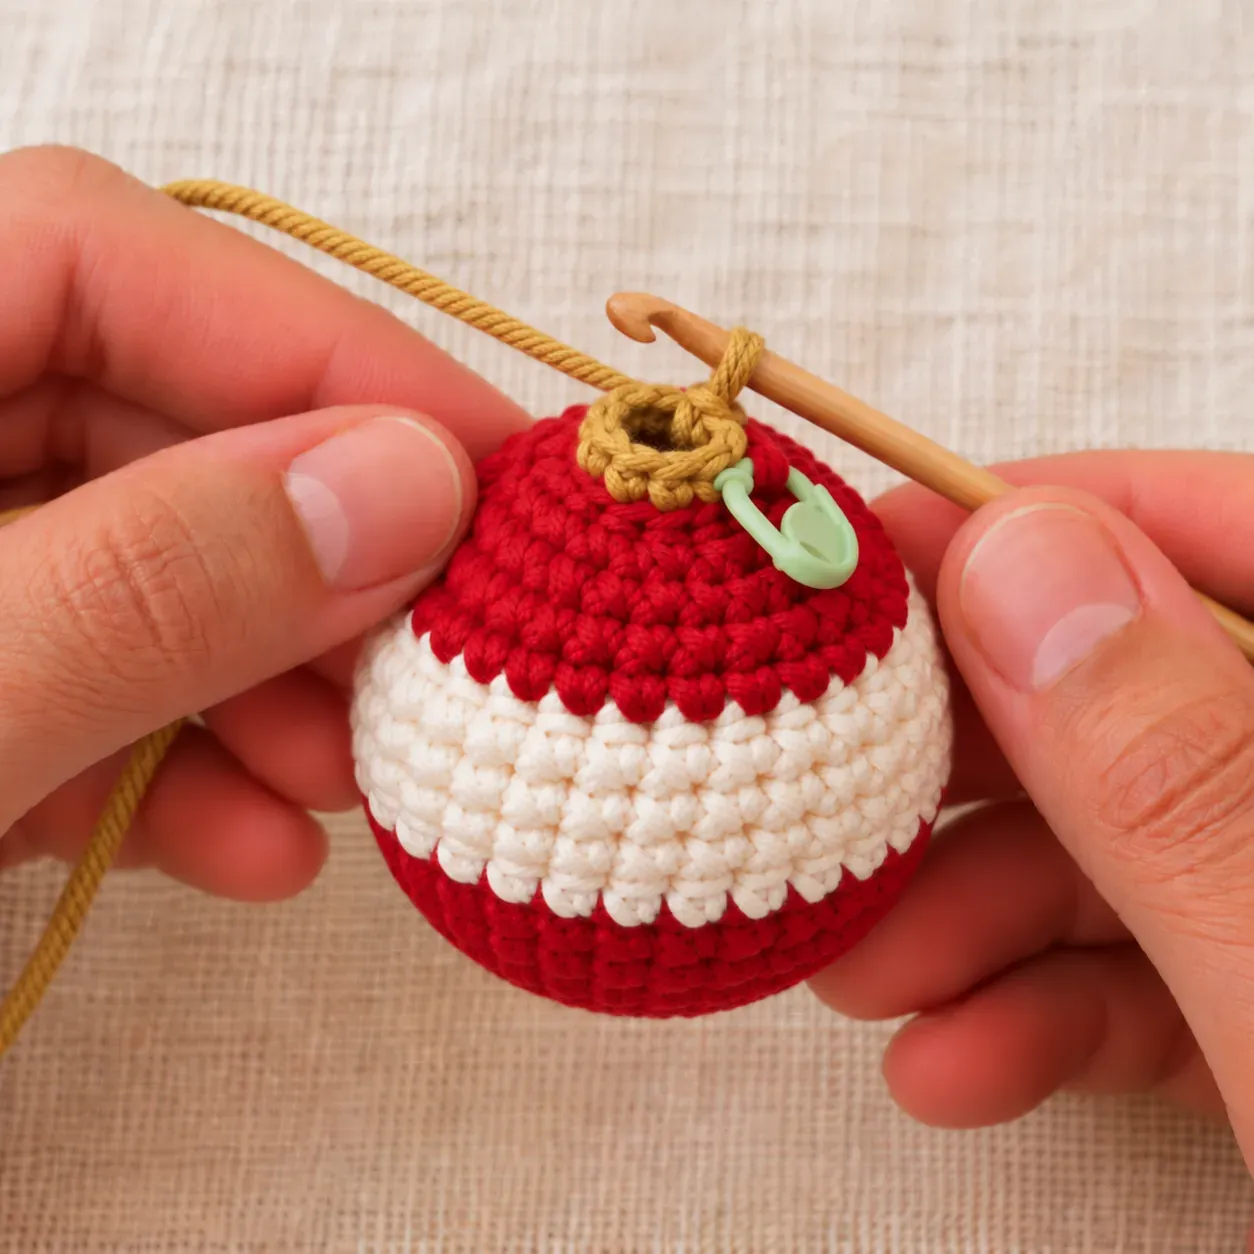
Round 14
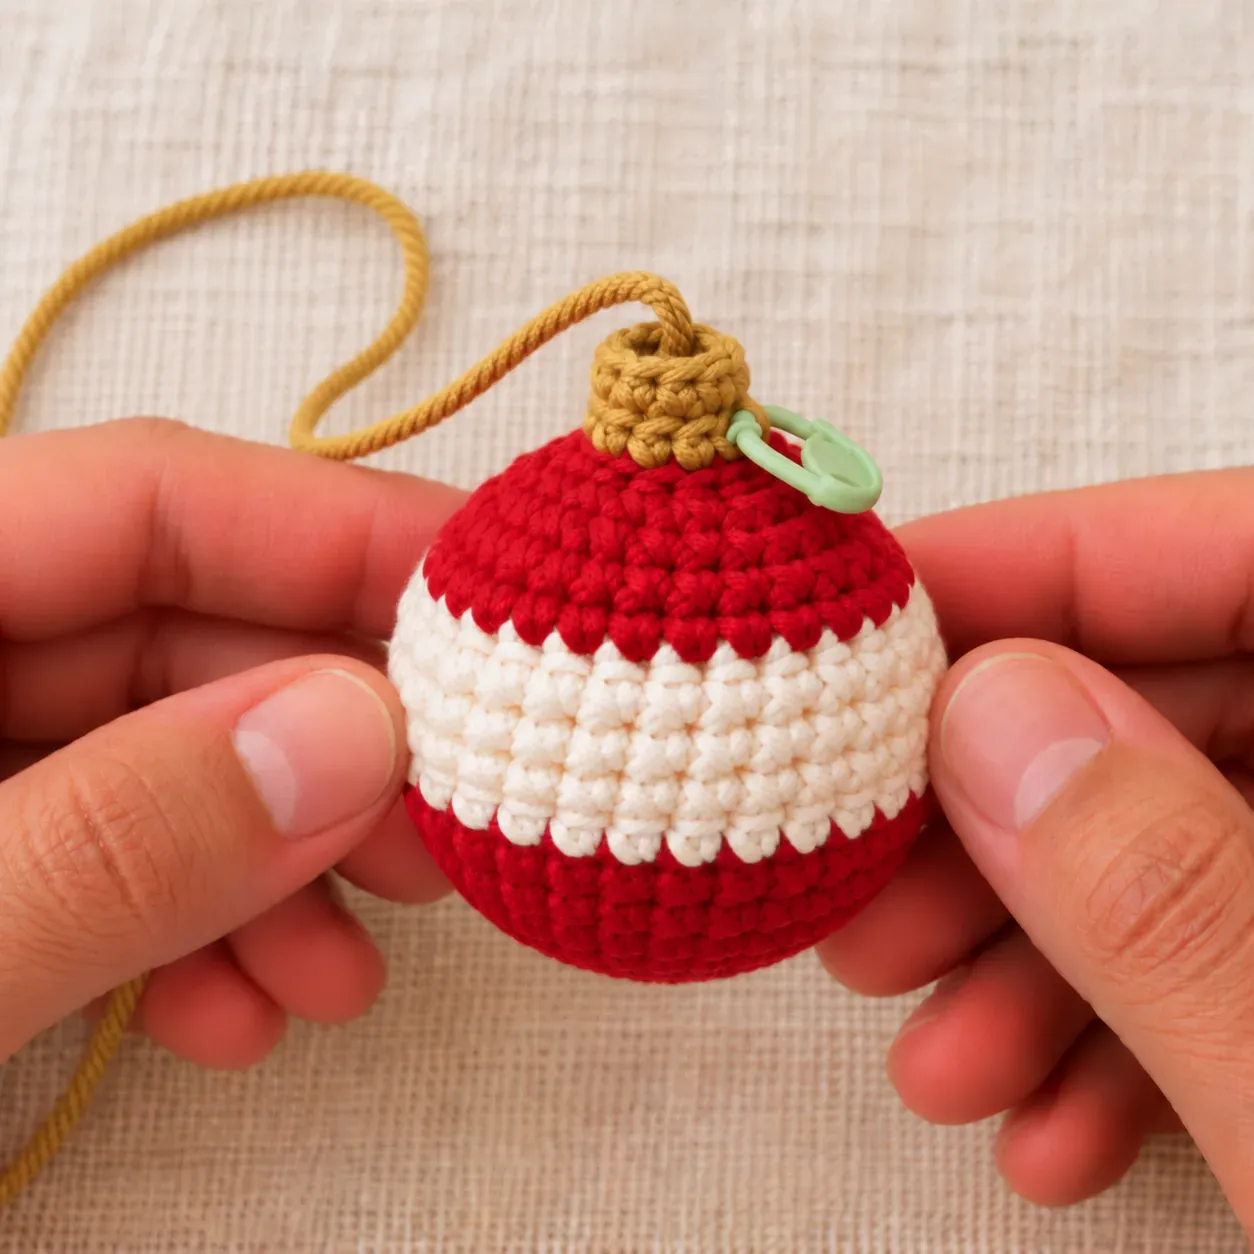
Round 15
It is designed to be about 2–2.4 in / 5–6 cm across with worsted yarn and a 3.5 mm hook. That is a design target, not a measured size, so yours may be a little bigger or smaller.
Yes. It uses a magic ring, single crochet, increases, decreases and two color changes. Every round lists its stitch count so you can check your work.
No. This ball is filled with fiberfill stuffing as you crochet, so it is light, soft and safe to drop.
No. The base, stripe, top and cap are worked in one piece. You only use the yarn needle to close the top of the cap, add the hanging loop and hide the tail.
About 6 g of red, 3 g of white and 2 g of gold worsted yarn. These are approximate allowances, so scraps from other projects are usually enough.
Get free crochet patterns and maker tips from Hookfolk.
Login to save your progress
Create a free account or log in to save this pattern, track your progress, and access it on any device.
Have you tried this pattern?
Comments
Be the first to share your experience.