

Yarn in cream
DK / light (3) · 100% cotton
Authored yarn selection for the ghost body, skirt, and both arms. Actual consumption has not been established.
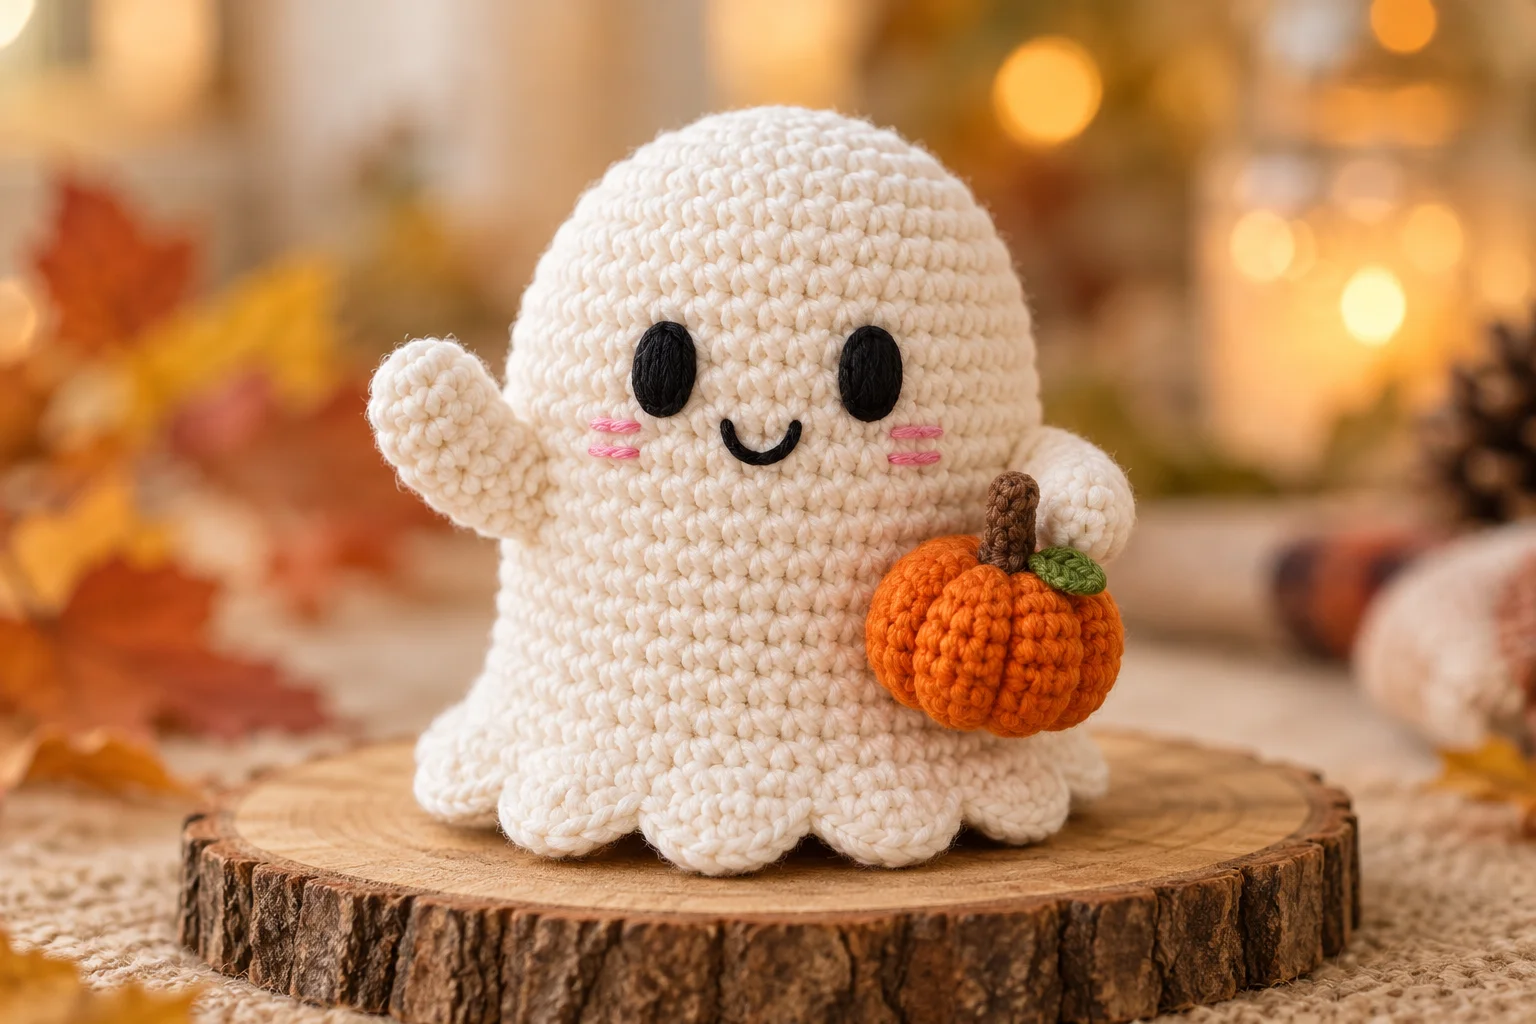
Halloween Amigurumi
A smiling amigurumi ghost with waving arms and a scalloped skirt.
An original, reference-inspired crochet ghost with a smiling face, little arms, a scalloped skirt, and a miniature pumpkin. This development pattern requires human review and physical testing.
Nobody has made this one start to finish yet. Check your stitch counts as you go, and tell us if something does not add up.
Worked in 6 pieces
Ghost body, Ghost skirt, Arm, Pumpkin, Pumpkin stem, Pumpkin leaf
Some sewing required
See Assembly & finishing.
Needs stuffing
Toy stuffing
Gather these before you begin.
DK / light (3) · 100% cotton
Authored yarn selection for the ghost body, skirt, and both arms. Actual consumption has not been established.
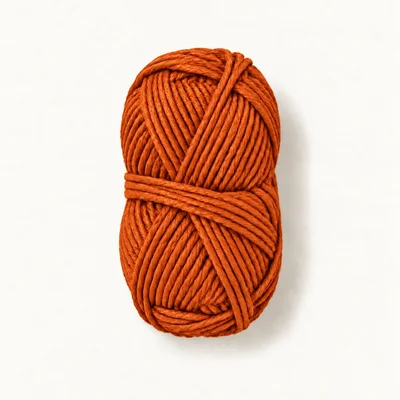
DK / light (3) · 100% cotton
Authored selection for the miniature pumpkin and its six shaping wraps. Consumption is unmeasured.
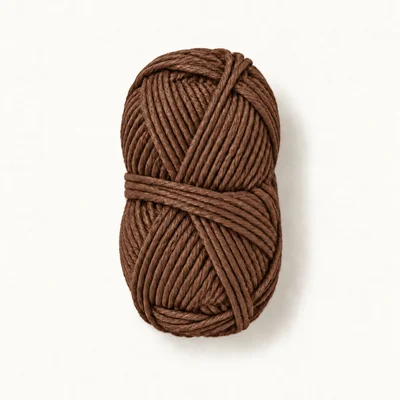
DK / light (3) · 100% cotton
Authored selection for the pumpkin stem. Consumption is unmeasured.
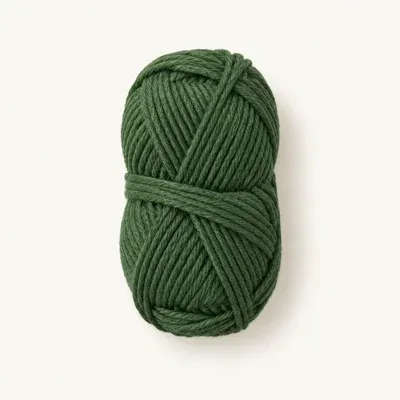
DK / light (3) · 100% cotton
Authored selection for one small pumpkin leaf. Consumption is unmeasured.
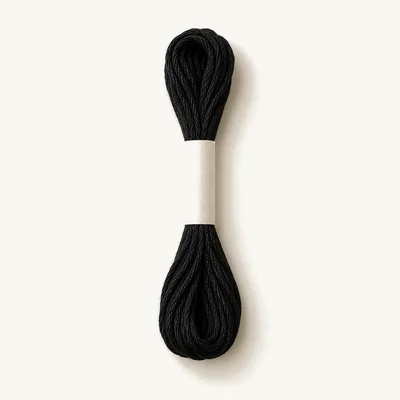
100% cotton
For two filled embroidered eyes and a curved smile. Embroidery is an authored alternative to the glossy eyes visible in the reference.
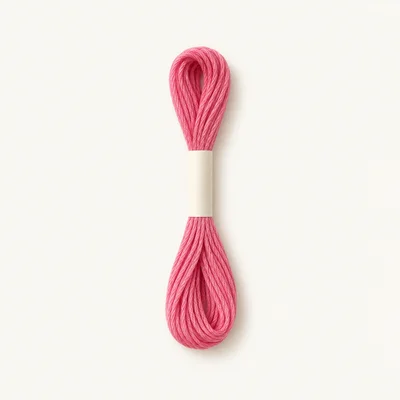
100% cotton
For two small embroidered cheeks.
Polyester
Authored selection for the ghost body, the rounded ends of both arms, and the pumpkin. Consumption is unmeasured.
DK acrylic yarn in the same colors
Changes the surface texture, elasticity, stuffing response, and potentially the finished dimensions.
Make a dense single crochet sample and select a hook that prevents stuffing from showing. Follow the replacement yarn's care label.
Worsted cotton yarn in the same colors
Produces a larger ghost and pumpkin with the same stitch counts and generally requires more yarn and stuffing.
Select a suitable smaller-than-label hook for dense amigurumi fabric. The stated size targets no longer apply without a sample.
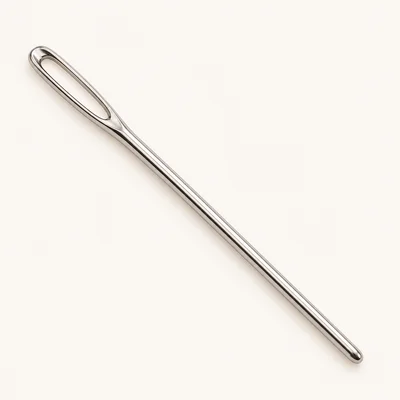
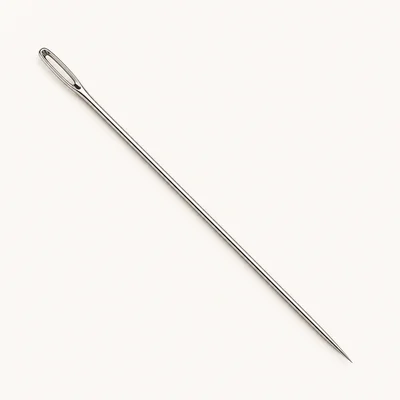
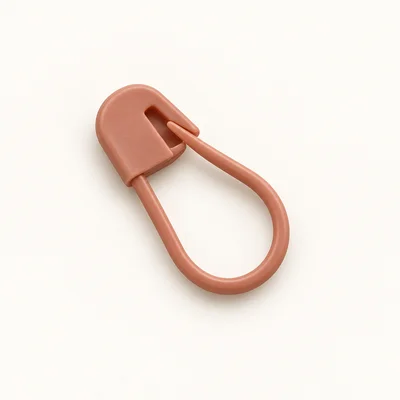
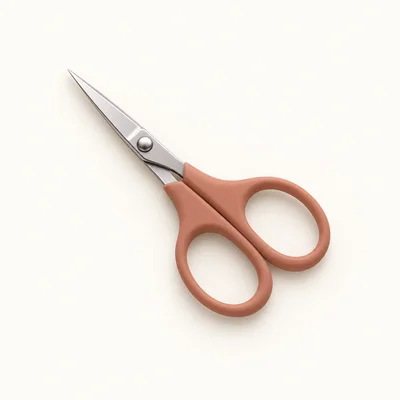
Check off each step to make sure you are ready. Preparation stays in this browser until you log in.
0 / 8 complete
Follow each step at your own pace.
Round 1 of 36
0%
Progress stays in this browser until you log in.
With cream, make a magic ring and work 6 sc into it. Pull the ring closed.
Stitch count: 6 stitches
Inc in each st around.
Stitch count: 12 stitches
(Sc 1, inc) × 6.
Stitch count: 18 stitches
(Sc 2, inc) × 6.
Stitch count: 24 stitches
(Sc 3, inc) × 6.
Stitch count: 30 stitches
(Sc 4, inc) × 6.
Stitch count: 36 stitches
(Sc 5, inc) × 6.
Stitch count: 42 stitches
(Sc 6, inc) × 6.
Stitch count: 48 stitches
Tips
The crown has widened to 48 stitches.
Sc in each st around for 12 rounds.
Stitch count: 48 stitches
Tips
Each of Rnds 9–20 ends with 48 stitches. Before narrowing the underside, embroider the face as described in assembly while the interior remains accessible.
(Sc 7, inc) × 6.
Stitch count: 54 stitches
Working in BLO, sc in each st around.
Stitch count: 54 stitches
Tips
There are 54 unworked front loops from Rnd 21 around the outside. Leave these available for the skirt.
(Sc 7, dec) × 6.
Stitch count: 48 stitches
(Sc 6, dec) × 6.
Stitch count: 42 stitches
(Sc 5, dec) × 6.
Stitch count: 36 stitches
(Sc 4, dec) × 6.
Stitch count: 30 stitches
Tips
Add stuffing to the crown and body. Keep the underside lightly filled so it does not form a pronounced bulge.
(Sc 3, dec) × 6.
Stitch count: 24 stitches
(Sc 2, dec) × 6.
Stitch count: 18 stitches
Tips
Finish distributing the stuffing before the opening becomes too small. Keep the reserved skirt loops free of stuffing and sewing stitches.
(Sc 1, dec) × 6.
Stitch count: 12 stitches
Dec × 6. Fasten off, leaving a 20 cm tail. Thread the tail through the front loops of all 6 remaining stitches, pull closed, secure, and bury the tail inside the body.
Stitch count: 6 stitches
Tips
The ghost is fully closed; the final crocheted round contained 6 stitches before the opening was cinched.
With the ghost upright and its crown pointing upward, attach cream with a sl st in the first reserved front loop of Ghost body Rnd 21 at the back. This attachment does not count as a stitch. Ch 1, which does not count. Beginning in that same loop, work (sl st in the next loop, sc in the next loop, hdc in the next loop, 3 dc in the next loop, hdc in the next loop, sc in the next loop) × 9. Join with a sl st to the first worked sl st; the join does not count. Fasten off and weave in both ends.
Stitch count: 72 stitches
Tips
Nine scallops use all 54 reserved loops. Each scallop consumes 6 loops and produces 8 stitches, for 72 stitches total.
With cream, make a magic ring and work 6 sc into it. Pull the ring closed.
Stitch count: 6 stitches
(Sc 1, inc) × 3.
Stitch count: 9 stitches
Sc in each st around for 2 rounds.
Stitch count: 9 stitches
Tips
Place a small pinch of stuffing in the rounded hand end.
(Sc 1, dec) × 3.
Stitch count: 6 stitches
Sc in each st around. Fasten off, leaving a 20 cm sewing tail. Leave the 6-stitch opening unclosed and flatten it into two layers of 3 stitches.
Stitch count: 6 stitches
Tips
Complete this entire Arm sequence twice. Both arms have a lightly stuffed rounded end and a flattened attachment end.
With orange, make a magic ring and work 6 sc into it. Pull the ring closed.
Stitch count: 6 stitches
Inc in each st around.
Stitch count: 12 stitches
(Sc 1, inc) × 6.
Stitch count: 18 stitches
(Sc 2, inc) × 6.
Stitch count: 24 stitches
Sc in each st around for 3 rounds.
Stitch count: 24 stitches
(Sc 2, dec) × 6.
Stitch count: 18 stitches
Tips
Stuff the pumpkin moderately, leaving enough give for the shaping wraps to indent its sides.
(Sc 1, dec) × 6.
Stitch count: 12 stitches
Tips
Finish adding stuffing before the final decrease round.
Dec × 6. Fasten off, leaving approximately 80 cm for closure and shaping. Thread the tail through the front loops of the 6 remaining stitches and pull closed. Keep the tail attached for assembly.
Stitch count: 6 stitches
Tips
Use the final closure as the pumpkin's top and the magic-ring center as its bottom.
With brown, make a magic ring and work 4 sc into it. Pull the ring closed.
Stitch count: 4 stitches
Sc in each st around for 2 rounds. Fasten off, leaving a 20 cm sewing tail. Leave the lower opening unclosed and do not stuff.
Stitch count: 4 stitches
With green, ch 5. Sl st in the 2nd ch from the hook, sc in the next ch, hdc in the next ch, and sl st in the last ch. Do not turn. Fasten off, leaving a 20 cm sewing tail.
Stitch count: 4 stitches
Tips
Four stitches are worked into four foundation chains. The first chain nearest the hook is unused; the last worked slip stitch forms the attachment end.
With cream, make a magic ring and work 6 sc into it. Pull the ring closed.
Stitch count: 6 stitches
After Ghost body Rnd 20, choose a front opposite the round-start marker. Center two black eyes on Rnd 10, with their centers approximately 8 stitch columns apart. Fill each eye with satin stitches covering about 2 stitch columns and 2 rounds. Embroider a U-shaped smile between them: place its ends near Rnd 12 and its lowest point near Rnd 13, spanning approximately 4 stitch columns. Use short backstitches to form the curve. Add three short pink horizontal stitches beneath and slightly outside each eye around Rnds 12–13. Secure all embroidery ends inside without pulling the fabric into deep dimples.
With the face centered forward, position one Arm on each side of the body. Place each flattened opening vertically across Ghost body Rnds 12–14, approximately one quarter of the circumference away from the face center. Tilt the rounded ends upward and slightly forward. With each cream tail, sew through both layers of the flattened opening and corresponding body stitches, covering all 3 paired stitches. Add a second pass to secure each join. Bury the tails inside the body.
Using the attached orange tail, pass the needle from the top closure through the pumpkin's center and out at the bottom magic-ring center. Bring the yarn up the outside along one stitch column and insert the needle through the top center again, exiting at the bottom. Pull gently to make a groove. Make 5 more outside wraps in the same manner, placing their paths approximately 4 stitch columns apart around Pumpkin Rnd 6. Adjust the six wraps to similar tension, slightly flattening the pumpkin. After the sixth wrap exits the bottom, secure the yarn with a small anchoring stitch and bury the remaining tail.
Center the open lower end of Pumpkin stem over the pumpkin's top closure. Use the brown tail to sew all 4 opening stitches to the orange stitches around the center, keeping the stem upright. Secure and bury the tail. Place the attachment end of Pumpkin leaf beside the stem with its tip pointing outward. Sew the last worked slip stitch and the adjacent half double crochet to the pumpkin top using the green tail, leaving the pointed half free. Secure and bury the tail.
Place the pumpkin beneath the arm on the viewer's right, with its stem touching the underside of the rounded hand. Using a separate length of cream yarn, sew the hand to the stem with two passes. Secure and bury the ends. Using a separate length of orange yarn, sew a small patch on the pumpkin's upper back to Ghost body Rnds 16–18 directly below that arm. Catch at least 3 neighboring pumpkin stitches and 3 body stitches over two passes so the pumpkin is supported by the body rather than hanging from the stem alone. Secure and bury the ends.
Gently spread all nine Ghost skirt scallops outward and downward so the closed underside sits behind the decorative edge. Check that no stuffing is visible, every attachment is secure, and all ends are buried. Shape the body with your hands without stretching the stitches. Measure the finished height and pumpkin diameter for the development record.
Mark the first reserved front loop at the back before starting the skirt so the join stays away from the face.
Count each scallop's six foundation loops separately; the three double crochet stitches share one loop.
Use less stuffing in the underside than in the crown to keep the lower silhouette from becoming ball-shaped.
Embroider the face before stuffing so its ends can be secured inside without crossing the filled body.
Tighten the pumpkin wraps gradually and evenly; strong tension can split cotton yarn or collapse the pumpkin.
Replace cream yarn with white yarn of the same selected weight and fiber for the Ghost body, Ghost skirt, and both Arms. Keep all counts, embroidery, and assembly unchanged; confirm the gauge with the replacement yarn.
Complete every piece as written. In the pumpkin attachment stage, place the pumpkin below the arm on the viewer's left instead of the right. Keep the stem against the hand and sew the pumpkin's upper back to Ghost body Rnds 16–18 below that arm.
For the selected cotton yarn and embroidered details, gently spot-clean with cool water and mild detergent. Avoid wringing or pulling the pumpkin and arms. Reshape the skirt and allow the decoration to dry fully in a ventilated place. Follow the actual yarn and stuffing manufacturers' care instructions.
No. It is an original reference-inspired development draft. Hidden construction, yarn specifications, and stitch counts were not recoverable from the image.
No. It requires human technical review and a complete physical sample before claims about fit, dimensions, consumption, or making time can be established.
The design combines continuous rounds, invisible decreases, reserved-loop edging, embroidery, small-piece sewing, and pumpkin thread sculpting.
No. The stuffed underside is fully closed. The decorative skirt is added separately to the front loops reserved above that underside.
No. The instructions use black embroidered eyes. Their appearance is an authored interpretation of the reference face.
No. That height is an unmeasured design target. Yarn thickness, hook choice, tension, and stuffing affect the result; measure the physical sample.
No. This version attaches the stem to one hand and secures the pumpkin's back to the ghost body.
Get free crochet patterns and maker tips from Hookfolk.
Login to save your progress
Create a free account or log in to save this pattern, track your progress, and access it on any device.
Have you tried this pattern?
Comments
Be the first to share your experience.