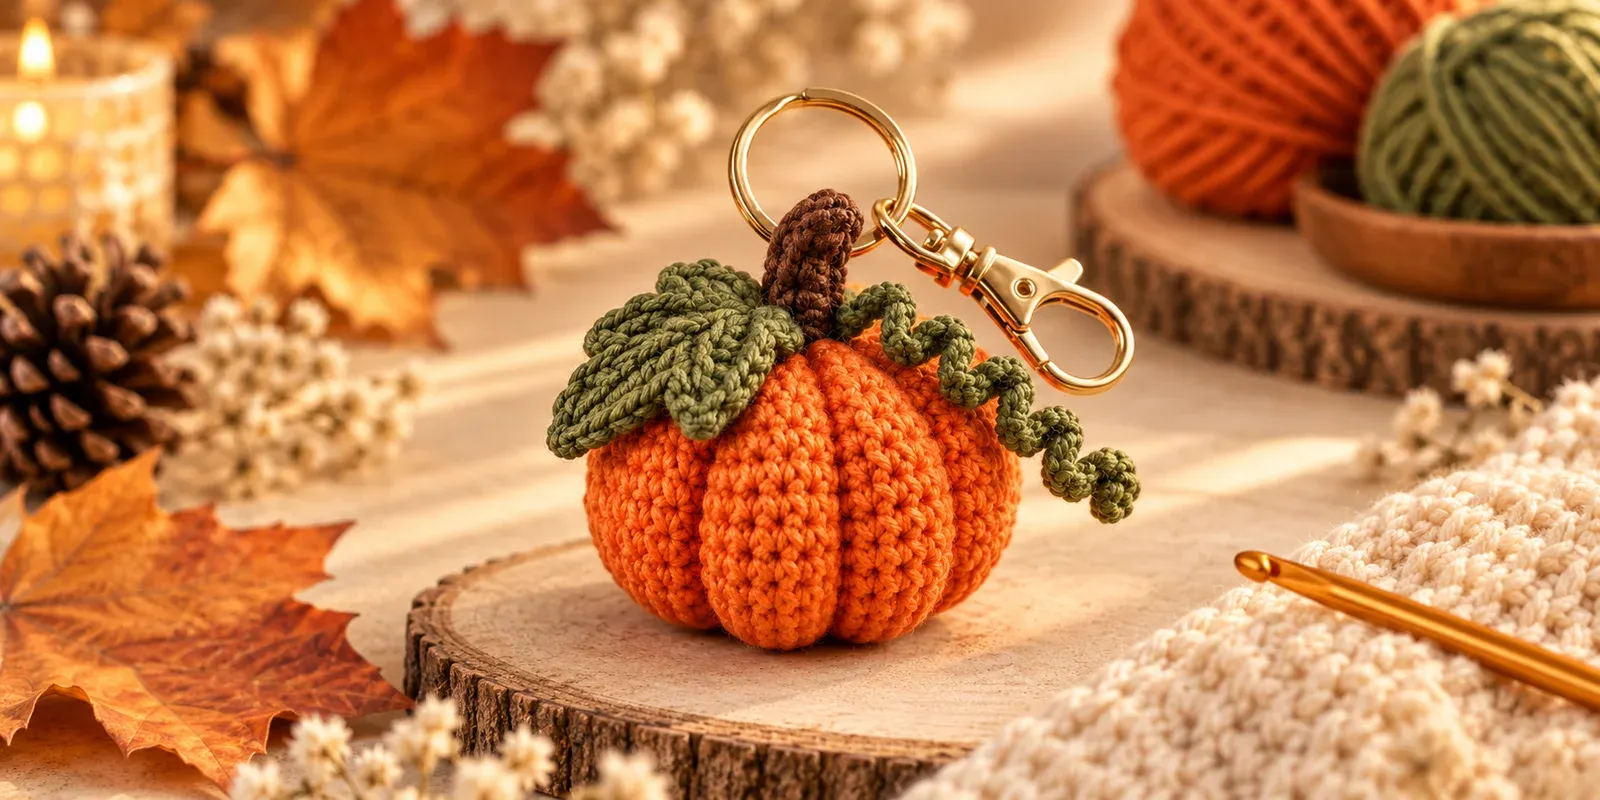
A sculpted autumn pumpkin with a brown stem, green leaf and curled vine
An original HookFolk reference-inspired development draft requiring human review and physical testing. The supplied image informs the orange lobed silhouette, brown stem, green leaf, curled vine and keychain attachment. This draft authors a complete construction rather than transcribing or recovering the pictured tutorial. Stitch counts, component construction and attachment methods below are original design decisions; finished dimensions and consumption have not been measured.
Approximately 5–6 cm after sculpting; original design target, not a measured result.
Construction
Worked in rounds with sewn accents, six sculpted lobes, and a reinforced keychain loop.
Testing statusNot yet human-testedFREE
Nobody has made this one start to finish yet. Check your stitch counts as you go, and tell us if something does not add up.
Intended pumpkin height
Approximately 4–5 cm excluding stem and hardware; original design target, not a measured result.
Height
Approximately 5 cm excluding stem and hardware
Width
Approximately 6 cm after shaping
Terminology
US terms
Sewing
Some sewing
About This Pattern
An original HookFolk reference-inspired development draft requiring human review and physical testing. The supplied image informs the orange lobed silhouette, brown stem, green leaf, curled vine and keychain attachment. This draft authors a complete construction rather than transcribing or recovering the pictured tutorial. Stitch counts, component construction and attachment methods below are original design decisions; finished dimensions and consumption have not been measured.
You'll learn / practice
Magic ring
Working in continuous rounds
Single crochet increases and invisible decreases
Working both sides of a foundation chain
Half double, double and treble crochet
Stuffing and closing amigurumi
Sculpting with external yarn wraps
Sewing small components and securing hardware
Pattern construction
Worked in 4 pieces
Pumpkin, Stem, Leaf, Vine
Some sewing required
See Assembly & finishing.
Needs stuffing
Polyester stuffing
What you'll need
Gather these before you begin.
Materials (5)
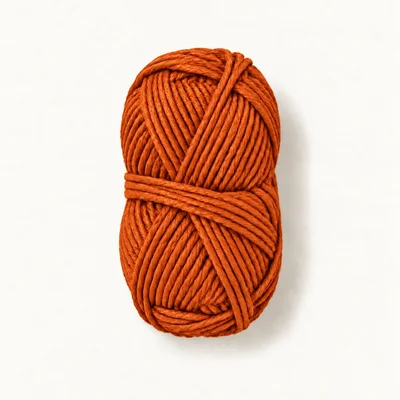
Yarn in orange
Worsted (4) · 100% cotton
Original selection for the pumpkin and sculpting wraps. The reference recommends worsted yarn but does not establish fiber or consumption. Choose a smooth, firmly plied cotton; actual consumption remains unmeasured.
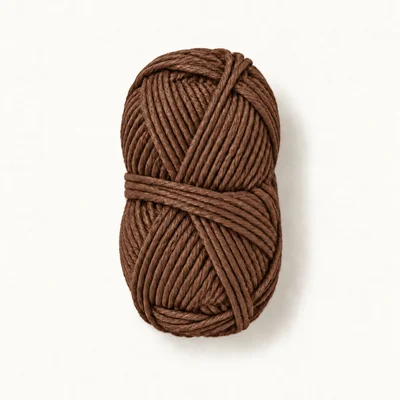
Yarn in brown
Worsted (4) · 100% cotton
Original selection for the stem and reinforced attachment loop. Match the orange yarn's weight and construction. Consumption remains unmeasured.
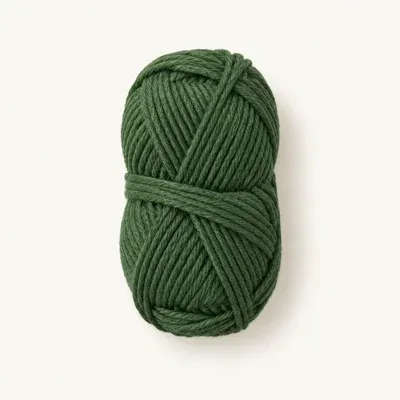
Yarn in green
Worsted (4) · 100% cotton
Original selection for one leaf and one curled vine. Consumption remains unmeasured.
Polyester stuffing
Polyester
Selected filling for the pumpkin. Use enough to support the shape while allowing sculpting; leave the stem unstuffed.
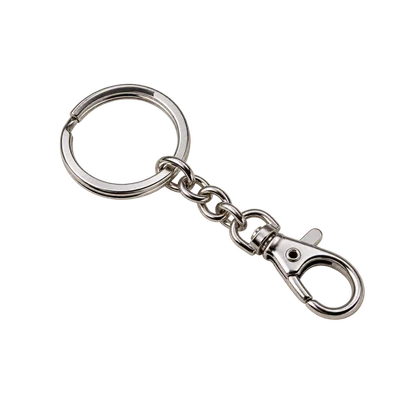
Metal split key ring with swivel clasp
1 set
Original hardware selection: one smooth split ring approximately 25 mm in diameter with a connected swivel clasp. Thread the ring through the reinforced brown yarn loop; the stem is decorative and is not the sole load-bearing attachment.
If you swap a material
Smooth worsted cotton replaced with smooth acrylic of similar thickness
→The Pumpkin may feel softer, sculpt differently and finish at a different size.
Check fabric density with the selected hook, confirm the finished dimensions and follow the replacement yarn's care label. Consumption remains unmeasured.
Worsted yarn replaced with thinner yarn
→The same stitch counts will generally produce a smaller Pumpkin and smaller accents.
Use a hook that produces a dense fabric and reassess whether the ring and reinforced loop suit the finished scale.
Tools (5)
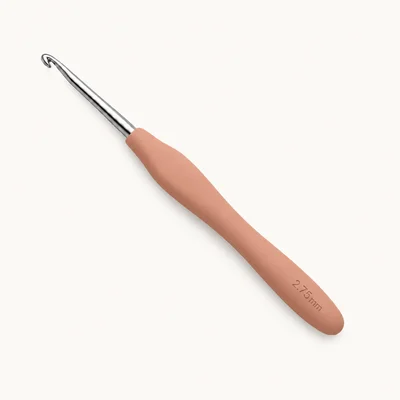
2.75 mm crochet hook
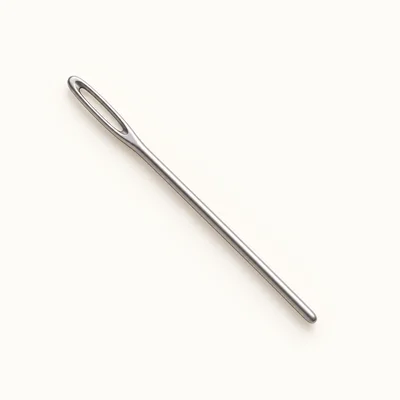
Yarn needle
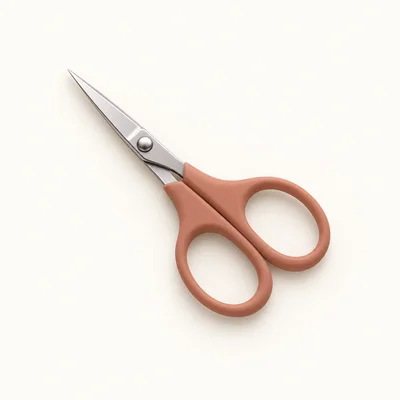
Scissors
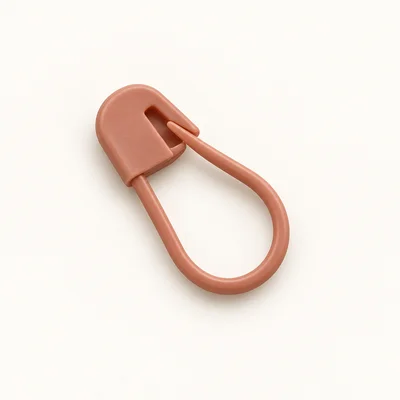
Removable stitch markers
× 6
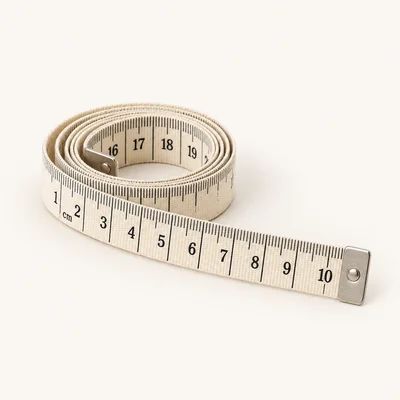
Measuring tape
Abbreviations
ch
Chain
sc
Single crochet, US terminology
hdc
Half double crochet, US terminology
dc
Double crochet, US terminology
tr
Treble crochet, US terminology
inc
Work 2 single crochet stitches into one stitch
dec
Invisible single crochet decrease: insert hook through the front loops of the next two stitches, yarn over and pull through both front loops, then yarn over and pull through both remaining loops; consumes two stitches and produces one
sl st
Slip stitch
st
Stitch
Rnd
Round
Before You Start
Check off each step to make sure you are ready. Preparation stays in this browser until you log in.
0 / 6 complete
Instructions
Follow each step at your own pace.
Round 1 of 19
0%
Progress stays in this browser until you log in.
Round 1 — Pumpkin · Rnd 1
With orange, make a magic ring and work 6 sc into it. Pull the ring closed.
Stitch count: 6 stitches
Round 2 — Pumpkin · Rnd 2
Inc in each st around.
Stitch count: 12 stitches
Round 3 — Pumpkin · Rnd 3
(Sc 1, inc) × 6.
Stitch count: 18 stitches
Round 4 — Pumpkin · Rnd 4
(Sc 2, inc) × 6.
Stitch count: 24 stitches
Round 5 — Pumpkin · Rnd 5
(Sc 3, inc) × 6.
Stitch count: 30 stitches
Round 6 — Pumpkin · Rnd 6
(Sc 4, inc) × 6.
Stitch count: 36 stitches
Round 7 — Pumpkin · Rnd 7
(Sc 5, inc) × 6.
Stitch count: 42 stitches
Tips
The base has 42 stitches. Weave the starting tail securely into the inside before the body deepens.
Round 8 — Pumpkin · Rnds 8–15
Sc in each st around for 8 rounds.
Stitch count: 42 stitches
Tips
Eight straight rounds form the sides. There are 15 physical rounds in total so far; the body remains open.
Round 9 — Pumpkin · Rnd 16
(Sc 5, dec) × 6.
Stitch count: 36 stitches
Round 10 — Pumpkin · Rnd 17
(Sc 4, dec) × 6.
Stitch count: 30 stitches
Round 11 — Pumpkin · Rnd 18
(Sc 3, dec) × 6.
Stitch count: 24 stitches
Tips
Stuff the body now, distributing filling evenly. It should spring back gently when squeezed and remain compressible.
Round 12 — Pumpkin · Rnd 19
(Sc 2, dec) × 6.
Stitch count: 18 stitches
Round 13 — Pumpkin · Rnd 20
(Sc 1, dec) × 6.
Stitch count: 12 stitches
Tips
Add a final small amount of stuffing through the remaining opening if the upper portion feels hollow.
Round 14 — Pumpkin · Rnd 21
Dec × 6. Fasten off, leaving a 150 cm tail.
Stitch count: 6 stitches
Tips
Six stitches remain around the opening. Close and sculpt the Pumpkin using the assembly instructions before adding accents.
Round 15 — Stem · Rnd 1
With brown, make a magic ring and work 6 sc into it. Pull the ring closed.
Stitch count: 6 stitches
Round 16 — Stem · Rnds 2–5
Sc in each st around for 4 rounds.
Stitch count: 6 stitches
Tips
A narrow tube has a closed magic-ring tip and an open six-stitch base. Keep it unstuffed.
Round 17 — Stem · Finish
Sl st in the next st as an uncounted finishing stitch. Fasten off, leaving a 25 cm sewing tail. Weave the starting tail inside the tube.
Stitch count: 6 stitches
Round 18 — Leaf · Rnd 1
With green, ch 8. Sc in the 2nd ch from the hook, hdc in the next ch, dc in the next ch, tr in the next ch, dc in the next ch, hdc in the next ch, and 3 sc in the last ch. Rotate the chain to work into the unused loops along its opposite side. Skip the last chain already containing 3 sc; hdc in the next chain, dc in the next chain, tr in the next chain, dc in the next chain, hdc in the next chain, and sc in the final chain, which also holds the first sc. Sl st in the first sc to close; this join does not count. Fasten off, leaving a 25 cm sewing tail.
Stitch count: 15 stitches
Tips
The first side has 6 individual stitches plus a 3-sc tip; the return side has 6 stitches. The end holding the first and final sc is the leaf base.
Round 19 — Vine · Row 1
With green, leave a 25 cm starting tail and ch 13. Work 3 sc in the 2nd ch from the hook and 3 sc in each of the remaining 11 chains. Fasten off, leaving a 10 cm tail.
Stitch count: 36 stitches
Tips
Twelve worked chains each hold 3 sc. The increased strip forms a curl. The long starting tail is at its free outer tip; the short finishing tail is at its attachment end.
Round 1 — Pumpkin · Rnd 1
With orange, make a magic ring and work 6 sc into it. Pull the ring closed.
Stitch count: 6 stitches
Assembly & finishing
1
Close the Pumpkin
Thread the 150 cm orange tail onto the yarn needle. Pass through the front loop of each of the six remaining stitches in Pumpkin Rnd 21, following their order. Pull gently to close the opening. Make one small anchoring stitch through the closed top and retain the tail for sculpting.
At the widest part of the Pumpkin, use the six markers to mark stitches 1, 8, 15, 22, 29 and 36 of Pumpkin Rnd 11, counting from its original first stitch. These mark six equally spaced groove paths. From the closed top, lay the orange tail down the outside through the first marked path to the bottom center. Insert the needle at the bottom center beside the magic ring and pass through the filling to emerge at the top center. Pull until a shallow groove forms. Repeat this complete outside-wrap and bottom-to-top needle pass along each of the other five marked paths, making six wraps in total. Adjust all six grooves to similar depth without stretching stitch holes. Make two small anchoring stitches at the top, weave the tail through several nearby stitches, bury its end inside and trim. Remove all markers.
Cut a 60 cm length of brown yarn and fold it in half. Thread both cut ends through the needle, leaving the fold as a loop. At the top center, take a stitch beneath a group of three adjacent Pumpkin stitches; leave a folded loop approximately 1 cm high above the fabric. Pass the needle and both ends through that folded loop, then snug the anchor against the fabric while preserving enough loop space for the ring. With both strands held together, make three additional securing passes beneath different groups of two or three nearby Pumpkin stitches, avoiding the closure hole. Tie the two ends together with a firm double knot close to the fabric, weave each end in a different direction through four stitches, then bury and trim them. The loop should stand immediately behind the future Stem.
Place the Stem's open base at the top center, immediately in front of the reinforced loop. Keep its closed magic-ring tip pointing upward. Using its brown sewing tail, sew each of the six base stitches to a corresponding stitch around the Pumpkin's closed top, taking small bites through the fabric rather than through filling alone. Make a second pass around the base to secure it. Leave the hardware loop accessible behind the Stem. Weave and bury the sewing tail.
Weave the Leaf's short starting tail into its underside. Position its base beside the Stem on the left when viewing the loop from the front; point the three-sc tip outward and slightly downward over a lobe. Use the green sewing tail to stitch the two base stitches and the next stitch along each side to the Pumpkin top. Leave the rest of the Leaf free. Secure, weave and bury the tail.
Weave the Vine's long starting tail along the backs of six stitches at its free tip, then trim; do not use that tip as the attachment end. Position the short finishing end beside the Stem opposite the Leaf. Use its 10 cm finishing tail to sew the last three sc to three nearby Pumpkin stitches with two passes. Secure and bury the tail. Arrange the remaining strip into its natural spiral so it drapes down the Pumpkin's side.
Thread the metal split ring through the reinforced brown loop without catching or splitting its strands. Keep the attached swivel clasp free above the Pumpkin. Inspect every sewn join, gently pull the hardware to check for slipping or fabric distortion, and reinforce the loop if it moves. Measure the finished Pumpkin excluding stem and hardware and record the result during physical testing. Confirm that the bottom and top closures are secure and that no yarn tails remain exposed.
Distribute stuffing before each decrease round; pushing a large final clump through the small opening can distort the top.
Tighten sculpting wraps gradually and compare all six grooves before anchoring the tail.
Keep the key ring on the reinforced loop so pulling does not rely on the decorative Stem seam.
If the Leaf twists, smooth it flat with your fingers before sewing its base; do not stretch its stitches.
Troubleshooting
Stuffing shows between stitches.
Cause
The fabric is too loose for the selected yarn or filling pressure is too high.
Fix
Remove excess stuffing if necessary. If gaps remain, remake the body with a smaller hook and confirm the resulting size.
The Pumpkin remains spherical after sculpting.
Cause
The filling is too dense or the six wraps are insufficiently tensioned.
Fix
Before securing the sculpting tail, redistribute filling by squeezing the body gently and tighten each wrap incrementally. If the body cannot compress, reopen the closure, remove some filling, close again and repeat the six wraps.
One lobe is much larger than its neighbors.
Cause
A wrap is positioned away from its marked path or has a different tension.
Fix
Loosen the affected wrap before anchoring, move it to the intended path and equalize the surrounding groove depths.
The Vine has little curl.
Cause
Some chains received fewer than three stitches or the strip was stretched during finishing.
Fix
Check that the row contains 36 sc across 12 chain targets. Remake if the count is incorrect; otherwise coil the strip gently with your fingers.
The hardware loop pulls out of shape.
Cause
Its securing stitches catch too little fabric or its ends are insufficiently anchored.
Fix
Remove the ring and remake the loop with the specified doubled yarn and securing passes through separate groups of Pumpkin stitches. Inspect again before use.
Variations
Cream autumn pumpkin
Replace orange with cream yarn of the same selected weight and fiber for every Pumpkin round and all six sculpting wraps. Retain the brown Stem, green Leaf and green Vine, and follow the same construction and assembly. Confirm size and fabric density with the replacement yarn.
Five-lobe pumpkin
Keep every crochet instruction unchanged. During sculpting, use five markers at stitches 1, 9, 18, 26 and 35 of Pumpkin Rnd 11 instead of the six default positions, creating sections of 8, 9, 8, 9 and 8 stitches. Make five outside-wrap and bottom-to-top passes, one through each marked path. Secure and assemble exactly as for the six-lobe version.
Care & finishing
Care
For the selected cotton yarn and polyester filling, spot-clean with a small amount of mild detergent and cool water, following the actual yarn label. Remove the metal ring and clasp before cleaning. Avoid soaking the assembled keychain; reshape the lobes, Leaf and Vine and allow it to dry fully before replacing the hardware.
Frequently Asked Questions
Is this the exact pattern shown in the reference?
No. This is an original HookFolk development construction inspired by the reference's visual design. Its rounds, counts and attachment method are authored here rather than presented as the source creator's pattern.
Will it measure exactly 5–6 cm wide?
That width is an unmeasured design target. Yarn thickness, hook, tension, stuffing and sculpting affect the result. Measure a physical sample and adjust materials or revise the construction if a precise size is required.
Is the pattern no-sew?
No. The Stem, Leaf and Vine are sewn to the Pumpkin, and the reinforced hardware loop is secured with sewn passes.
Why does the ring attach to a separate loop?
The doubled brown loop spreads pulling force across several Pumpkin stitches. The unstuffed Stem is a decorative component and is not designed as the sole hardware anchor.
How much yarn does it use?
Consumption has not been measured. Weigh each yarn before and after making a physical sample to establish quantities; this draft does not provide unsupported gram or length estimates.
Has this pattern been tested?
No. It requires human technical review and a physical sample to assess shape, size, component placement, sculpting and attachment durability.
Login to save your progress
Create a free account or log in to save this pattern, track your progress, and access it on any device.
Have you tried this pattern?
5.0(1 review)
Comments
Be the first to share your experience.
New patterns in your inbox
Get free crochet patterns and maker tips from Hookfolk.


Login to save your progress
Create a free account or log in to save this pattern, track your progress, and access it on any device.
Have you tried this pattern?
Comments
Be the first to share your experience.