
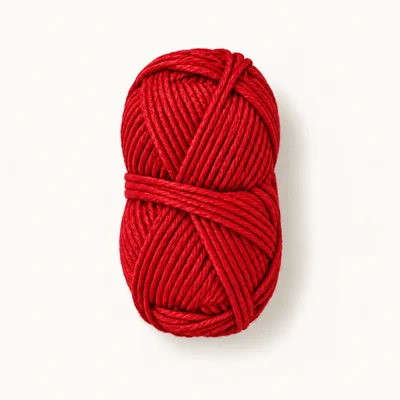
Yarn in red
Worsted (4) · Acrylic
Authored yarn selection for this original draft. Consumption is not measured.
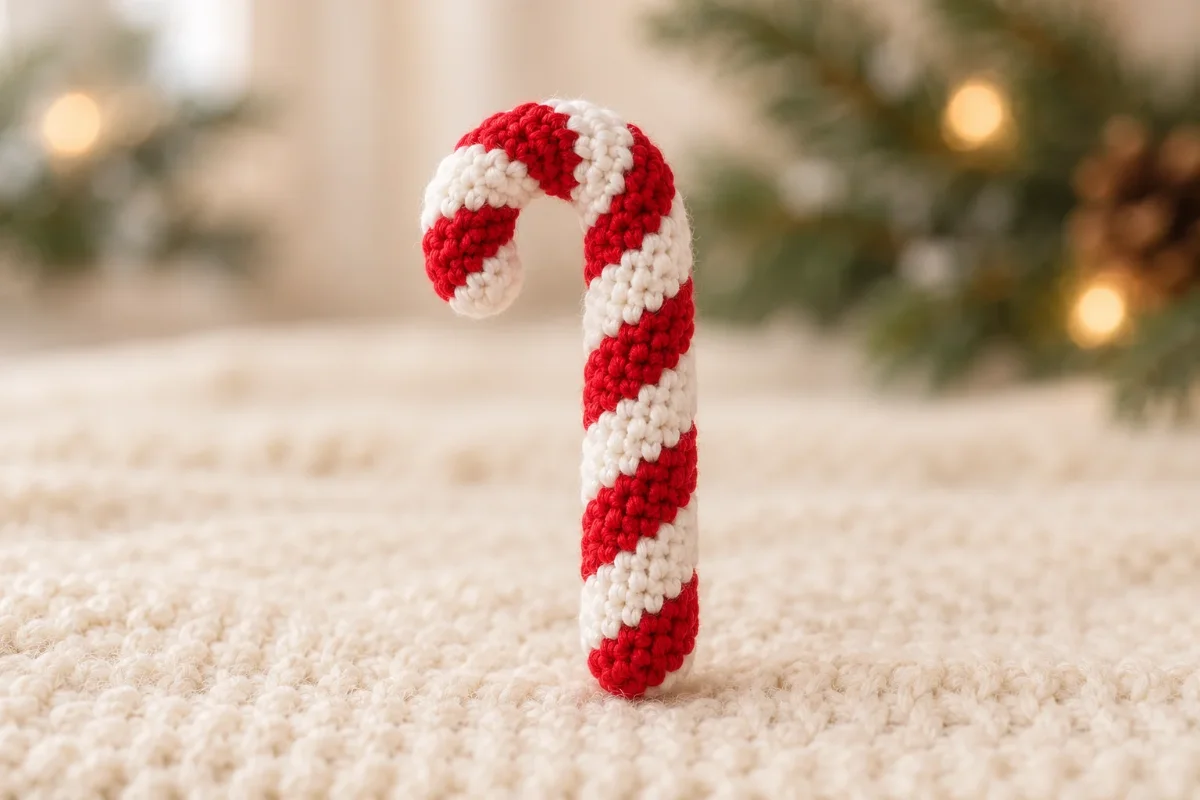
Christmas Ornaments
A small red-and-white striped decoration with a bendable candy cane shape.
An original development draft for a tiny striped candy cane ornament, made as a narrow crochet tube around a bendable chenille stem. It is inspired by the requested candy cane ornament concept and requires human review and physical testing.
Nobody has made this one start to finish yet. Check your stitch counts as you go, and tell us if something does not add up.
Construction
Striped crochet tube with a bendable chenille stem core.
Some sewing required
See Assembly & finishing.
Gather these before you begin.
Worsted (4) · Acrylic
Authored yarn selection for this original draft. Consumption is not measured.
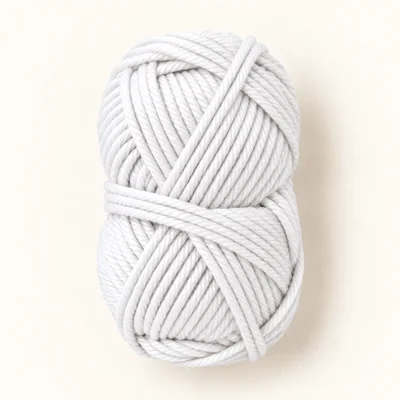
Worsted (4) · Acrylic
Authored yarn selection for this original draft. Consumption is not measured.
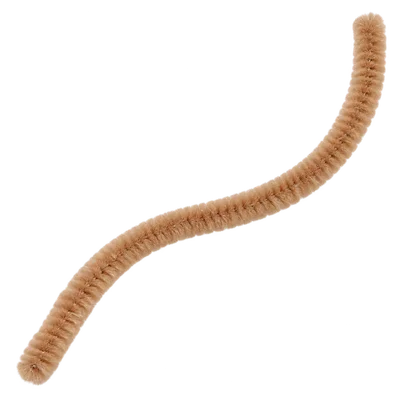
1 piece
Use one bendable stem as the internal shaping core. Trim it to fit inside the finished tube, leaving each end about 5 mm short of the crocheted ends; fold the cut tips inward to blunt them.
Worsted acrylic yarn
A different yarn weight or fiber can change the tube width, firmness, and finished size.
Keep the 3.5 mm hook as a starting authored selection, then check that the stitches enclose the chenille stem securely. The intended size may change.
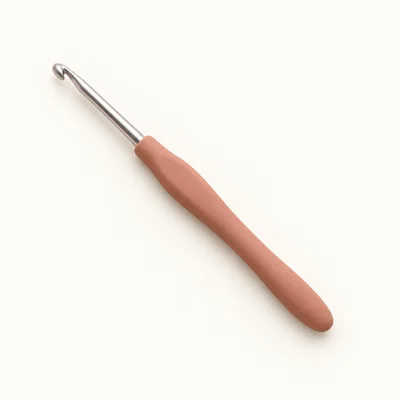
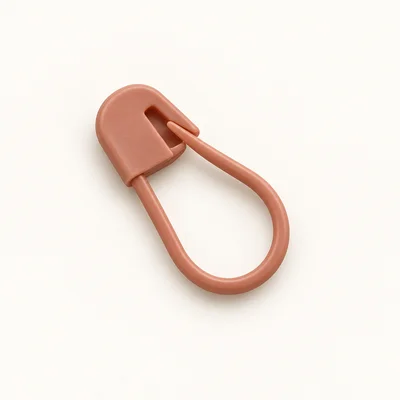
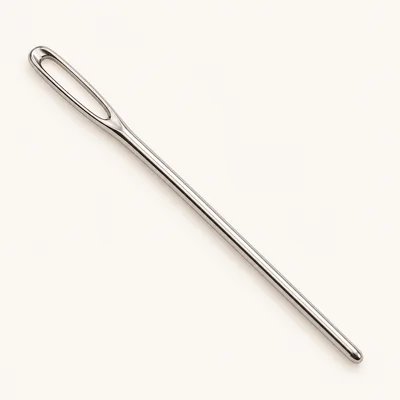
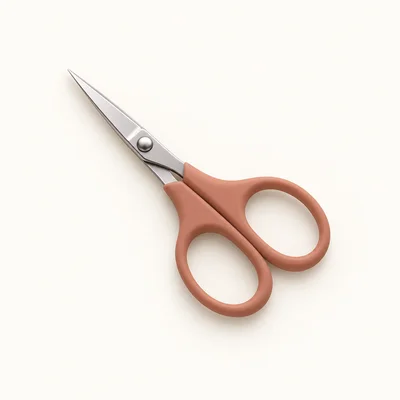
Check off each step to make sure you are ready. Preparation stays in this browser until you log in.
0 / 4 complete
Follow each step at your own pace.
Round 1 of 3
0%
Progress stays in this browser until you log in.
With red, make an MR and work 4 sc into the ring. Tighten the ring.
Stitch count: 4 stitches
Work in a continuous spiral, placing a marker in the first stitch of each round. Sc in each st around. Change color after every round, alternating white and red; Rnd 2 is white, Rnd 3 is red, and Rnd 25 is red. Do not join rounds.
Stitch count: 4 stitches
With white, dec twice. Fasten off, leaving a tail long enough to close the opening. Before closing, insert the prepared chenille stem into the tube and center it, keeping both tips inside the crocheted ends.
Stitch count: 2 stitches
With red, make an MR and work 4 sc into the ring. Tighten the ring.
Stitch count: 4 stitches
Thread the white yarn tail through the remaining 2 stitches and pull gently to close the top of the tube. Secure the tail and weave it inside. Confirm that both folded chenille stem tips sit inside the tube. Bend the upper end into a rounded hook shape, then gently curve the stem into a candy cane silhouette without forcing the crochet stitches apart. Weave in the red starting tail. The ornament is ready to hang by the curved top; no separate hanging loop is included.
Keep the chenille stem ends folded inward and fully enclosed so no cut wire tips protrude.
Shape the hook gradually after closing the tube to avoid stretching the stitches.
Use two contrasting yarn colors in place of red and white. Keep the same round-by-round color changes and stitch counts.
The chenille stem core makes this ornament unsuitable for machine washing. If needed, gently spot clean the crochet surface and let it air dry fully before storing.
Store the ornament where the internal wire core will not be crushed or exposed.
No. The approximately 8–10 cm height is an unmeasured design target. Confirm the size and stem fit with a physical sample.
The stem is the shaping core in this design. Without it, the tube will not reliably hold the curved candy cane shape.
No. This is an original development draft and is marked untested. Review and physically test the construction before publication.
Get free crochet patterns and maker tips from Hookfolk.
Login to save your progress
Create a free account or log in to save this pattern, track your progress, and access it on any device.
Have you tried this pattern?
Comments
Be the first to share your experience.