
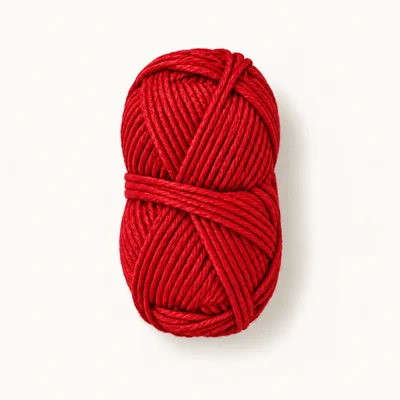
Yarn in red
DK (3) · 100% cotton
Authored material selection for the bow loop and both tails. Consumption has not been measured. Choose a smooth yarn that holds a soft fold.
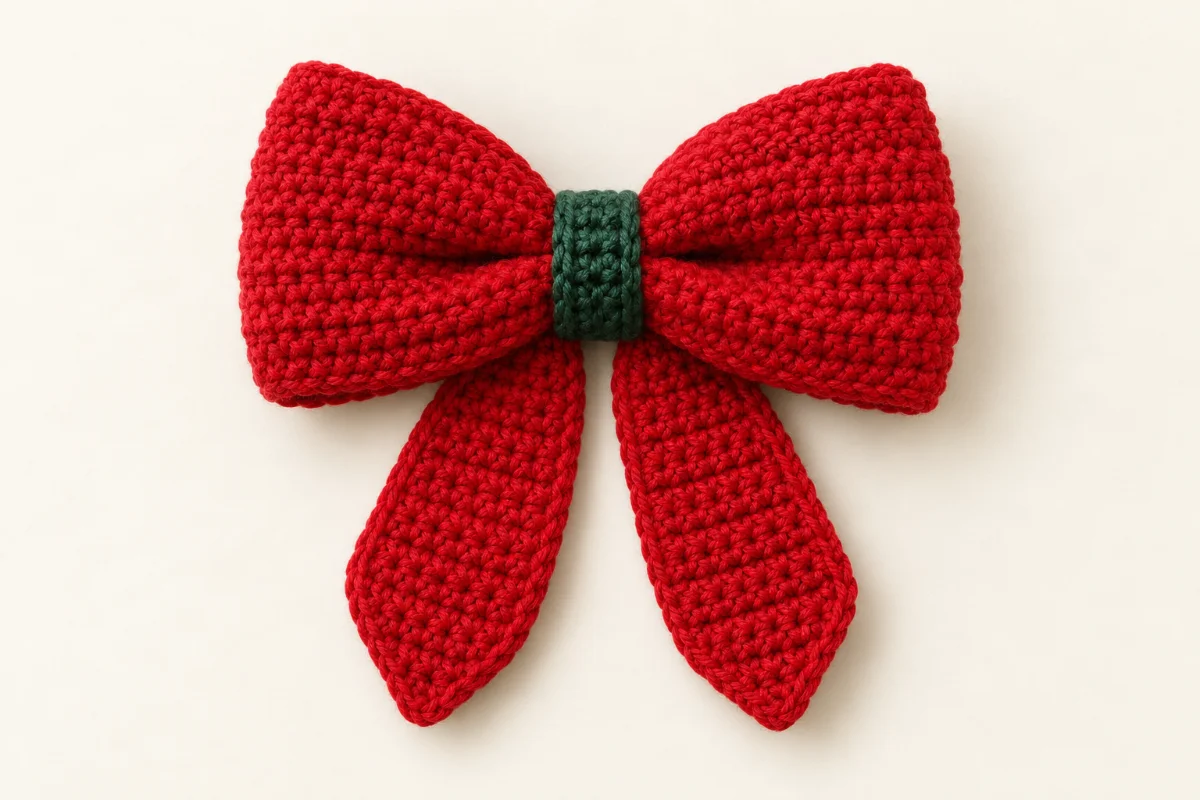
Christmas Crochet
A red bow with pointed tails and a green center band.
Create a Christmas bow from a crocheted loop, two pointed tails, and a contrasting center band. This original development draft uses an authored red-and-green design rather than a supplied visual reference. It requires human review and physical testing before publication.
Nobody has made this one start to finish yet. Check your stitch counts as you go, and tell us if something does not add up.
Worked in 3 pieces
Bow loop, Bow tail, Center band
Some sewing required
See Assembly & finishing.
Gather these before you begin.
DK (3) · 100% cotton
Authored material selection for the bow loop and both tails. Consumption has not been measured. Choose a smooth yarn that holds a soft fold.
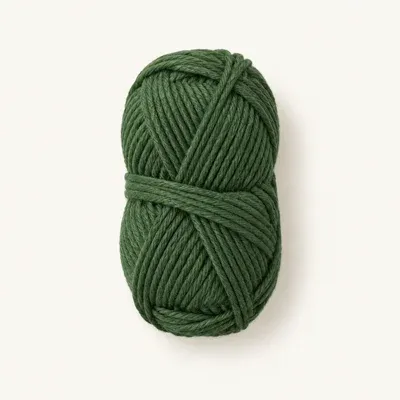
DK (3) · 100% cotton
Authored material selection for the center band. Use the same yarn range and weight as the red yarn; consumption has not been measured.
Smooth DK acrylic yarn
May produce a softer bow with different drape, dimensions, and consumption.
Use matching yarn weights for both colors, assess the fabric with a swatch, and follow the replacement yarn's care label.
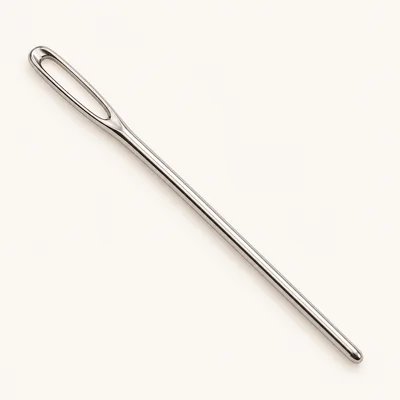
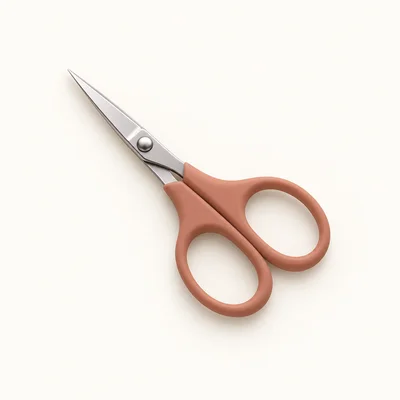
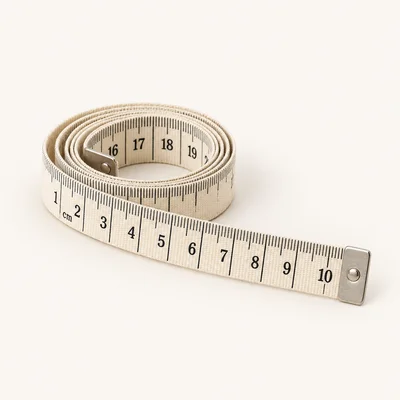
Check off each step to make sure you are ready. Preparation stays in this browser until you log in.
0 / 7 complete
Follow each step at your own pace.
Round 1 of 9
0%
Progress stays in this browser until you log in.
With red, ch 41. Sc in the 2nd ch from the hook and in each remaining ch across.
Stitch count: 40 stitches
For each of these 7 rows: ch 1. Turn. Sc in each st across. After Row 8, fasten off, leaving a 35 cm sewing tail.
Stitch count: 40 stitches
Tips
One rectangle is complete, with 40 stitches across each of 8 rows. Its two short edges each contain 8 row ends.
With red, ch 9, leaving a 25 cm starting tail for attachment. Sc in the 2nd ch from the hook and in each remaining ch across.
Stitch count: 8 stitches
For each of these 7 rows: ch 1. Turn. Sc in each st across.
Stitch count: 8 stitches
Ch 1. Turn. Dec, sc 4, dec.
Stitch count: 6 stitches
Ch 1. Turn. Dec, sc 2, dec.
Stitch count: 4 stitches
Ch 1. Turn. Dec twice. Fasten off, leaving a 15 cm end. Weave this finishing end into the back of the tail without gathering the final stitches. Repeat Bow tail Rows 1–11 to make the second tail.
Stitch count: 2 stitches
Tips
Two matching tails are complete. Each has a straight 8-stitch foundation edge, a tapered 2-stitch tip, and a starting yarn tail reserved for attachment.
With green, ch 5. Sc in the 2nd ch from the hook and in each remaining ch across.
Stitch count: 4 stitches
For each of these 11 rows: ch 1. Turn. Sc in each st across. After Row 12, fasten off, leaving a 30 cm sewing tail.
Stitch count: 4 stitches
Tips
The center band is a narrow rectangle, 4 stitches wide and 12 rows long. Its foundation and final-row edges will meet behind the gathered bow.
With red, ch 41. Sc in the 2nd ch from the hook and in each remaining ch across.
Stitch count: 40 stitches
Lay the Bow loop rectangle flat. Bring its two short row-end edges together without twisting it. Using the reserved red sewing tail, whipstitch the edges together, matching all 8 pairs of row ends. Secure and weave in this tail. Weave in the starting end. The long foundation edge and Row 8 edge remain open, forming the two rims of a flattened ring.
Flatten the ring with the seam at the center of the back and the opposite point of the ring at the center of the front. The two folded ends become the left and right bow lobes. Cut a 60 cm length of red yarn and thread it through the needle. At the center, sew a running stitch from the foundation rim to the Row 8 rim through both flattened layers. Leave a 15 cm yarn end at the start. Pull gently to gather the center, wrap the working yarn firmly around the gathered center four times, and tie it to the starting end at the back with a double knot. Weave both ends into the back folds.
Place both Bow tails behind the gathered center with their straight foundation edges at the top and their pointed tips hanging below the bow. Overlap the inner halves of the foundation edges so the tails spread slightly left and right. Using each tail's reserved starting yarn, sew its full foundation edge to the back folds at the gathered center. Take at least one securing stitch through the overlap of both tails and the bow. Keep the stitches within the area that the center band will cover. Secure and weave in both sewing ends.
Weave in the Center band's starting end. Center the band over the front gathering, with its rows running from the top of the bow to the bottom. Wrap its length around the gathered bow and the attached tail tops. Bring the foundation edge and Row 12 edge together at the back. Using the green sewing tail, whipstitch their 4 corresponding stitches together. The band should hold the folds without flattening the lobes. Make two small anchoring stitches through the band seam and the red back folds to prevent rotation. Secure and weave in the remaining green end.
Spread both bow lobes evenly and smooth the two pointed tails. Check that all four crocheted pieces are secure and that no loose yarn ends remain. Measure the finished sample and record its actual dimensions during human review. The base design is a decorative bow without hanging or fastening hardware.
Keep the loop seam at the center back so both folded lobes have equal width.
Gather the red loop before attaching the tails; this makes their placement easier to judge.
Check the band around the assembled center before sewing its ends. An overly tight band can crush the bow lobes.
Leave the final two stitches of each tail flat to preserve the tapered tip.
Use red yarn for the Center band as well as the Bow loop and both Bow tails. Keep every stitch count and assembly step unchanged.
For each Bow tail, work Row 1 and only Rows 2–5 at 8 stitches. Then work the original Row 9 decrease sequence as the new Row 6, the original Row 10 as the new Row 7, and the original Row 11 as the new Row 8. Attach the straight foundation edges exactly as in the base design.
Follow the selected cotton yarn's care label. Gently spot clean, reshape the lobes and tails while damp, and dry flat. Avoid hanging the wet bow by its center band.
All four pieces are worked flat. The main rectangle is sewn into a ring, flattened, and gathered to form the two bow lobes.
Yes. Sew the loop seam, attach both tails, and close and anchor the center band.
No. Approximately 10 cm wide and 10 cm tall is an unmeasured design target. Yarn, hook, tension, and gathering affect the finished size.
Consumption has not been measured. The red yarn makes the loop and both tails; the green yarn makes only the center band.
No. The base pattern produces a decorative bow without attachment hardware.
No. This is an original development draft requiring human review and a physical sample.
Get free crochet patterns and maker tips from Hookfolk.
Login to save your progress
Create a free account or log in to save this pattern, track your progress, and access it on any device.
Have you tried this pattern?
Comments
Be the first to share your experience.