
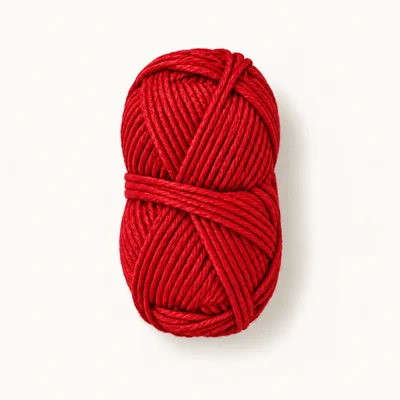
Yarn in red
DK (3) · 100% cotton
Authored material selection for both stocking panels, the hanging loop and red seams. Consumption has not been measured.
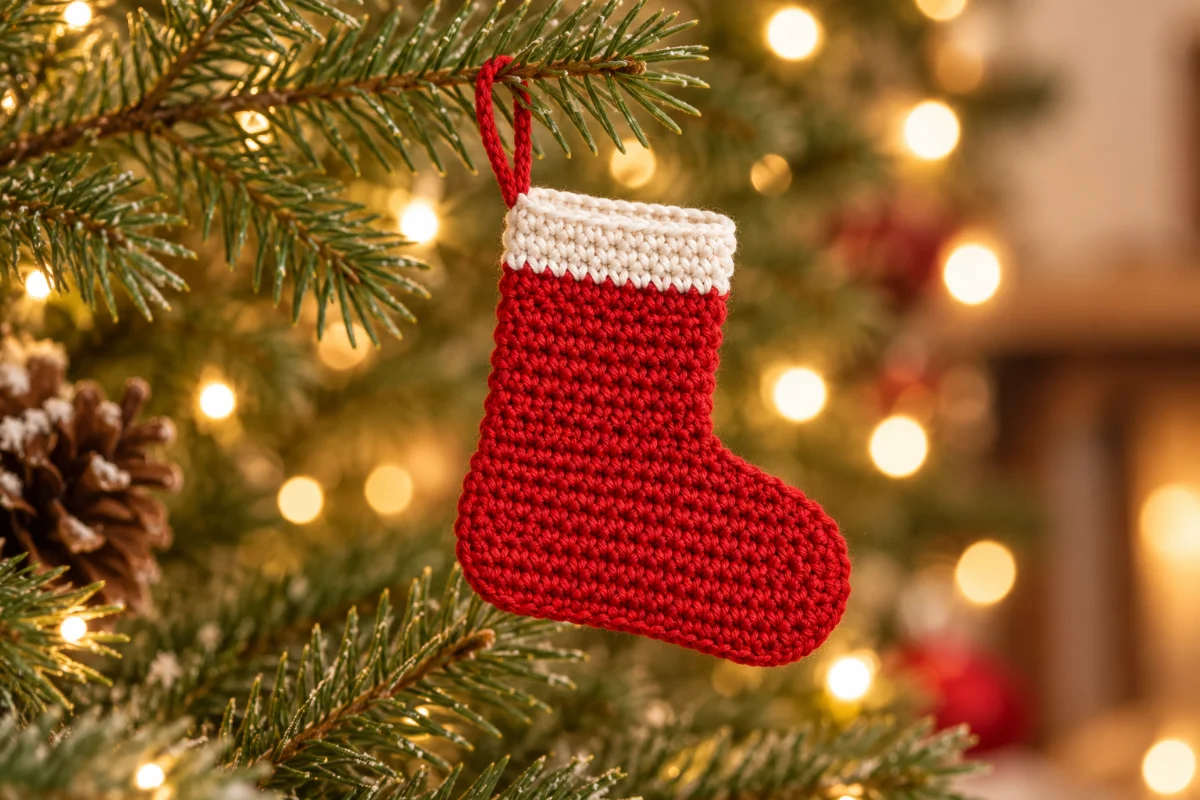
Christmas Crochet
A little red stocking with a white cuff and hanging loop.
Create a miniature Christmas stocking from two flat crochet panels, finished with a contrasting cuff and a sewn hanging loop. The top stays open for a small note. This original development draft, designed from the requested theme without a reference image, requires human review and physical testing. Yarn, hook and construction are authored selections; finished dimensions are design targets rather than measured results.
Nobody has made this one start to finish yet. Check your stitch counts as you go, and tell us if something does not add up.
Worked in 2 pieces
Stocking panel, Hanging loop
Some sewing required
See Assembly & finishing.
Gather these before you begin.
DK (3) · 100% cotton
Authored material selection for both stocking panels, the hanging loop and red seams. Consumption has not been measured.
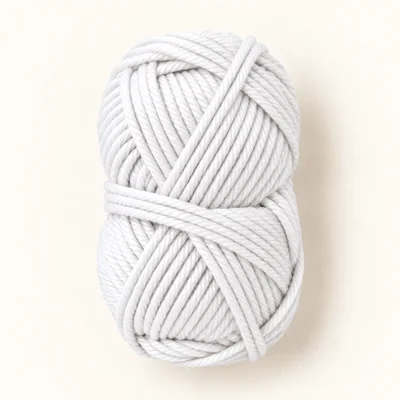
DK (3) · 100% cotton
Authored material selection for both cuffs and their side seams. Use the same yarn range and thickness as the red yarn. Consumption has not been measured.
DK acrylic yarn
Produces a lighter, potentially softer stocking with different drape and finished dimensions.
Use matching thickness for both colors. Check the first panel with the selected hook and follow the yarn label for care.
Sport-weight cotton yarn
Produces a smaller stocking when worked at a comparable fabric density; consumption and dimensions will change.
Choose a hook that gives a stable fabric and make both panels with the same yarn and hook. The original dimension targets no longer apply.
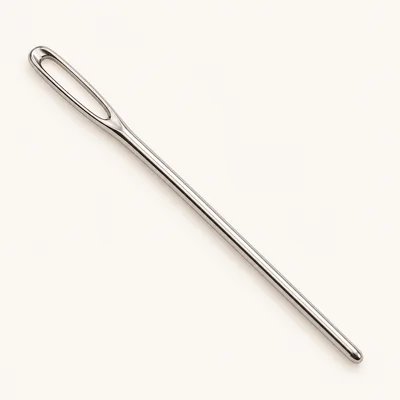
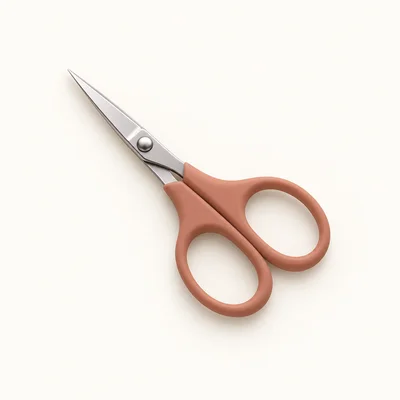
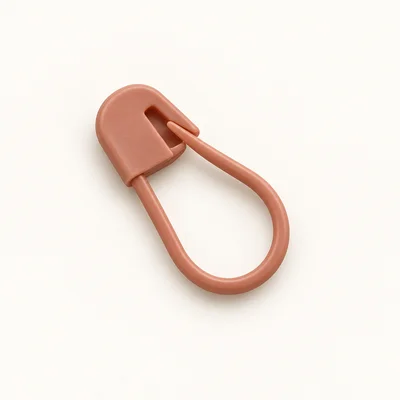
× 4
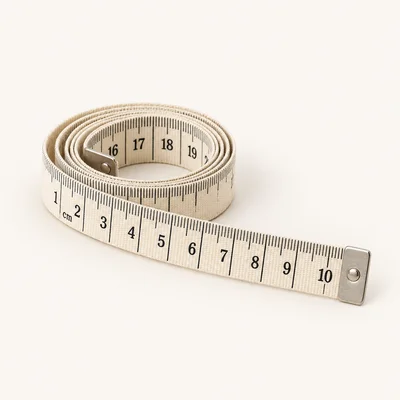
Check off each step to make sure you are ready. Preparation stays in this browser until you log in.
0 / 8 complete
Follow each step at your own pace.
Round 1 of 9
0%
Progress stays in this browser until you log in.
With red, ch 13. Sc in the 2nd ch from the hook and in each remaining ch across.
Stitch count: 12 stitches
Tips
There are 12 sc. The skipped chain does not count as a stitch.
Ch 1. Turn. Inc in the first stitch, sc in the next 10 stitches, inc in the last stitch.
Stitch count: 14 stitches
Ch 1. Turn. Inc in the first stitch, sc in the next 12 stitches, inc in the last stitch.
Stitch count: 16 stitches
For each of these 3 rows: ch 1, turn, and sc in each of the 16 stitches across.
Stitch count: 16 stitches
Tips
The foot is 6 rows deep and 16 stitches wide at its upper edge.
Ch 1. Turn. Sc in the first 8 stitches. Leave the remaining 8 stitches unworked. Mark the first sc of this row as the heel-side edge and the eighth sc as the front leg edge.
Stitch count: 8 stitches
Tips
The active row has 8 stitches. The 8 unworked stitches of Row 6 form the foot ledge; do not work into them on subsequent leg rows.
For each of these 10 rows: ch 1, turn, and sc in each of the 8 stitches across. On the final sc of Row 17, draw white through the last 2 loops to complete the stitch. Cut red, leaving a 15 cm tail to weave in.
Stitch count: 8 stitches
Tips
There are 11 red leg rows, counting Rows 7–17. White is attached for the cuff.
With white, ch 1. Turn. Sc in each of the 8 stitches across.
Stitch count: 8 stitches
For each of these 2 rows: ch 1, turn, and sc in each of the 8 stitches across. After Row 20, fasten off, leaving a 25 cm white tail for a cuff side seam.
Stitch count: 8 stitches
Tips
The completed panel has 20 rows, including a 3-row white cuff. Make the second panel with the same counts and tension.
With red, leave a 20 cm starting tail and ch 12. Sl st in the 2nd ch from the hook and in each remaining ch across. Fasten off, leaving a 20 cm finishing tail.
Stitch count: 11 stitches
Tips
One narrow strip with 11 slip stitches is ready to fold into a hanging loop.
With red, ch 13. Sc in the 2nd ch from the hook and in each remaining ch across.
Stitch count: 12 stitches
Tips
There are 12 sc. The skipped chain does not count as a stitch.
Weave in the red panel ends and the white joining ends on the faces that will become the inside. Keep both long white finishing tails available. Lay the panels together with inside faces touching and the toes pointing in the same direction. Match the sole, toe, foot ledge, leg edges and cuff corners. Move the four markers to hold both layers together at the two cuff corners, toe tip and heel.
Thread a separate 60 cm length of red yarn onto the tapestry needle. Starting at the red-white boundary on the heel side, whipstitch through both panels around the red outline: down the back of the leg to the heel, around the lower heel corner, across the sole, around the toe, along the 8-stitch foot ledge, into the inside corner, then up the front of the leg to the red-white boundary. Match corresponding stitches along stitch edges and corresponding row ends along vertical edges. At the inside corner, sew the corresponding corner points together without pulling the foot ledge upward. Secure the yarn and weave in both ends inside.
Use one retained white tail to whipstitch the matching row ends of Rows 18–20 together at one cuff side. Use the other retained tail for the opposite cuff side. Secure and weave in the tails inside. Leave all 8 top-edge stitches of each panel unsewn so the stocking remains open. The cuff stays upright and is not folded.
Fold the Hanging loop strip in half and bring its two ends together without twisting. Place both ends inside the heel-side cuff corner, overlapping the inside of the cuff by about 1 cm. Using the red tails, sew both strip ends securely to the inside seam allowance with 3 passes per end, keeping red attachment stitches inside. Secure the tails and weave them in. Keep the rest of the loop above the cuff and keep the opening clear.
Remove all markers. Smooth the stocking flat, gently shape the toe corners with your fingers and check the perimeter for gaps. Confirm that the cuff opens and the loop is secure under a gentle pull. Measure the finished stocking and record its actual dimensions for review. Do not stuff the stocking.
Count the leg stitches after every row; an accidental stitch in the turning chain can widen one panel.
Compare the second panel against the first after Row 6 and again after Row 20.
Keep the perimeter seam relaxed so it does not shorten the leg or pull the toe inward.
Sew through edge loops rather than deep into the fabric to preserve the small interior opening.
Replace red yarn with green throughout both panels, the hanging loop and the main perimeter seam. Keep the white cuff and all stitch counts unchanged.
After Row 20, add Rows 21 and 22 in white to each panel: ch 1, turn, and sc in all 8 stitches for each row. Fasten off with a 25 cm tail. Sew all 5 white cuff row ends at each side, leaving the new top edges open. Attach the same hanging loop at the new heel-side top corner. This adds height and uses more white yarn.
For the selected cotton yarn, follow its care label. Gently spot-clean when possible, reshape while damp and dry flat. Avoid hanging the ornament while wet.
No. It is a stocking ornament made from two flat shaped panels. The foot ledge and narrower leg create the stocking silhouette.
The design uses chains, single crochet, increases, slip stitches and basic sewing. The partial row that creates the leg and the shaped perimeter seam need careful alignment.
No. The stated dimensions are unmeasured development targets. Make and measure the first panel before completing the second; human review and physical testing are still required.
No. Leave it unstuffed and keep the cuff open. Its small opening can hold a lightweight paper note.
Consumption and making time have not been measured for this development draft, so those fields remain null.
No. Make the same flat silhouette twice, then place the chosen inside faces together with both toes pointing in the same direction.
Get free crochet patterns and maker tips from Hookfolk.

Login to save your progress
Create a free account or log in to save this pattern, track your progress, and access it on any device.
Have you tried this pattern?
Comments
Be the first to share your experience.