
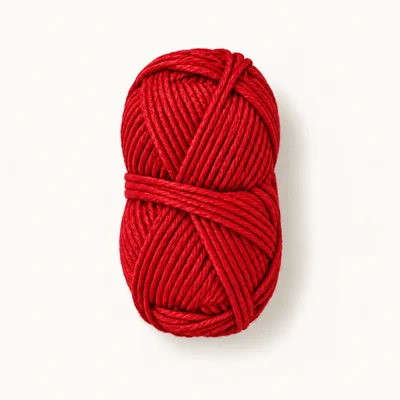
Yarn in red
DK (3) · 100% cotton
Authored selection for the wrap and closure loop. Consumption has not been measured.
Crochet Home Decor
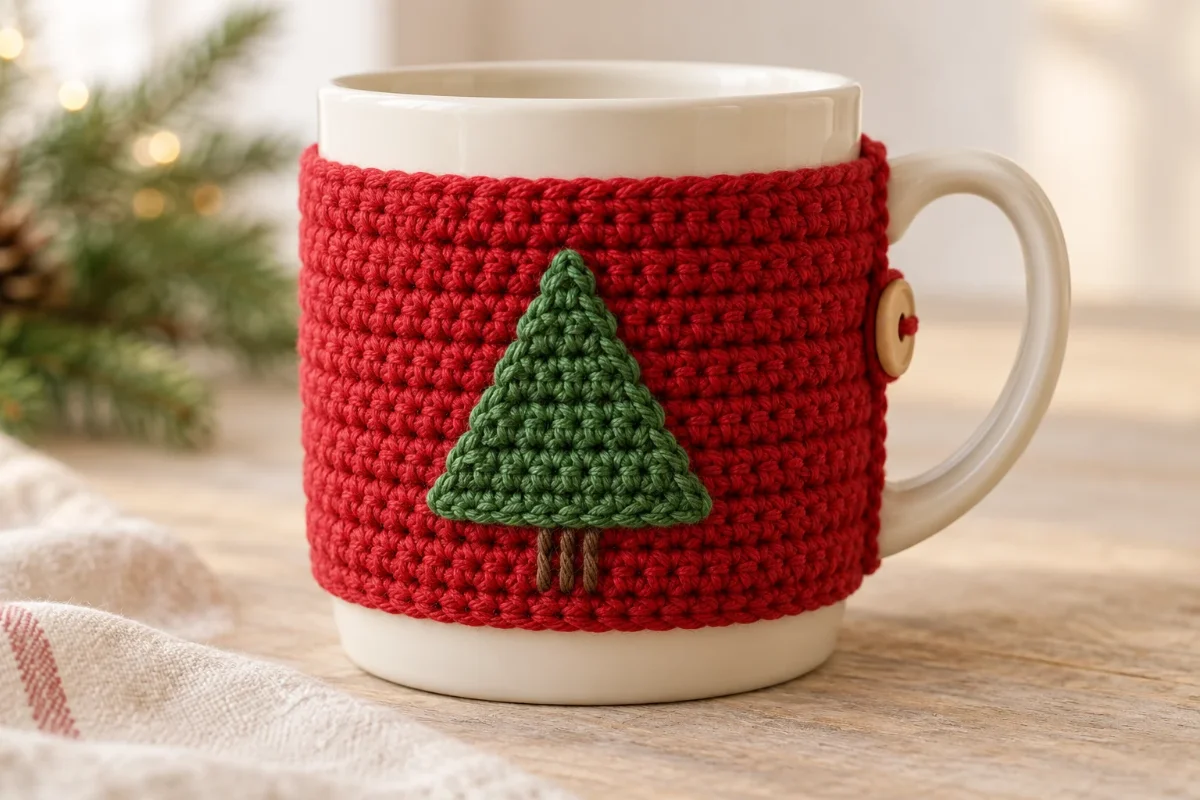
A red buttoned mug wrap with a green tree appliqué
Crochet a flat red mug cozy with a sewn green Christmas tree, embroidered brown trunk, and button-and-loop closure beneath the mug handle. This original development draft requires human review and physical testing. Materials, gauge, and dimensions are authored design specifications rather than measured results.
Nobody has made this one start to finish yet. Check your stitch counts as you go, and tell us if something does not add up.
Worked in 3 pieces
Wrap, Tree, Closure loop
Some sewing required
See Assembly & finishing.
Gather these before you begin.
DK (3) · 100% cotton
Authored selection for the wrap and closure loop. Consumption has not been measured.
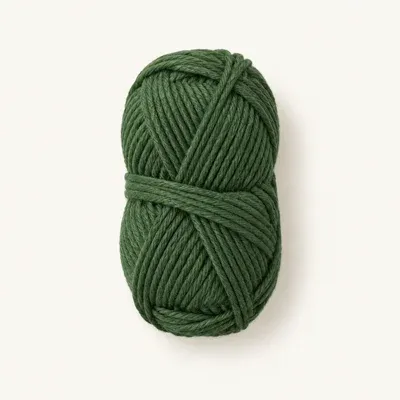
DK (3) · 100% cotton
Authored selection for one tree appliqué. Consumption has not been measured.
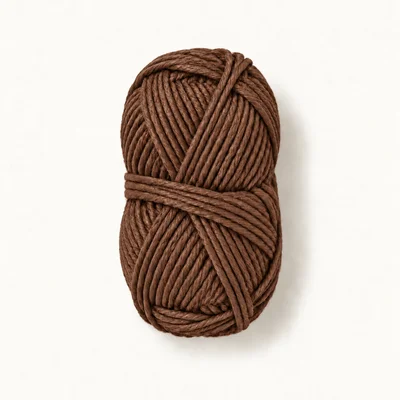
DK (3) · 100% cotton
Authored selection for the embroidered tree trunk. Consumption has not been measured.
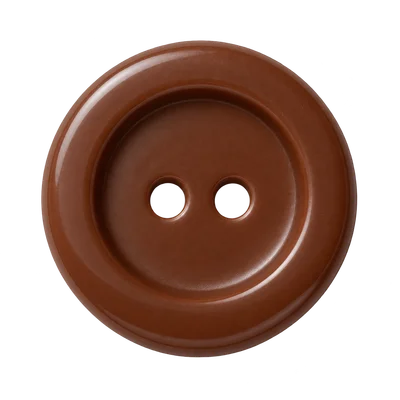
1 piece
Select a smooth, washable button approximately 18 mm across, with holes large enough for the red yarn and needle. This is an authored hardware selection; check compatibility with the loop.
Another DK cotton yarn
Yarn diameter and twist can change gauge, panel length, and loop stretch.
Swatch with the replacement and confirm the fit before attaching the tree and closure.
A different button
A different diameter or thickness changes the loop size needed for fastening.
Choose a washable button with suitable holes, then test the loop before sewing either attachment permanently.
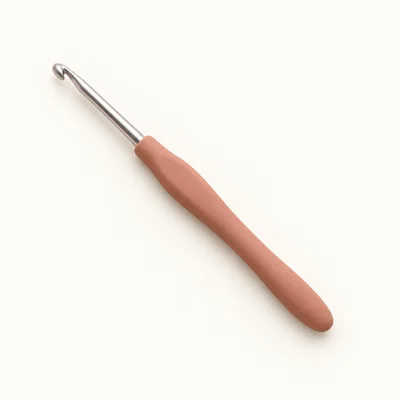
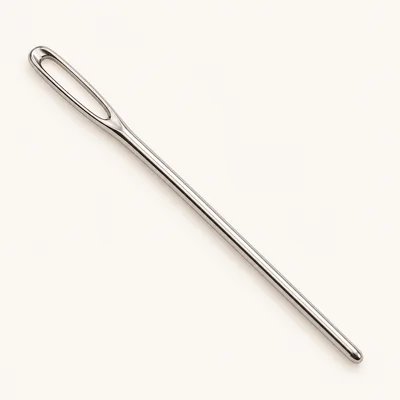
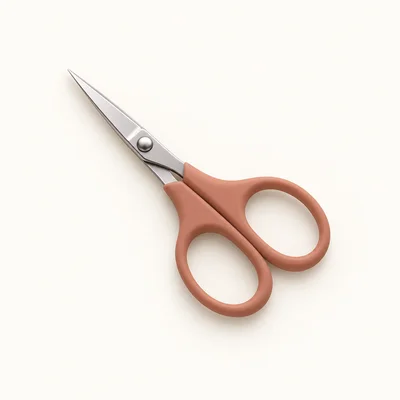
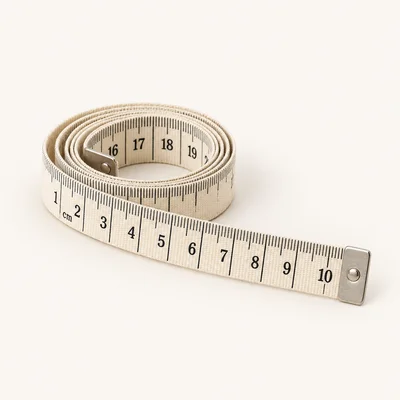
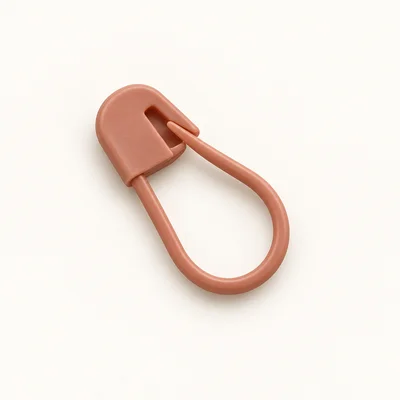
× 4
Check off each step to make sure you are ready. Preparation stays in this browser until you log in.
0 / 7 complete
Follow each step at your own pace.
Round 1 of 9
0%
Progress stays in this browser until you log in.
With red, ch 45. Sc in the 2nd ch from the hook and in each remaining ch across.
Stitch count: 44 stitches
Ch 1. Turn. Sc in each st across. Work this row 13 times in total, completing Rows 2–14. Fasten off and weave in both ends.
Stitch count: 44 stitches
Tips
The panel has 14 rows of 44 stitches. At the design gauge it targets 22 × 5.8 cm; check the actual panel on the intended mug.
With green, ch 12. Sc in the 2nd ch from the hook and in each remaining ch across.
Stitch count: 11 stitches
Ch 1. Turn. Dec, sc 7, dec.
Stitch count: 9 stitches
Ch 1. Turn. Dec, sc 5, dec.
Stitch count: 7 stitches
Ch 1. Turn. Dec, sc 3, dec.
Stitch count: 5 stitches
Ch 1. Turn. Dec, sc 1, dec.
Stitch count: 3 stitches
Ch 1. Turn. Sc all 3 remaining stitches together: insert hook into each stitch in turn and draw up a loop, then yarn over and draw through all 4 loops on the hook. Fasten off, leaving a 50 cm sewing tail. Weave the foundation tail into the back of the Tree.
Stitch count: 1 stitches
Tips
One flat triangle is complete, with an 11-stitch base and a single-stitch tip.
With red, leave a 20 cm starting tail and ch 12. Fasten off, leaving a 20 cm ending tail. Do not join the ends together yet; both tails will attach the chain to the Wrap.
Stitch count: 12 stitches
Tips
One 12-chain strand is ready to fold into a button loop during assembly.
With red, ch 45. Sc in the 2nd ch from the hook and in each remaining ch across.
Stitch count: 44 stitches
Lay the Wrap flat, front facing, with Row 14 at the top. Smooth it gently without stretching. Wrap it around the empty, cool mug with the short edges on either side of the handle. Check that the top edge stays at least 1 cm below the drinking rim and the bottom edge stays above the base. Remove it from the mug before decorating.
Center the Tree horizontally on the front of the Wrap, midway between the short edges. Point Tree Row 6 toward Wrap Row 14. Place the Tree foundation edge along the line between Wrap Rows 5 and 6, with the tip approximately level with Wrap Row 11. Mark the base corners and tip. Using the green sewing tail, make small stitches around all three edges, catching the back of the Tree and the Wrap without pulling either piece tight. Secure the tail on the back and weave it in.
Thread brown yarn through the needle and secure it on the back beneath the center of the Tree. Make three parallel vertical straight stitches, each extending from between Wrap Rows 3 and 4 to just beneath the Tree base between Wrap Rows 5 and 6. Place them side by side across approximately one Wrap stitch width. Secure and weave in both brown ends on the back.
Fold the Closure loop chain into a U. At the right short edge of the Wrap, sew its starting end to the edge at Wrap Row 6 and its ending end at Wrap Row 9, so the rounded loop projects beyond that edge. Pass each tail through several neighboring edge stitches three times, secure on the back, and weave it in. Keep the loop untwisted.
Place the Wrap on the empty, cool mug with its short edges beside the handle. Bring the loop through the space beneath the handle toward the left short edge. Mark the button center approximately 0.5 cm inside the left edge, midway between Wrap Rows 7 and 8. Check that the loop reaches this point with gentle tension and can pass over the selected button. Remove the Wrap. With red yarn, sew the button at the marked point using six passes through both holes and the fabric. Secure and weave in the ends on the back. If the loop cannot fasten comfortably, use the closure adjustment in Troubleshooting before sewing the button.
Check every sewn attachment and trim woven tails. Fasten the cozy around the empty mug, with the tree opposite the handle and the closure beneath it. Confirm that the cozy stays in place without distorting the tree, covering the drinking rim, or touching the surface beneath the mug. Remove the cozy for washing.
Count the first and last stitches of each Wrap row to keep both short edges straight.
Keep the Tree sewing stitches relaxed so the red panel remains flat.
Fit the closure with the tree centered opposite the mug handle before securing the button.
Replace red yarn with cream yarn of the same selected weight and fiber throughout the Wrap, Closure loop, and button sewing. Keep the green tree, brown trunk, and all stitch counts unchanged; recheck gauge and closure fit.
Add cream DK cotton yarn to the materials. Before attaching the button, embroider four short horizontal straight stitches on the front, each spanning one Wrap stitch: at Row 8 above stitches 8 and 37, and at Row 11 above stitches 13 and 32, counting from the left with the front facing. Secure and weave in the cream ends on the back.
Remove the cozy from the mug before washing. Follow the selected cotton yarn and button care instructions. Gently reshape while damp and dry flat; avoid stretching the closure loop.
This decorative wrap has no tested heat-protection rating. Hold the mug by its handle.
It uses chains, single crochet, turned rows, two-stitch decreases, one three-stitch decrease, basic embroidery, and sewing. The three-stitch decrease is explained in full in the Tree instructions.
No. The authored target is a straight-sided mug approximately 24 cm around. Check the gauge, handle clearance, rim clearance, and actual fit. The troubleshooting section explains how to change the panel width.
No. They are unmeasured design specifications and targets. This original development draft requires human review and a physical sample before publication.
No. One green triangle is crocheted separately and sewn onto the red rectangle. The brown trunk is embroidered directly onto the wrap.
Get free crochet patterns and maker tips from Hookfolk.
Login to save your progress
Create a free account or log in to save this pattern, track your progress, and access it on any device.
Have you tried this pattern?
Comments
Be the first to share your experience.