
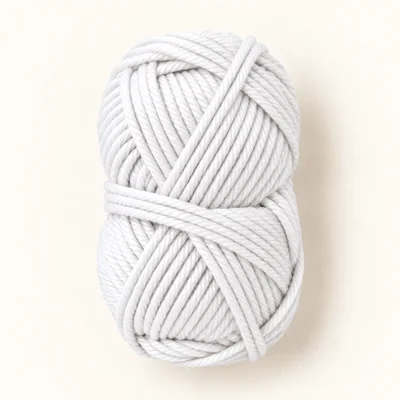
Yarn in white
DK (3) · 100% cotton
Authored material selection for the entire coaster. Choose a smooth, firmly plied cotton. Consumption has not been measured.
Crochet Home Decor
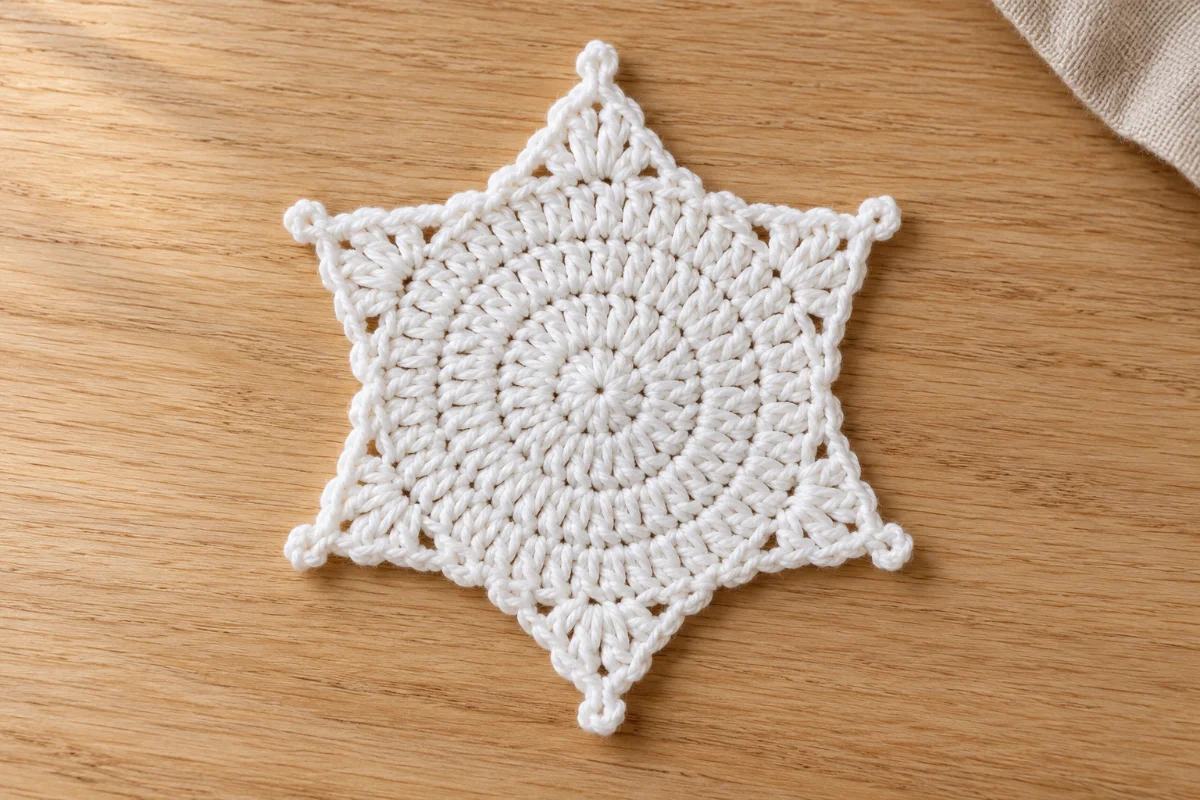
A solid cotton center with six picot-tipped points
Create a six-point snowflake coaster with a solid double-crochet center and a shaped border. This original development draft requires human review and physical testing. The yarn, hook, and finished-size target are authored design selections, not measured results.
Nobody has made this one start to finish yet. Check your stitch counts as you go, and tell us if something does not add up.
Construction
Joined rounds with a six-point border.
No sewing required
Gather these before you begin.
DK (3) · 100% cotton
Authored material selection for the entire coaster. Choose a smooth, firmly plied cotton. Consumption has not been measured.
Sport-weight cotton
Produces a smaller, thinner coaster with the same stitch counts.
Choose a compatible hook and make a sample. Confirm that the solid center is large enough beneath the intended cup.
Worsted-weight cotton
Produces a larger, thicker coaster and changes yarn consumption.
Use a hook appropriate to the yarn, then check flatness and stability beneath a cup. The original size target no longer applies.
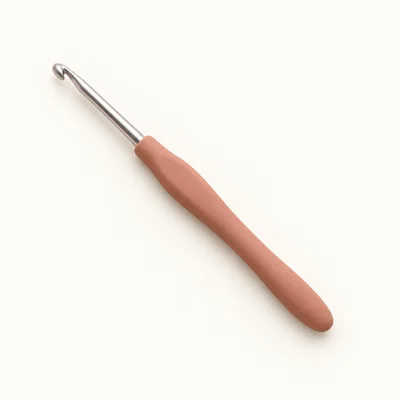
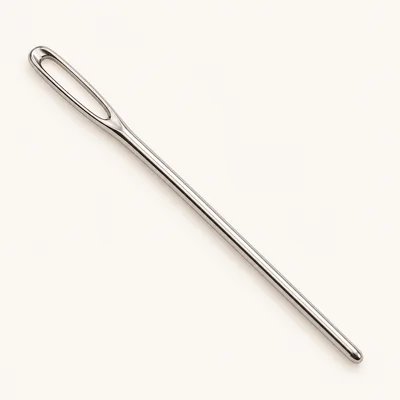
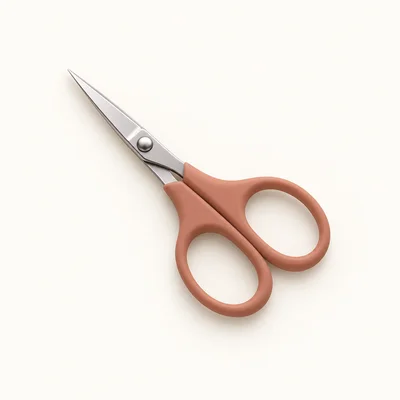
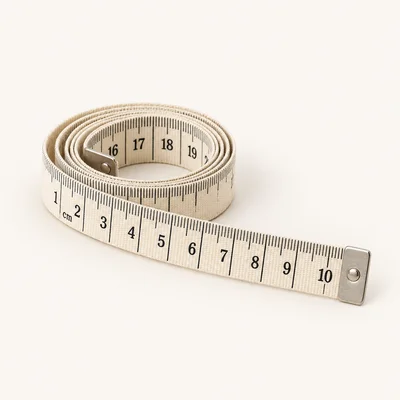
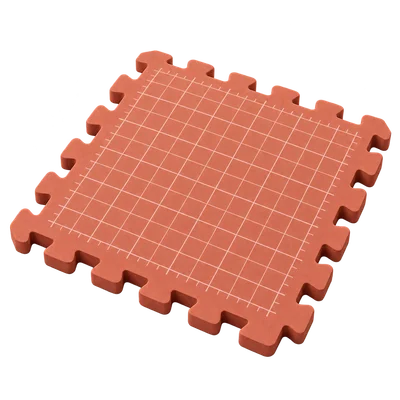
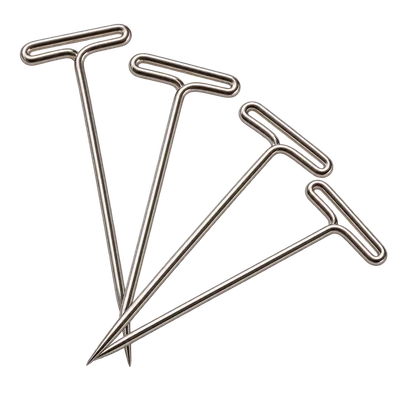
× 6
Check off each step to make sure you are ready. Preparation stays in this browser until you log in.
0 / 7 complete
Follow each step at your own pace.
Round 1 of 5
0%
Progress stays in this browser until you log in.
With white, make a magic ring. Ch 2. Work 12 dc into the ring. Tighten the ring. Join with a sl st to the first dc.
Stitch count: 12 stitches
Tips
There are 12 dc, excluding the beginning chains and closing slip stitch.
Ch 2. Work 2 dc in each st around. Join with a sl st to the first dc.
Stitch count: 24 stitches
Tips
All 12 stitches have received two dc.
Ch 2. Repeat the following sequence 12 times: dc in the next st, 2 dc in the next st. Join with a sl st to the first dc.
Stitch count: 36 stitches
Tips
The round contains 36 dc and should lie broadly flat without stretching.
Ch 2. Repeat the following sequence 12 times: dc in each of the next 2 sts, 2 dc in the next st. Join with a sl st to the first dc.
Stitch count: 48 stitches
Tips
There are 48 dc, providing six groups of eight base stitches for the border.
Ch 1. Repeat the following sequence 6 times: sc in the next st, hdc in the next st, dc in the next st; in the next st work 1 tr, ch 3, sl st into the first of those three chains to form a picot, then work 1 more tr into that same base st; dc in the next st, hdc in the next st, sc in the next st, sl st in the next st. Join with a sl st to the first sc. Fasten off, leaving a 15 cm tail.
Stitch count: 54 stitches
Tips
There are six picot-tipped points. Each repeat consumes eight base stitches and produces nine border stitches: two sc, two hdc, two dc, two tr, and one valley sl st. The total excludes all picot chains, picot closing slip stitches, and the final joining slip stitch.
With white, make a magic ring. Ch 2. Work 12 dc into the ring. Tighten the ring. Join with a sl st to the first dc.
Stitch count: 12 stitches
Tips
There are 12 dc, excluding the beginning chains and closing slip stitch.
Thread the starting tail onto a tapestry needle. Reinforce the tightened magic ring by weaving the tail through the backs of several center stitches in two directions. Weave the finishing tail through the backs of border stitches in two directions without pulling the edge tight. Trim both tails.
Dampen the coaster according to the yarn label and press out excess water without wringing. Lay it face up on a blocking mat. Smooth the center into a flat circle. Place one rustproof pin through each picot, spacing the six points evenly without stretching the stitches hard. Measure across opposite points and keep all three measurements similar. Allow it to dry completely, then remove the pins. Record the actual diameter rather than forcing the coaster to reach the design target.
Count the 48 stitches before beginning the border; each point needs exactly eight base stitches.
Keep valley slip stitches relaxed so they do not draw the edge inward.
Make all six picots with similar chain tension.
Check flatness on a table after each center round; blocking should refine the shape rather than correct substantial cupping or ruffling.
Work Rnds 1–4 in pale blue cotton of the selected weight. After joining Rnd 4, fasten off. Join white cotton with a slip stitch in the first dc of Rnd 4, then work Rnd 5 exactly as written, beginning with ch 1 and the first sc in that same dc. Weave in the additional ends. Counts remain unchanged.
Follow the selected cotton yarn's care label. Reshape the six points after washing and dry flat. Let the coaster dry fully between uses.
This design is intended as a coaster beneath cups. Its suitability as a potholder or trivet has not been established. Starch is not required.
It is rated intermediate because the border combines several stitch heights, picots, and a special counting convention. Familiarity with joined rounds and double crochet increases is helpful.
No separate pieces are sewn together. A tapestry needle is used to secure and weave in the ends. Damp blocking shapes the points without stiffener.
Each of the six repeats uses eight base stitches and creates nine border stitches. The two treble stitches share one base stitch. Each valley slip stitch counts, while picot chains, picot closing slip stitches, and the round-closing slip stitch do not.
No. Approximately 12 cm is an unmeasured design target. Yarn, hook, tension, and blocking affect the result. Make a sample and measure the dry coaster.
Consumption has not been measured for this development draft. Weigh the yarn before and after making a sample to establish an allowance for a set.
Get free crochet patterns and maker tips from Hookfolk.
Login to save your progress
Create a free account or log in to save this pattern, track your progress, and access it on any device.
Have you tried this pattern?
Comments
Be the first to share your experience.