
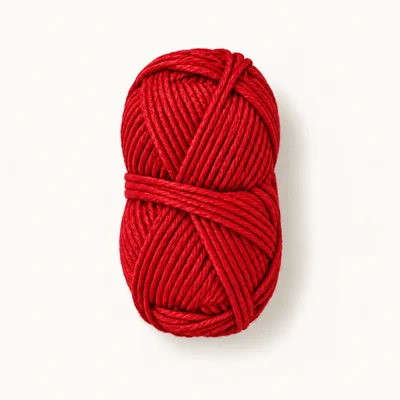
Yarn in red
DK / light (3) · 100% cotton
Authored material selection for six large red bracts, six small red bracts, and their attachment seams. Consumption has not been measured.
Crochet Flowers
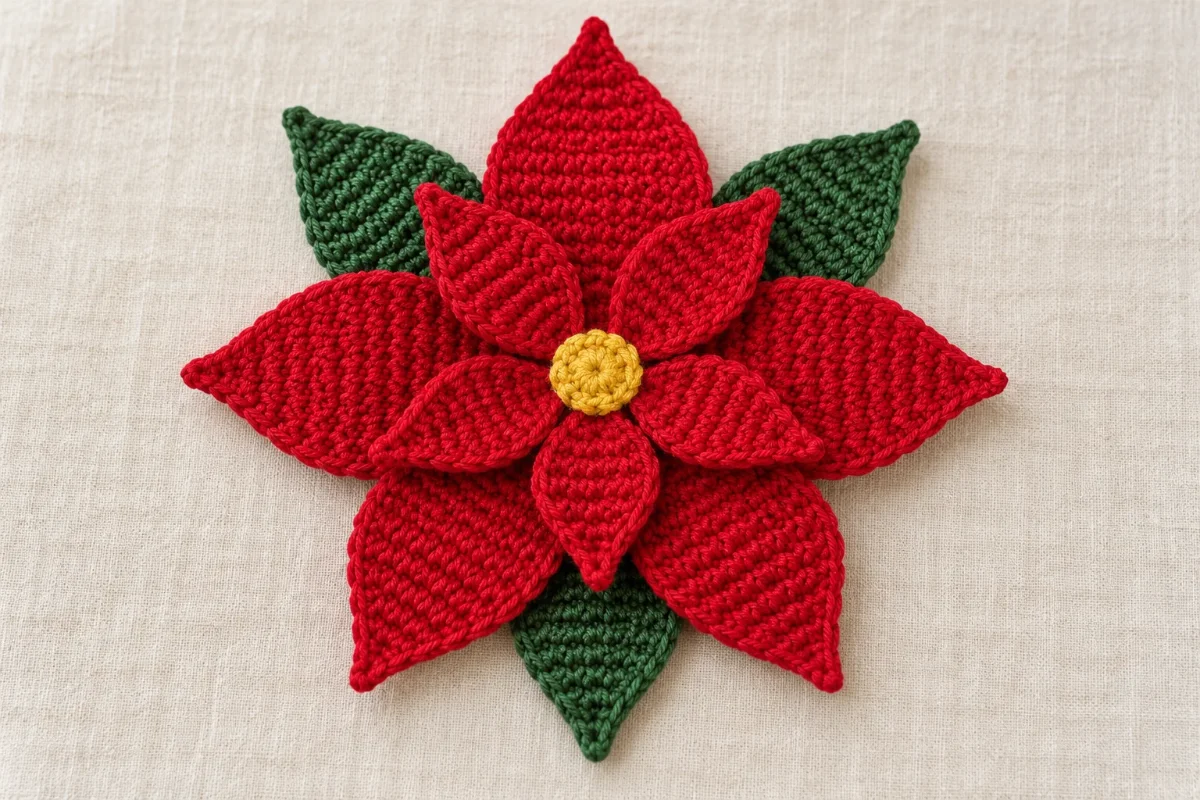
A layered Christmas flower with pointed red bracts and green leaves.
Create a decorative poinsettia with six large red bracts, six smaller red bracts, three green leaves, and a yellow center. The diamond-shaped pieces are crocheted separately in rows and sewn together. This original development draft, based on the named flower rather than a supplied reference image, requires human review and physical testing.
Nobody has made this one start to finish yet. Check your stitch counts as you go, and tell us if something does not add up.
Worked in 4 pieces
Large red bract, Small red bract, Green leaf, Yellow center
Some sewing required
See Assembly & finishing.
Gather these before you begin.
DK / light (3) · 100% cotton
Authored material selection for six large red bracts, six small red bracts, and their attachment seams. Consumption has not been measured.
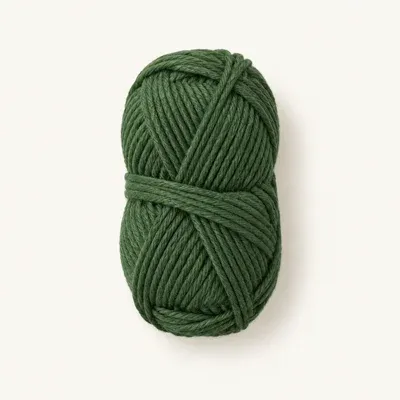
DK / light (3) · 100% cotton
Authored material selection for three green leaves and their attachment seams. Use the same yarn range as the red yarn for comparable thickness.
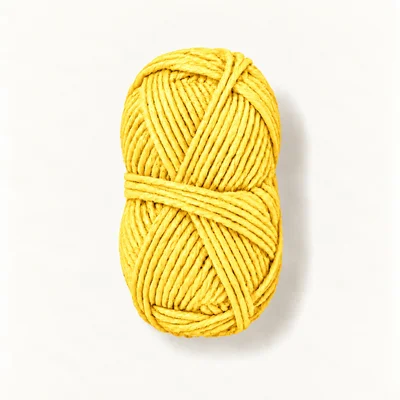
DK / light (3) · 100% cotton
Authored material selection for one small center disk and its attachment seam. Consumption has not been measured.
DK cotton-acrylic blend in place of cotton
The flower may be softer and less crisp, with a different finished width.
Use the same blend and yarn thickness for all colors. Make one large bract first and follow the replacement yarn's care label.
Sport-weight cotton with a 2.5 mm hook
The same stitch counts will generally produce a smaller, finer flower.
This is an untested substitution. Make every component in the replacement yarn and measure the assembled result.
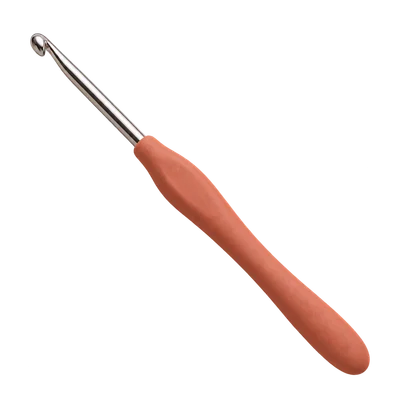
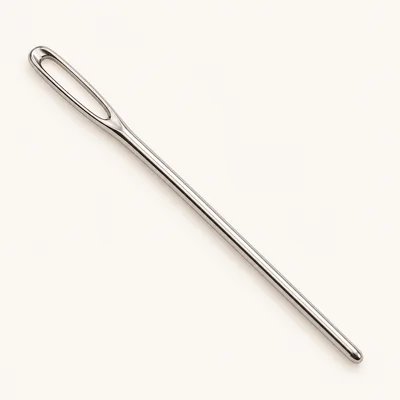
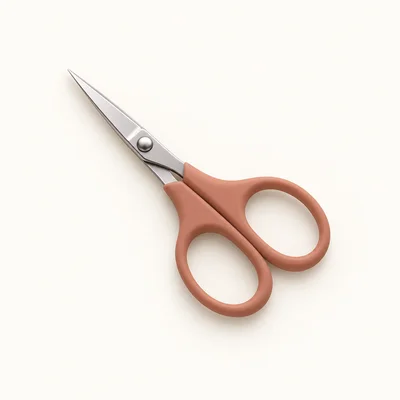
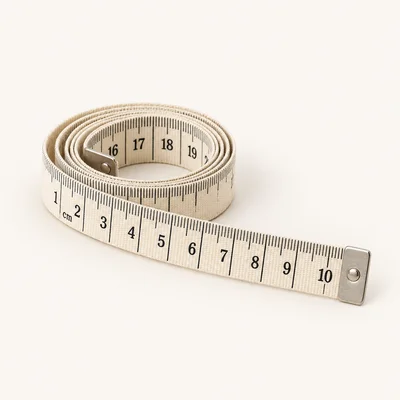
Check off each step to make sure you are ready. Preparation stays in this browser until you log in.
0 / 9 complete
Follow each step at your own pace.
Round 1 of 27
0%
Progress stays in this browser until you log in.
With red, ch 3. Sc in the 2nd ch from the hook and in the remaining ch.
Stitch count: 2 stitches
Ch 1. Turn. Inc in each of the 2 stitches.
Stitch count: 4 stitches
Ch 1. Turn. Inc, sc 2, inc.
Stitch count: 6 stitches
Ch 1. Turn. Inc, sc 4, inc.
Stitch count: 8 stitches
Ch 1. Turn. Sc in each st across.
Stitch count: 8 stitches
Tips
The piece is widest across Rows 4–5, with 8 stitches in each row.
Ch 1. Turn. Dec, sc 4, dec.
Stitch count: 6 stitches
Ch 1. Turn. Dec, sc 2, dec.
Stitch count: 4 stitches
Ch 1. Turn. Dec twice.
Stitch count: 2 stitches
Ch 1. Turn. Dec. Fasten off and weave in the finishing tail, keeping the starting tail free for assembly.
Stitch count: 1 stitches
Tips
Each completed large bract has a 2-stitch foundation base, a broad middle, and a single-stitch outer point. Complete six copies.
With red, ch 3. Sc in the 2nd ch from the hook and in the remaining ch.
Stitch count: 2 stitches
Ch 1. Turn. Inc in each of the 2 stitches.
Stitch count: 4 stitches
Ch 1. Turn. Inc, sc 2, inc.
Stitch count: 6 stitches
Ch 1. Turn. Sc in each st across.
Stitch count: 6 stitches
Ch 1. Turn. Dec, sc 2, dec.
Stitch count: 4 stitches
Ch 1. Turn. Dec twice.
Stitch count: 2 stitches
Ch 1. Turn. Dec. Fasten off and weave in the finishing tail, keeping the starting tail free for assembly.
Stitch count: 1 stitches
Tips
Complete six small bracts. Each has seven rows and a maximum width of six stitches.
With green, ch 3. Sc in the 2nd ch from the hook and in the remaining ch.
Stitch count: 2 stitches
Ch 1. Turn. Inc in each of the 2 stitches.
Stitch count: 4 stitches
Ch 1. Turn. Inc, sc 2, inc.
Stitch count: 6 stitches
Ch 1. Turn. Inc, sc 4, inc.
Stitch count: 8 stitches
Ch 1. Turn. Sc in each st across.
Stitch count: 8 stitches
Ch 1. Turn. Dec, sc 4, dec.
Stitch count: 6 stitches
Ch 1. Turn. Dec, sc 2, dec.
Stitch count: 4 stitches
Ch 1. Turn. Dec twice.
Stitch count: 2 stitches
Ch 1. Turn. Dec. Fasten off and weave in the finishing tail, keeping the starting tail free for assembly.
Stitch count: 1 stitches
Tips
Complete three green leaves. Their shaping matches the large red bracts.
With yellow, make a magic ring and work 6 sc into it. Pull the starting tail to close the ring.
Stitch count: 6 stitches
Inc in each st around. Sl st in the first sc of this round to finish; do not count this joining stitch. Fasten off, leaving a 35 cm sewing tail. Secure and weave in the magic-ring starting tail on the back.
Stitch count: 12 stitches
Tips
One flat yellow disk is complete, with 12 stitches around its edge and a sewing tail.
With red, ch 3. Sc in the 2nd ch from the hook and in the remaining ch.
Stitch count: 2 stitches
Place the six Large red bracts on a flat surface with the same chosen face upward. Point their Row 9 tips outward and bring their Row 1 foundation bases together at the center. Space the tips evenly around a circle. Overlap adjacent base corners slightly so the six bases meet without an open central hole. Using each bract's red starting tail, sew its base to the next bract's base with three small stitches through both pieces. Keep these seams within Rows 1–2 so the outer portions remain free. After all six joins, secure and weave in the tails on the underside.
Place all six Small red bracts over the lower layer with their Row 1 bases at the center. Rotate this layer so each small tip points into a gap between two large tips. Using each small bract's starting tail, sew across both stitches of its Row 1 base into the large-bract fabric beneath, then make a second pass through the same base area. Keep the sewing within Rows 1–2 of the small bract. Secure and weave in each tail underneath. Leave the small bract tips unattached.
Turn the flower over. Position the three Green leaves beneath the lower red layer, with their Row 1 bases at the center and their Row 9 tips pointing outward into three alternating gaps between the large red bracts. The leaves should sit behind the small red bracts when viewed from the front; fan them slightly so green edges remain visible. With each green starting tail, sew its Row 1 base and the side edges of Row 2 to the backs of the adjoining large red bract bases. Take shallow stitches through the red fabric so green yarn does not show on the front. Secure and weave in all three tails.
Return the flower to the front. Center the Yellow center disk over the red bases, with its chosen front face upward. Thread its yellow sewing tail and whipstitch each of the 12 outer sc stitches to the red fabric directly beneath that stitch, catching both red layers wherever they overlap. Do not add stuffing. Secure the tail on the underside and weave it through the central seam area.
Check that all six large red bracts, six small red bracts, three green leaves, and the yellow disk are firmly attached. Spread the points evenly and gently flatten each piece with your fingers. Check the underside for loose tails and weave them through several stitches before trimming. Measure the finished width across the red points and record the result for this yarn and tension.
Count the actual stitches before every decrease row; the turning chain can look like an extra edge stitch.
Compare all six copies within a layer before sewing. A missed increase changes the spacing and silhouette.
Keep attachment stitches near the bases so the pointed outer sections can lift naturally.
Use red yarn for red-to-red seams and hide green attachment stitches on the underside.
Replace red yarn with ivory for all six large bracts and all six small bracts. Keep the green leaves and yellow center, and follow every stitch count and attachment step unchanged.
Use deep red for the six Large red bracts and a lighter red for the six Small red bracts. Keep their yarn weight and fiber consistent and use each layer's matching tails for assembly.
For the selected cotton yarn, gently spot-clean with cool water and mild detergent. Support the sewn center while cleaning, reshape the points, and dry flat. Follow the yarn label if it gives more restrictive instructions.
Store flat so the layered points are not crushed. Avoid pulling individual bracts or leaves when handling the flower.
They represent the poinsettia's colored bracts. This design uses two layers of six red bracts around a small yellow center.
This intermediate project requires single crochet increases and decreases, working in rows and rounds, and sewing overlapping layers.
No. All components remain flat and are held together with sewn yarn attachments.
That range is an unmeasured design target. The pattern has no measured gauge, so yarn thickness, tension, and assembly placement determine the finished width.
No. This is an original development draft requiring human review and a physical sample before publication.
Get free crochet patterns and maker tips from Hookfolk.
Login to save your progress
Create a free account or log in to save this pattern, track your progress, and access it on any device.
Have you tried this pattern?
Comments
Be the first to share your experience.