Crochet Accessories

Crochet Twisted Ear Warmer Headband Pattern

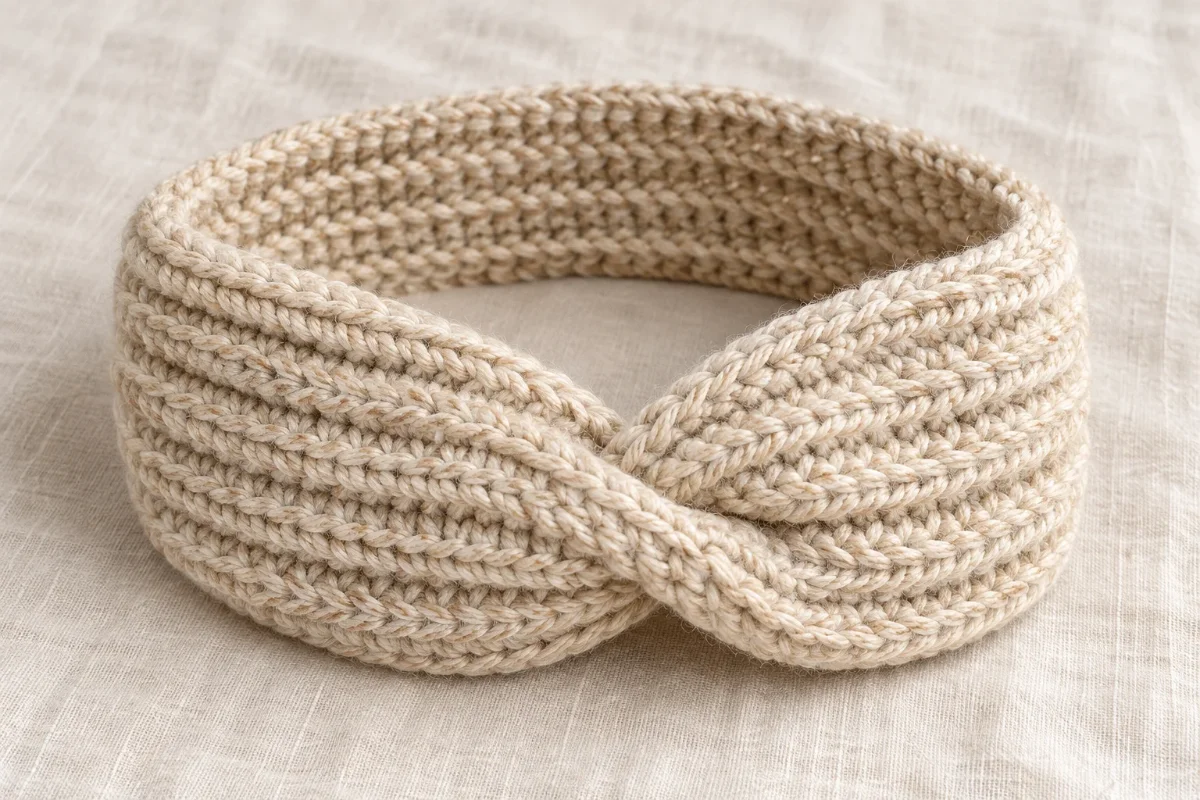
A ribbed crochet band with a folded twist seam.

An original HookFolk development draft requiring human review and physical testing. This reference-inspired design uses the classic twisted headband silhouette; no reference image was supplied. One rectangle is crocheted in back-loop half double crochet, then its folded ends are interlocked and sewn together. Yarn, hook, gauge and sizing are authored design selections rather than measured results.

  • Beginner
  • 2 hr
  • US terms
  • Free Pattern

Why You'll Love This Pattern

  • One crochet piece
  • Back-loop ribbing
  • Folded twist

Share This Pattern

Difficulty
Beginner
Time
2 hr
Hook
5 mm
Yarn
Worsted (4)
Size
Adult head circumference approximately 54–56 cm; design target requiring a stretch and fit check.
Construction
Ribbed rectangle with a sewn twist.
Testing statusNot yet human-testedFREE

Nobody has made this one start to finish yet. Check your stitch counts as you go, and tell us if something does not add up.

Rectangle before assembly
Approximately 50 cm long × 10 cm wide at the specified design gauge; unmeasured target.
Finished band
Approximately 49 cm relaxed circumference × 10 cm wide away from the twist, allowing about 1 cm total length loss at the seam; unmeasured target.
Height
10 cm
Width
24.5
Terminology
US terms
Sewing
Some sewing
Gauge
16 sts × 12 rows over 10 × 10 cm in back-loop half double crochet, laid flat without stretching. This is an unmeasured design specification, not a tested swatch result.

About This Pattern

An original HookFolk development draft requiring human review and physical testing. This reference-inspired design uses the classic twisted headband silhouette; no reference image was supplied. One rectangle is crocheted in back-loop half double crochet, then its folded ends are interlocked and sewn together. Yarn, hook, gauge and sizing are authored design selections rather than measured results.

You'll learn / practice

  • Working into a foundation chain
  • Half double crochet
  • Working in back loops
  • Turning and counting rows
  • Checking gauge and stretch
  • Sewing through folded crochet layers

Pattern construction

  • Construction

    Ribbed rectangle with a sewn twist.

  • Some sewing required

    See Assembly & finishing.

What you'll need

Gather these before you begin.

Materials (1)

Yarn in oatmeal

Yarn in oatmeal

Worsted (4) · 100% wool

Authored selection: smooth, springy wool suitable for next-to-skin wear. Consumption has not been established; have additional matching yarn available for the gauge swatch. Avoid firm, nonelastic yarn for the base sizing.

If you swap a material

  • Springy worsted-weight wool-acrylic blend

    May change warmth, recovery, drape and row gauge.

    Swatch and check stretch before using the base counts. Follow the replacement yarn's care label.

Tools (4)

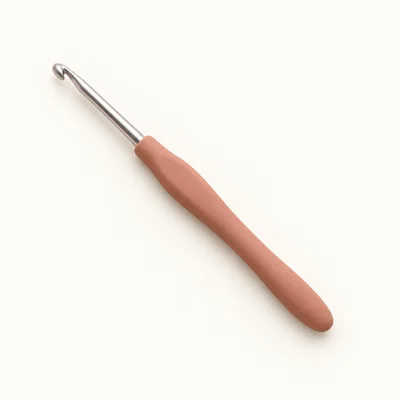
5 mm crochet hook

5 mm crochet hook

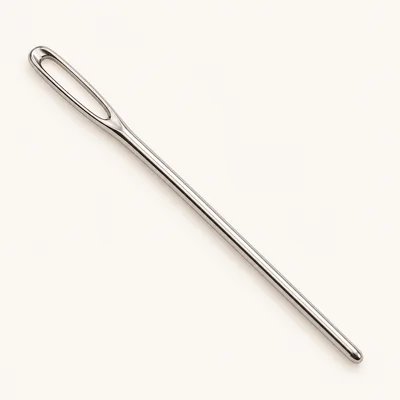
Tapestry needle

Tapestry needle

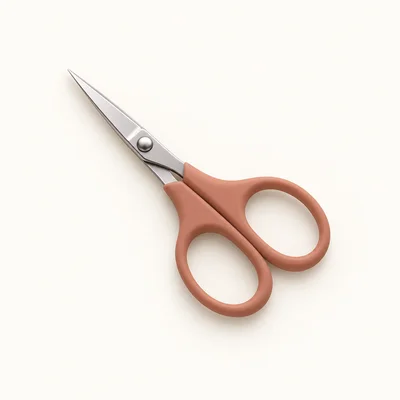
Scissors

Scissors

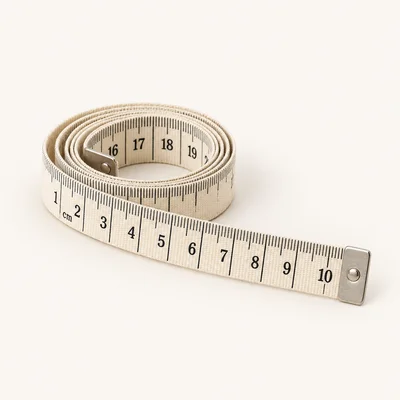
Measuring tape

Measuring tape

Abbreviations

ch
Chain.
hdc
Half double crochet: yarn over, insert hook into the indicated stitch, yarn over and pull up a loop, yarn over and draw through all three loops.
BLO
Back loop only: work under the top loop farther from you, leaving the nearer top loop unworked. Do not use the horizontal third loop below the stitch top.
st
Stitch.

Before You Start

Check off each step to make sure you are ready. Preparation stays in this browser until you log in.

0 / 7 complete

Instructions

Follow each step at your own pace.

Round 1 of 4

0%

Progress stays in this browser until you log in.

  1. Round 1 — Band · Row 1

    With oatmeal yarn, ch 17. Hdc in the second ch from the hook and in each remaining ch across.

    Stitch count: 16 stitches

    Tips

    There are 16 hdc. The skipped chain does not count as a stitch.

  2. Round 2 — Band · Row 2

    Ch 1. Turn. Hdc BLO in each st across.

    Stitch count: 16 stitches

    Tips

    There are 16 stitches, including both edge stitches. The turning chain is excluded.

  3. Round 3 — Band · Rows 3–59

    For each of Rows 3–59: ch 1, turn, and hdc BLO in each st across.

    Stitch count: 16 stitches

    Tips

    After Row 59, the Band has 59 completed rows, each containing 16 stitches. Both long edges remain straight.

  4. Round 4 — Band · Row 60

    Ch 1. Turn. Hdc BLO in each st across. Fasten off, leaving a 60 cm tail for sewing.

    Stitch count: 16 stitches

    Tips

    The completed Band has 60 rows and 16 stitches across each short end. The design target before sewing is approximately 50 × 10 cm.

Round 1 — Band · Row 1

With oatmeal yarn, ch 17. Hdc in the second ch from the hook and in each remaining ch across.

Stitch count: 16 stitches

Tips

There are 16 hdc. The skipped chain does not count as a stitch.

Assembly & finishing

  1. Check and prepare the Band

    Lay the Band flat without stretching and measure it. Confirm the width, length and comfortable stretch against the intended fit before sewing. Weave in the starting tail without tightening the foundation edge. Choose one broad face as the outside and place that face upward. Call the foundation end A and the final-row end B.

    Back to round 4

  2. Fold and interlock the short ends

    Bring A and B together to form a loop without twisting the length of the Band. Fold each 16-stitch short end in half across its width, bringing its two long-edge corners together; each folded half contains eight stitch positions. Nest the folded ends so their four layers alternate A, B, A, B through the stack. Viewed directly at the cut-edge stack, the fold of A and the fold of B sit on opposite sides. Do not stack both A layers together followed by both B layers. Align all four raw short-end edges.

    Back to round 4

  3. Sew through all four layers

    Thread the final-row tail onto the tapestry needle. Hold the alternating stack securely. About 5 mm inward from the aligned raw edges, whipstitch across all eight aligned positions, passing through all four layers at every position. On end B, catch the corresponding stitch tops; on end A, catch the corresponding foundation-chain strands. Include the first and last edge positions and keep the seam flexible. Secure the yarn and weave the tail back through the seam.

    Back to round 4

  4. Open and finish the twist

    Open out the loop and turn it so the seam allowance rests inside against the head. Spread the two sides of the folded join to reveal the twist. Check that no layer has escaped the seam and that the band has one continuous opening. Try it on without forcing the fabric. If the seam separates or restricts stretch, unpick it and resew before wear. Weave in any remaining ends.

    Back to round 4

Maker tips

  • Count completed rows rather than raised ribs; one visible ridge does not necessarily represent one row.

  • Keep foundation chains and edge stitches relaxed so the short ends fold without puckering.

  • Use small sewing passes that catch every layer without compressing the seam into a hard ridge.

Troubleshooting

The rectangle gradually becomes narrower.

Cause
The first or last stitch is being skipped, or a turning chain is being mistaken for a stitch.
Fix
Return to the last complete 16-stitch row. Work both edge stitches and exclude the turning chain from the count.

The join looks like a plain seam instead of a twist.

Cause
The folded ends were stacked in pairs rather than interlocked.
Fix
Unpick the seam, fold each end in half again and arrange the four layers in alternating A, B, A, B order before resewing.

The finished band feels too tight.

Cause
The row gauge is denser than specified, the yarn has insufficient stretch, or the seam is overly tight.
Fix
Check the seam first and resew it loosely if necessary. If the fabric itself is too short or firm, unpick the join and remake the Band using a suitable yarn or a recalculated row count.

Variations

Narrower Band

At the same design gauge, ch 13 and work 12 hdc in Row 1. Work Rows 2–60 with 12 hdc BLO per row. The target width becomes 7.5 cm. Fold each short end into two halves of six stitch positions, then sew through six aligned four-layer positions using the same alternating assembly.

Recalculate the circumference

Keep 16 stitches for the base width. After confirming suitable stretch, choose a relaxed finished circumference approximately 8–12% smaller than the measured head circumference. Add 1 cm for the seam allowance, multiply that length in centimetres by your measured rows per centimetre, and round to the nearest whole row. Work Row 1 as written, then repeat the Row 2 instruction through that total row count. Fasten off and assemble as written. This is a sizing method requiring a fresh fit check, not an additional tested size.

Care & finishing

Care

For the selected wool, follow its label. If hand washing is permitted, wash gently in cool water without rubbing or wringing. Press out moisture in a towel, arrange the twist and dry flat without stretching.

Finishing ideas

Do not deliberately felt the band. Avoid hanging it while wet, which can lengthen the fabric and reduce its recovery.

Frequently Asked Questions

Is the twist a separate piece?

No. The twist is formed by interlocking and sewing the folded short ends of the single Band.

Why is the relaxed band smaller than the head measurement?

The design relies on negative ease and springy ribbed fabric. Confirm comfortable stretch and recovery with your chosen yarn before using the base size.

Does ch 1 count as a stitch?

No. Every base-pattern row contains 16 hdc, excluding the turning chain.

Are the gauge and finished measurements tested?

No. They are authored design specifications and targets. This original development draft requires human review, swatching and physical testing.

Login to save your progress

Create a free account or log in to save this pattern, track your progress, and access it on any device.

Have you tried this pattern?

Comments

Be the first to share your experience.