Crochet Accessories

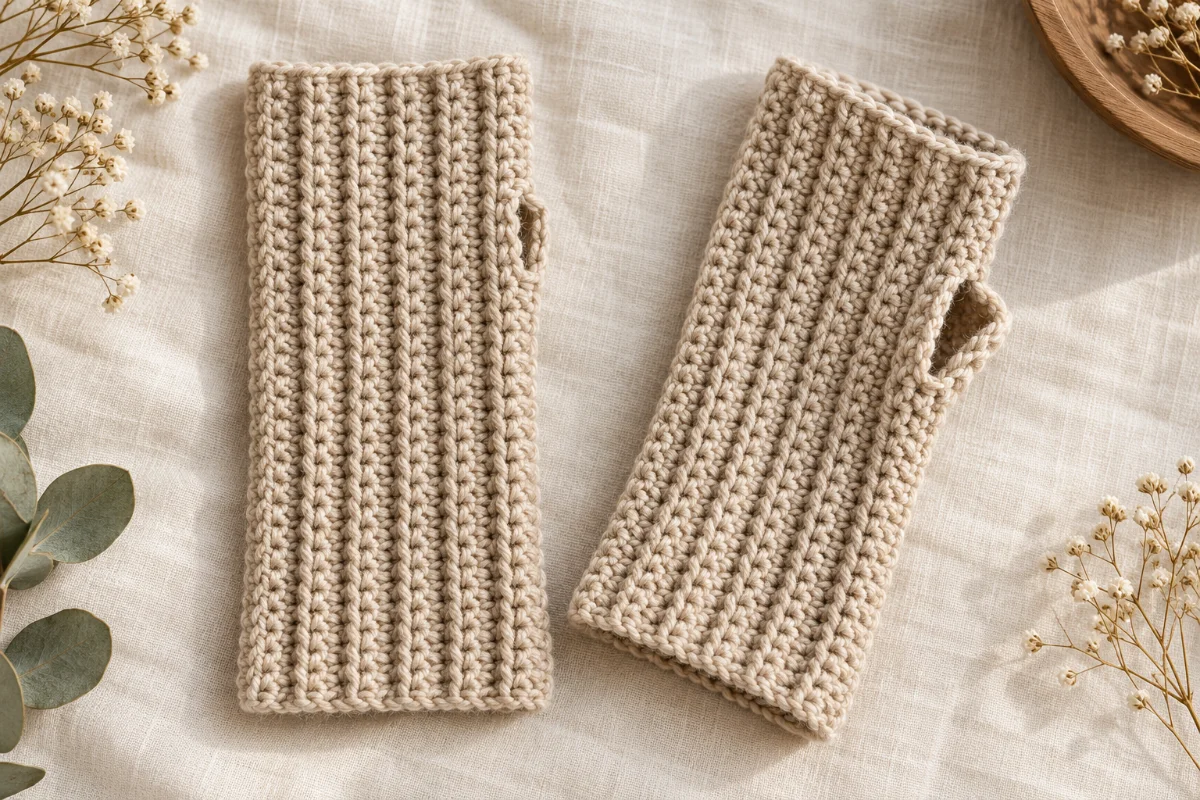
Ribbed Crochet Fingerless Gloves Pattern

Soft ribbed wrist warmers with a simple thumb opening

An original reference-inspired development draft requiring human review and physical testing. This design uses two matching rectangles of back-loop half double crochet, each folded and seamed with a gap for the thumb. No reference image was supplied; the construction, materials and intended fit are original design selections.

  • Beginner
  • 3 hr
  • US terms
  • Free Pattern

Why You'll Love This Pattern

  • Matching rectangles
  • Stretch across the hand
  • Simple thumb gap

Share This Pattern

Difficulty
Beginner
Time
3 hr
Hook
5 mm
Yarn
Worsted (4)
Size
One adult size targeting a hand circumference of 20–21 cm, measured around the knuckles excluding the thumb; fit requires swatch and sample confirmation.
Construction
Two ribbed rectangles, seamed with thumb gaps.
Testing statusNot yet human-testedFREE

Nobody has made this one start to finish yet. Check your stitch counts as you go, and tell us if something does not add up.

Intended finished length
Approximately 20 cm from wrist edge to finger edge at the specified design gauge; not a measured sample.
Intended relaxed circumference
Approximately 18.6 cm before seam take-up at the specified design gauge; not a measured sample.
Intended thumb opening
Approximately 3.8 cm along the seam, formed by leaving six stitch positions unsewn; not a measured sample.
Height
20 cm
Width
9.3 cm
Terminology
US terms
Sewing
Some sewing
Gauge
16 sts × 14 rows over 10 × 10 cm in half double crochet worked in back loops, measured relaxed after care-label-appropriate washing and drying. This is an unmeasured design specification, not a tested swatch.

About This Pattern

An original reference-inspired development draft requiring human review and physical testing. This design uses two matching rectangles of back-loop half double crochet, each folded and seamed with a gap for the thumb. No reference image was supplied; the construction, materials and intended fit are original design selections.

You'll learn / practice

  • Working into a foundation chain
  • Half double crochet in turned rows
  • Working into back loops
  • Counting stitches and rows
  • Whipstitch seaming with an opening
  • Weaving in yarn ends

Pattern construction

  • Construction

    Two ribbed rectangles, seamed with thumb gaps.

  • Some sewing required

    See Assembly & finishing.

What you'll need

Gather these before you begin.

Materials (1)

Yarn in oatmeal

Yarn in oatmeal

Worsted (4) · Wool/acrylic blend

Original design selection: choose a smooth, plied wool/acrylic blend with elastic recovery and comfortable next-to-skin feel. Actual consumption is unestablished; obtain enough of one dye lot for two panels and a gauge swatch.

If you swap a material

  • Smooth worsted-weight wool yarn

    May change elasticity, warmth, dimensions and care requirements.

    Swatch to the specified design gauge and follow the replacement yarn's care label.

  • Smooth worsted-weight acrylic yarn

    May change recovery and the feel of the finished ribs.

    Check both relaxed gauge and recovery after stretching. Do not assume identical fit from the weight label alone.

Tools (5)

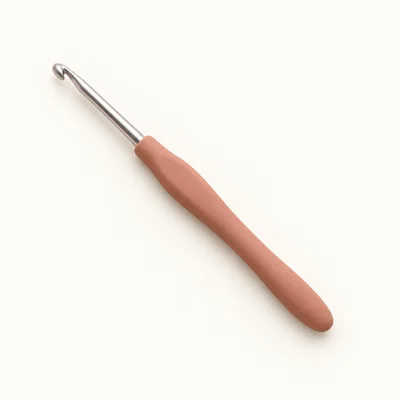
5 mm crochet hook

5 mm crochet hook

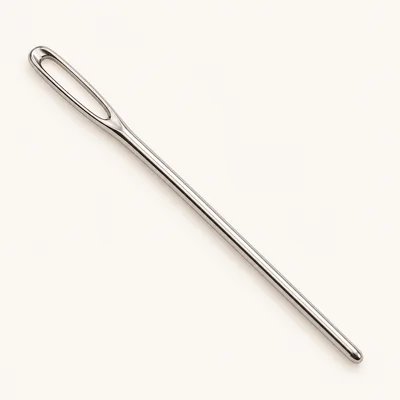
Tapestry needle

Tapestry needle

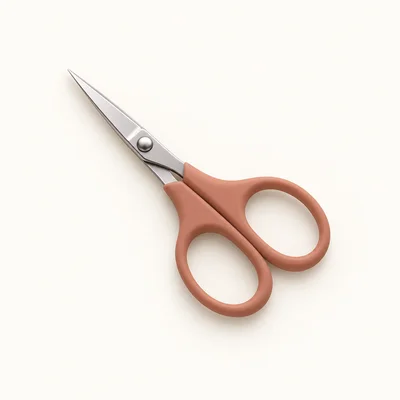
Scissors

Scissors

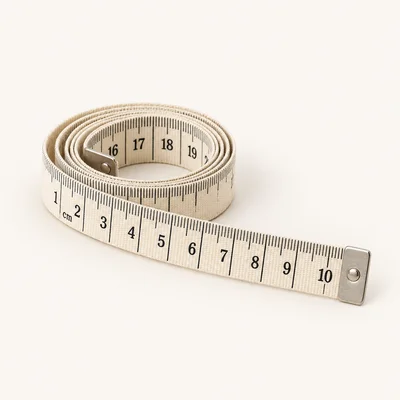
Measuring tape

Measuring tape

Removable stitch markers

Removable stitch markers

× 4

Abbreviations

ch
chain
hdc
half double crochet: yarn over, insert hook into the indicated target, yarn over and draw up a loop, yarn over and draw through all three loops
BLO
back loop only: work into the loop farther from you when viewing the top of the current row
st
stitch

Before You Start

Check off each step to make sure you are ready. Preparation stays in this browser until you log in.

0 / 8 complete

Instructions

Follow each step at your own pace.

Round 1 of 3

0%

Progress stays in this browser until you log in.

  1. Round 1 — Glove panel (make 2) · Row 1

    With oatmeal yarn, ch 33. Hdc in the 2nd ch from the hook and in each remaining ch across.

    Stitch count: 32 stitches

    Tips

    There are 32 hdc. The skipped foundation chain does not count as a stitch.

  2. Round 2 — Glove panel (make 2) · Row 2

    Ch 1. Turn. Hdc in BLO of each st across.

    Stitch count: 32 stitches

    Tips

    Count 32 stitches, including the first and last stitch. Leave the turning chain unworked.

  3. Round 3 — Glove panel (make 2) · Rows 3–26

    For each of Rows 3–26: ch 1, turn, and hdc in BLO of each st across. After Row 26, fasten off, leaving a 60 cm tail for seaming.

    Stitch count: 32 stitches

    Tips

    The completed rectangle has 26 rows, each containing 32 hdc. Its design target is approximately 20 cm along the stitches and 18.6 cm across the rows. Complete a second identical panel.

Round 1 — Glove panel (make 2) · Row 1

With oatmeal yarn, ch 33. Hdc in the 2nd ch from the hook and in each remaining ch across.

Stitch count: 32 stitches

Tips

There are 32 hdc. The skipped foundation chain does not count as a stitch.

Assembly & finishing

  1. Prepare both panels

    Weave in each short foundation tail after identifying and marking its wrist-end corner. Retain the long finishing tails. If needed, wash and dry the panels according to the yarn label, laying them flat without stretching the ribs. Confirm that both panels have the same stitch and row counts and comparable relaxed dimensions.

    Back to round 3

  2. Align the first glove

    Fold one panel so the foundation-chain edge meets the top edge of Row 26, aligning all 32 stitch positions. The fold brings the two long edges together; the short row-end edges remain open for the wrist and fingers. Choose the outside face and hold the panel with that face inward. Count from the wrist end on both aligned edges. Place paired markers at stitch positions 16 and 23.

    Back to round 3

  3. Sew the finger-side seam

    Thread the retained finishing tail. Starting at the finger end, whipstitch corresponding edge positions 32 down through 23, making ten paired stitches. Catch one edge loop from each panel edge at each position. Keep the seam flexible. Secure the seam at position 23 with two small stitches into the seam allowance, then weave in the tail without crossing the intended thumb opening.

    Back to round 3

  4. Sew the wrist-side seam

    Cut a new 60 cm length of matching yarn and secure it at the wrist corner. Whipstitch corresponding edge positions 1 through 16, making sixteen paired stitches. Secure at position 16 and weave in both ends on the inside. Leave positions 17–22 completely unsewn on both aligned edges: these six positions form the thumb opening. Remove the markers and turn the glove right side out.

    Back to round 3

  5. Complete and check the pair

    Assemble the second panel in the same way. Check that each glove has an open wrist, an open finger edge and one six-position thumb gap. Try on both gloves with the seams along the thumb sides. If a seam restricts stretch, undo it and resew more loosely before securing its ends. Smooth the ribs and weave in any remaining ends.

    Back to round 3

Maker tips

  • Place a marker in the first stitch of a row if the turning chain is difficult to distinguish from the edge stitch.

  • Count actual rows rather than raised ribs; one visible ridge can span more than one row.

  • Keep the foundation chain loose enough to stretch comparably to the final row.

  • Before sewing, wrap a panel around the hand with its ribs running wrist to fingers to check the intended orientation.

Troubleshooting

The panel becomes narrower as you work.

Cause
The last stitch is being missed, often because it sits close to the turning chain.
Fix
Return to the last row containing 32 stitches. Mark its first and last stitches, then resume the written rows without working into the turning chain.

The foundation edge feels tighter than the final-row edge.

Cause
The foundation chains were made more tightly than the half double crochet fabric.
Fix
Remake the panel with looser foundation chains. Keep the chain count at 33 and recheck the panel dimensions.

The glove stretches before seaming but feels tight afterward.

Cause
The whipstitch seam is too tight or catches too much fabric.
Fix
Undo the seam and resew with relaxed stitches, catching only the specified edge loops. Confirm stretch before securing the ends.

The thumb opening is difficult to locate or use.

Cause
The glove is rotated incorrectly or the seam gap was placed at the wrong stitch positions.
Fix
Rotate the seam toward the thumb. If needed, recount from the wrist end and resew so positions 17–22 remain open.

Variations

Two-color pair

Make the first complete glove in oatmeal and the second in a contrasting color of the same yarn line. Follow all counts and seam placements unchanged. Obtain the contrasting yarn separately; it is not required for the base design.

Slightly wider version

For both panels, work Rows 27 and 28 exactly as Row 2 before fastening off. Each panel then has 28 rows of 32 stitches. At the specified design gauge, this adds approximately 1.4 cm to relaxed circumference before seam take-up. Seam the foundation edge to Row 28 and retain the same stitch-position thumb gap. Confirm fit on a sample; length and thumb placement remain unchanged.

Care & finishing

Care

Follow the selected wool/acrylic yarn's care label. Support the gloves when wet and dry them flat without stretching the ribs. Avoid heat unless explicitly permitted by the yarn manufacturer.

Finishing ideas

Fiber percentages, superwash treatment and washing permissions depend on the yarn selected. Recheck fit after the first wash.

Frequently Asked Questions

Are the left and right gloves different?

No. Make two identical gloves and rotate each seam toward the thumb side when wearing them.

Is the thumb crocheted separately?

No. The thumb passes through a six-position gap in the side seam. This design has no thumb tube.

Why do the rows run along the glove?

Each row establishes the wrist-to-finger length. Adding rows increases the circumference, allowing the back-loop ribs to stretch around the hand.

Will these counts fit every adult?

No. This draft targets a 20–21 cm hand circumference using an unmeasured design gauge. Yarn recovery, tension and seam take-up affect fit. Swatch and check a sample before making the full pair.

How much yarn does the pair use?

Consumption has not been measured. The material quantity is intentionally unset pending a physical sample and swatch.

Has this pattern been tested?

No. It is an original development draft requiring human technical review and physical testing before publication.

Login to save your progress

Create a free account or log in to save this pattern, track your progress, and access it on any device.

Have you tried this pattern?

Comments

Be the first to share your experience.