
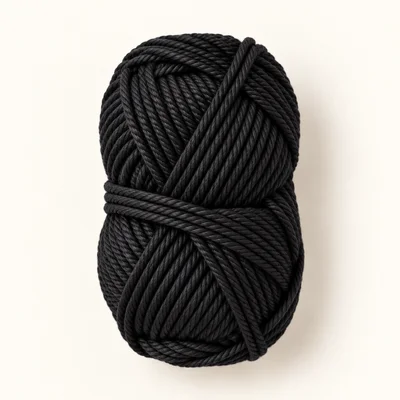
Yarn in black
Sport (2) · 100% cotton
Authored material selection, not identified from the reference. Body, Head, Outer ears, Hind legs, Arms, Tail, and Witch hat band. Consumption is unmeasured.
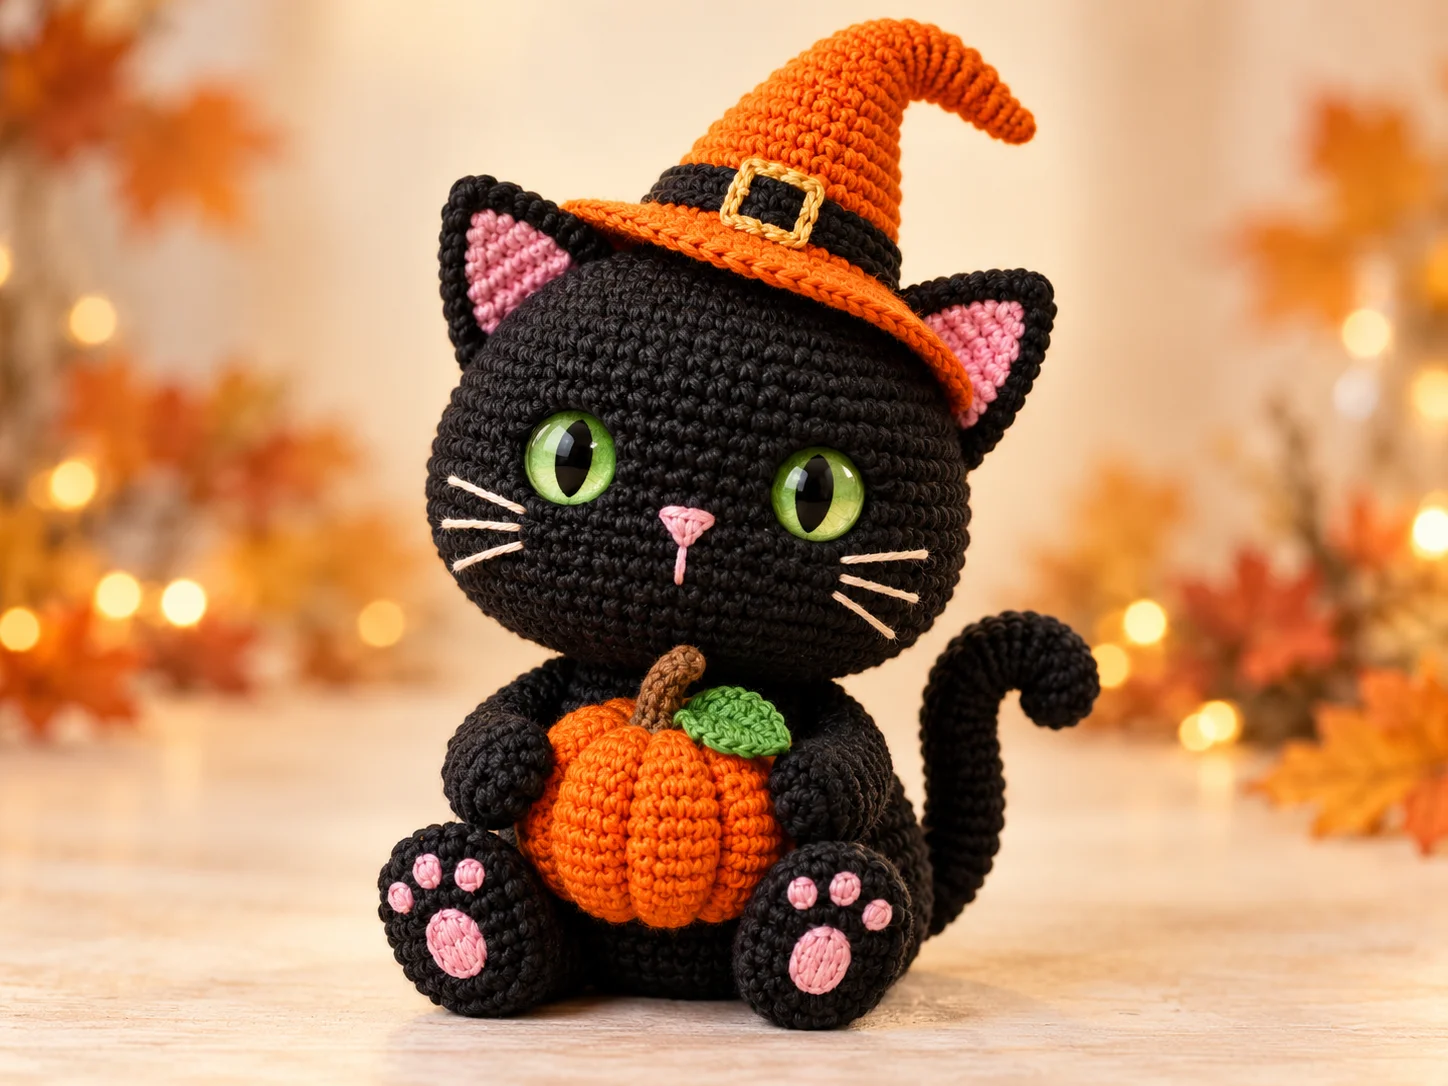
Halloween Amigurumi
A seated amigurumi cat holding a miniature pumpkin
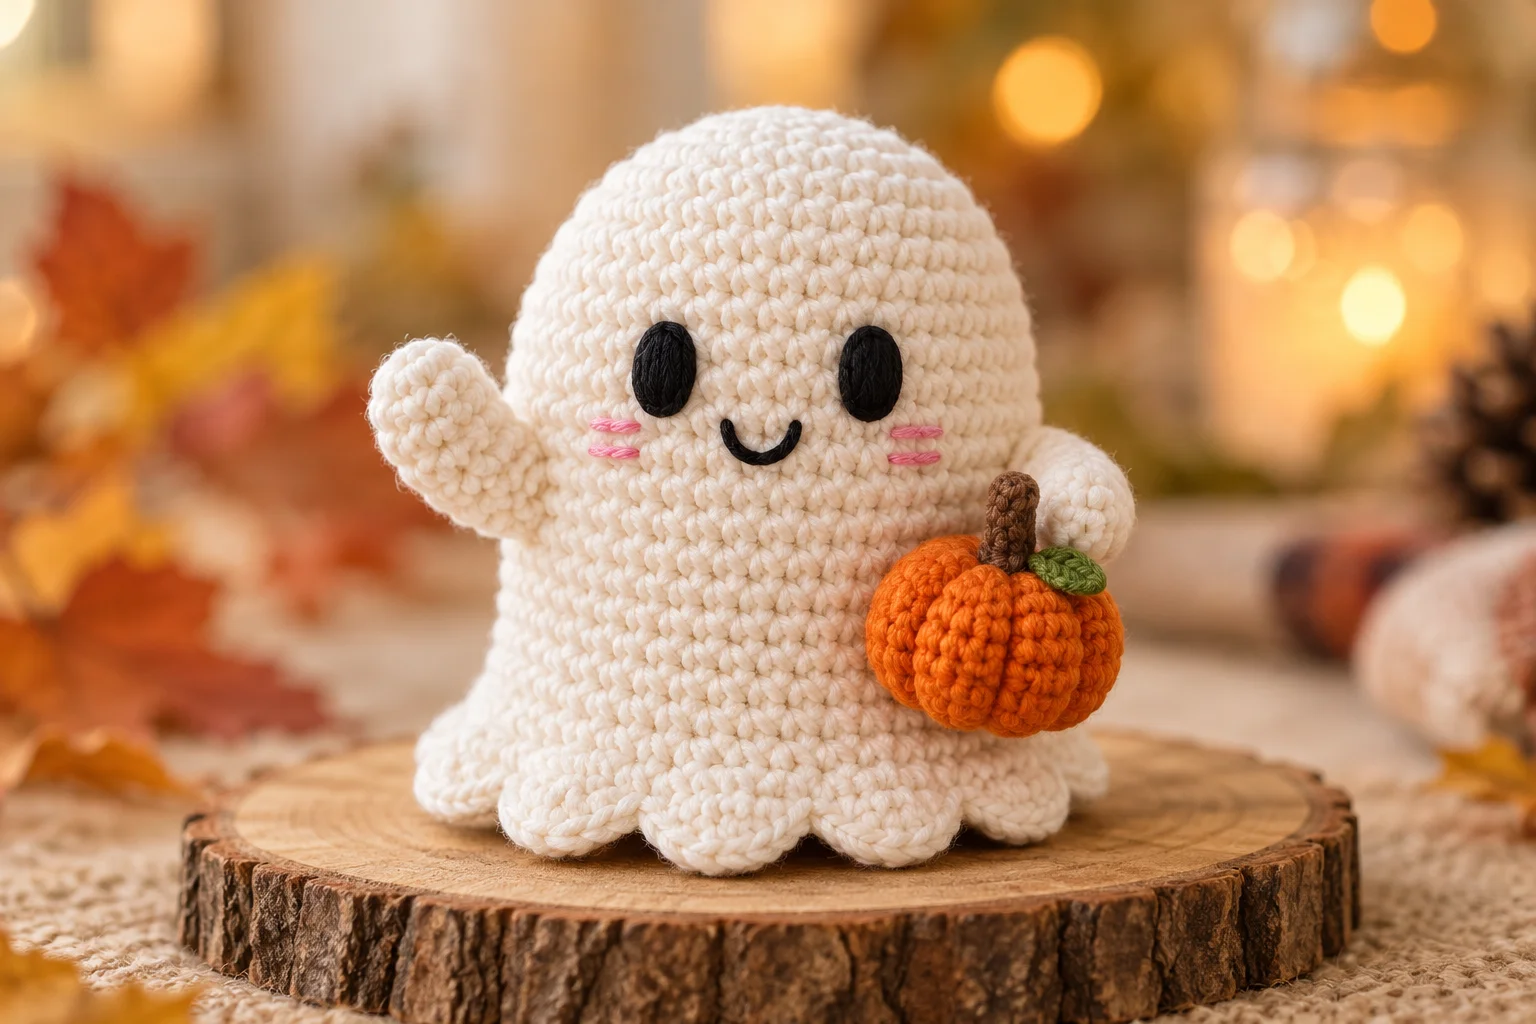
An original, untested crochet design inspired by a black cat wearing an orange witch hat and holding a tiny pumpkin. Construction and materials are authored choices requiring human review and physical testing.
Nobody has made this one start to finish yet. Check your stitch counts as you go, and tell us if something does not add up.
Worked in 11 pieces
Body, Head, Outer ear, Inner ear, Hind leg, Arm, Tail, Pumpkin, Pumpkin stem, Pumpkin leaf, Witch hat
Some sewing required
See Assembly & finishing.
Needs stuffing
Toy stuffing
Gather these before you begin.
Sport (2) · 100% cotton
Authored material selection, not identified from the reference. Body, Head, Outer ears, Hind legs, Arms, Tail, and Witch hat band. Consumption is unmeasured.
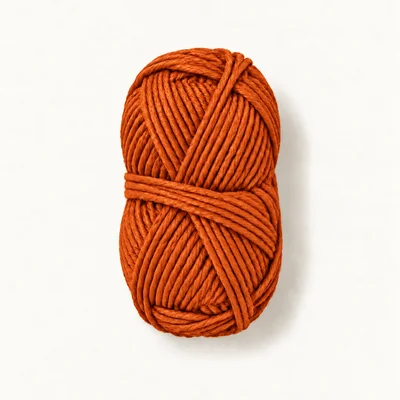
Sport (2) · 100% cotton
Authored material selection, not identified from the reference. Pumpkin and Witch hat cone and brim. Consumption is unmeasured.

Sport (2) · 100% cotton
Authored material selection, not identified from the reference. Inner ears and embroidered nose and paw pads. Consumption is unmeasured.
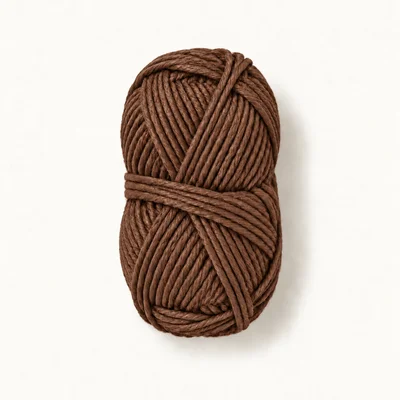
Sport (2) · 100% cotton
Authored material selection, not identified from the reference. Pumpkin stem. Consumption is unmeasured.
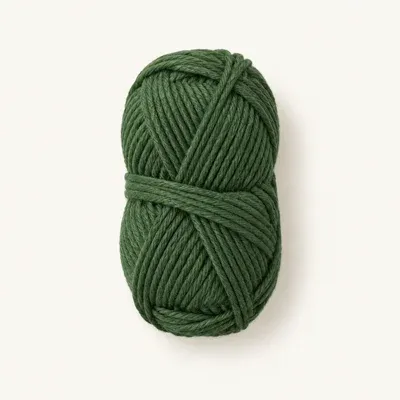
Sport (2) · 100% cotton
Authored material selection, not identified from the reference. Pumpkin leaf; also used if the embroidered-eye substitution is selected. Consumption is unmeasured.
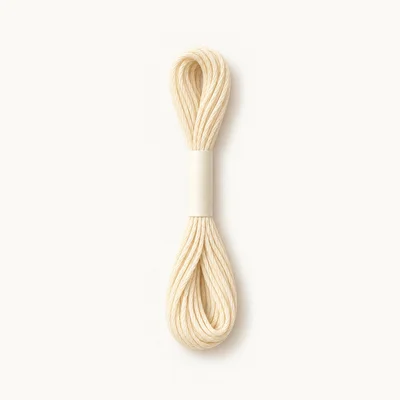
100% cotton
Authored selection for three whiskers on each cheek; use three strands of stranded cotton. Consumption is unmeasured.
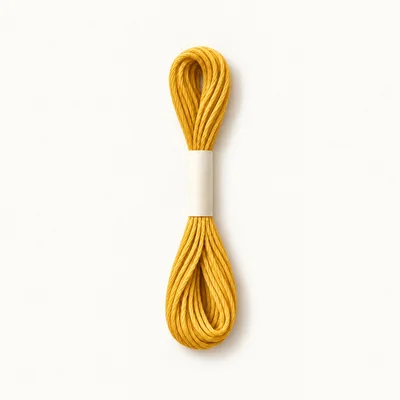
100% cotton
Authored selection for the embroidered hat buckle; use three strands of stranded cotton. Consumption is unmeasured.
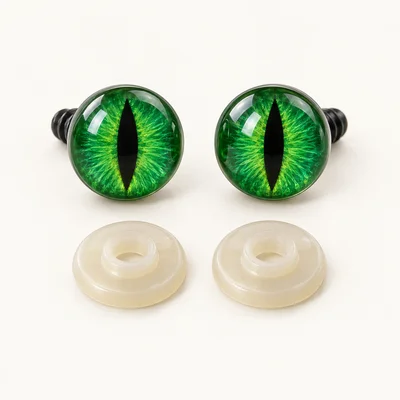
2 pieces
Authored hardware selection: two plastic eyes with green irises and vertical black pupils, plus their matching backs. The reference eye diameter is unknown. Check the selected size against the sample head before installing.
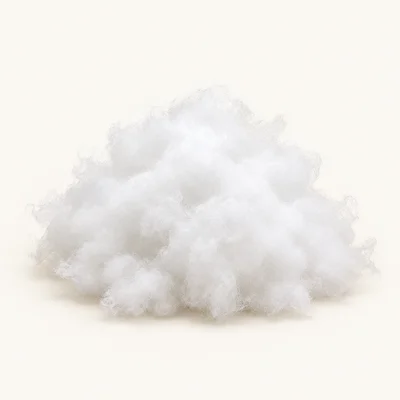
Polyester
Authored selection for Body, Head, Hind legs, Arm tips, Tail, and Pumpkin. Consumption is unmeasured.
Sport-weight cotton yarn
A different fiber or yarn weight changes stitch definition, firmness, dimensions, and yarn consumption.
Use the same replacement weight across all colors and swatch with a suitable hook. Counts can remain unchanged, but the 18 cm target and selected eye size must be reassessed.
Green plastic safety eyes
Embroidered eyes remove the plastic components and create a flatter expression.
Before stuffing, embroider one green oval spanning about 3 stitches and 2 rounds at each marked eye position, then add a narrow black vertical satin-stitched pupil to each. Secure all thread ends inside. Omit the plastic eyes and backs for this version.
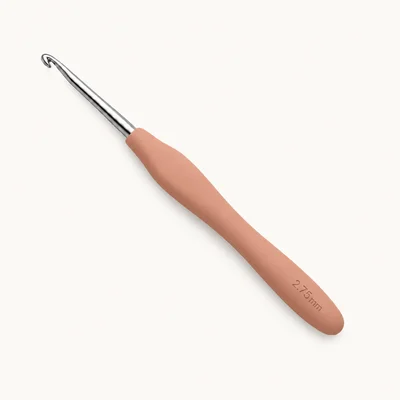
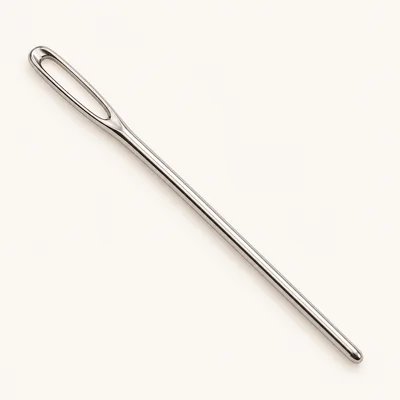
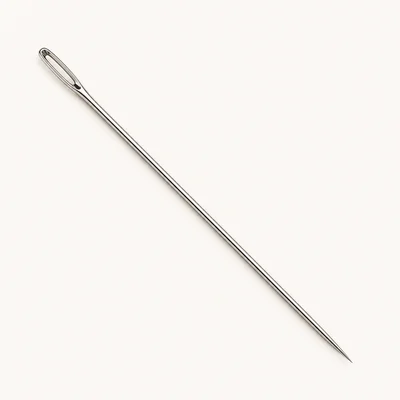
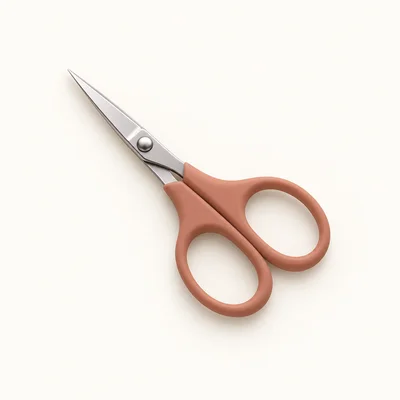
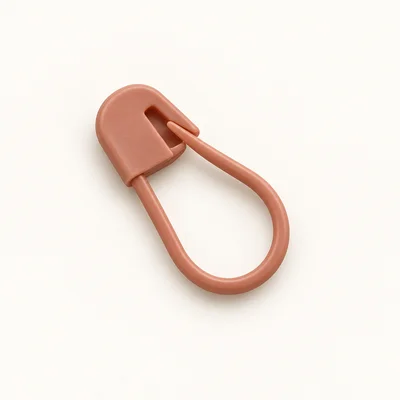
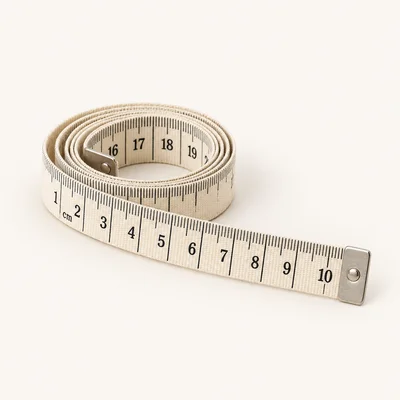
Check off each step to make sure you are ready. Preparation stays in this browser until you log in.
0 / 9 complete
Follow each step at your own pace.
Round 1 of 90
0%
Progress stays in this browser until you log in.
With black, make a magic ring and work 6 sc into it. Tighten the ring.
Stitch count: 6 stitches
Inc in each st around.
Stitch count: 12 stitches
(Sc 1, inc) × 6.
Stitch count: 18 stitches
(Sc 2, inc) × 6.
Stitch count: 24 stitches
(Sc 3, inc) × 6.
Stitch count: 30 stitches
(Sc 4, inc) × 6.
Stitch count: 36 stitches
Sc in each st around.
Stitch count: 36 stitches
Tips
Six straight rounds form the lower torso above the broad base.
(Sc 4, dec) × 6.
Stitch count: 30 stitches
Sc in each st around.
Stitch count: 30 stitches
(Sc 3, dec) × 6.
Stitch count: 24 stitches
Sc in each st around. After Rnd 19, stuff the lower and middle body, keeping the base broad and level.
Stitch count: 24 stitches
(Sc 2, dec) × 6. Finish stuffing through the neck opening. Fasten off, leaving a 25 cm tail. Leave all 18 neck stitches open.
Stitch count: 18 stitches
Tips
The body is stuffed and has an open 18-stitch neck.
With black, make a magic ring and work 6 sc into it. Tighten the ring.
Stitch count: 6 stitches
Inc in each st around.
Stitch count: 12 stitches
(Sc 1, inc) × 6.
Stitch count: 18 stitches
(Sc 2, inc) × 6.
Stitch count: 24 stitches
(Sc 3, inc) × 6.
Stitch count: 30 stitches
(Sc 4, inc) × 6.
Stitch count: 36 stitches
(Sc 5, inc) × 6.
Stitch count: 42 stitches
(Sc 6, inc) × 6.
Stitch count: 48 stitches
Sc in each st around. After Rnd 16, mark the front and install both green eyes between Head Rnds 12 and 13, with 8 unworked stitches between the two eye stems along the front arc. Check their alignment and fit, then secure the matching backs inside.
Stitch count: 48 stitches
Tips
Eight straight rounds are complete; both eyes are secured before the opening narrows.
(Sc 6, dec) × 6.
Stitch count: 42 stitches
(Sc 5, dec) × 6.
Stitch count: 36 stitches
(Sc 4, dec) × 6.
Stitch count: 30 stitches
(Sc 3, dec) × 6. Stuff the head evenly, supporting the cheeks without stretching the eye area.
Stitch count: 24 stitches
(Sc 2, dec) × 6. Finish stuffing through the lower opening. Fasten off, leaving a 25 cm tail. Leave all 18 lower-edge stitches open.
Stitch count: 18 stitches
Tips
The lower opening matches the 18-stitch Body neck.
With black, ch 3. Sc in the 2nd ch from the hook and in the last ch.
Stitch count: 2 stitches
Ch 1. Turn. Inc in each of the 2 sts.
Stitch count: 4 stitches
Ch 1. Turn. Inc, sc 2, inc.
Stitch count: 6 stitches
Ch 1. Turn. Inc, sc 4, inc.
Stitch count: 8 stitches
Ch 1. Turn. Inc, sc 6, inc.
Stitch count: 10 stitches
Ch 1. Turn. Inc, sc 8, inc.
Stitch count: 12 stitches
Ch 1. Turn. Sc in each st across. Fasten off, leaving a 25 cm sewing tail. Keep the piece flat; Row 1 is the tip and Row 7 is the attachment base. Make the second Outer ear from Rows 1–7.
Stitch count: 12 stitches
Tips
Two flat black triangles are required.
With pink, ch 2. Sc in the 2nd ch from the hook.
Stitch count: 1 stitches
Ch 1. Turn. Inc.
Stitch count: 2 stitches
Ch 1. Turn. Inc in each of the 2 sts.
Stitch count: 4 stitches
Ch 1. Turn. Inc, sc 2, inc.
Stitch count: 6 stitches
Ch 1. Turn. Inc, sc 4, inc. Fasten off, leaving a 25 cm sewing tail. Row 1 is the tip and Row 5 is the base. Make the second Inner ear from Rows 1–5.
Stitch count: 8 stitches
Tips
Two smaller pink triangles fit inside the black Outer ears.
With black, make a magic ring and work 6 sc into it. Tighten the ring.
Stitch count: 6 stitches
Inc in each st around.
Stitch count: 12 stitches
(Sc 1, inc) × 6.
Stitch count: 18 stitches
Sc in each st around.
Stitch count: 18 stitches
(Sc 1, dec) × 6.
Stitch count: 12 stitches
Sc in each st around. After Rnd 9, stuff the toe and middle, leaving the final end slightly softer for attachment.
Stitch count: 12 stitches
Dec × 6. Fasten off, leaving a 30 cm tail. Thread through the 6 remaining front loops, draw closed, and secure. Retain the tail for sewing. Make the second Hind leg from Rnds 1–10.
Stitch count: 6 stitches
Tips
Two closed oval legs are complete; Rnd 1 marks each toe.
With black, make a magic ring and work 6 sc into it. Tighten the ring.
Stitch count: 6 stitches
Inc in each st around.
Stitch count: 12 stitches
Sc in each st around.
Stitch count: 12 stitches
(Sc 2, dec) × 3.
Stitch count: 9 stitches
Sc in each st around. After Rnd 8, add a small amount of stuffing only to the paw formed by Arm Rnds 1–4.
Stitch count: 9 stitches
Sc 7, dec.
Stitch count: 8 stitches
Sc in each st around. Leave the upper arm unstuffed.
Stitch count: 8 stitches
Flatten the 8-stitch opening into 4 opposing pairs. Without a turning chain, work 4 sc through both layers, inserting the hook through both stitches of each pair. Fasten off, leaving a 30 cm sewing tail. Make the second Arm from Rnd 1 through this closing row.
Stitch count: 4 stitches
Tips
Each arm has a rounded paw and a flat 4-stitch shoulder edge.
With black, make a magic ring and work 6 sc into it. Tighten the ring. This is the tail tip.
Stitch count: 6 stitches
(Sc 1, inc) × 3.
Stitch count: 9 stitches
Sc in each st around.
Stitch count: 9 stitches
(Sc 1, dec) × 3. Add a small amount of stuffing to the rounded tip.
Stitch count: 6 stitches
Sc in each st around. Add tiny amounts of stuffing after Rnds 10, 15, 20, and 26 so the tube stays flexible. Keep Rnds 24–26 only lightly filled.
Stitch count: 6 stitches
Tips
The long tube remains flexible enough to curve without wire.
Flatten the 6-stitch opening into 3 opposing pairs. Without a turning chain, work 3 sc through both layers, using one opposing pair per stitch. Fasten off, leaving a 35 cm sewing tail.
Stitch count: 3 stitches
Tips
The flat 3-stitch edge is the tail base.
With orange, make a magic ring and work 6 sc into it. Tighten the ring. This is the bottom pole.
Stitch count: 6 stitches
Inc in each st around.
Stitch count: 12 stitches
(Sc 1, inc) × 6.
Stitch count: 18 stitches
(Sc 2, inc) × 6.
Stitch count: 24 stitches
Sc in each st around.
Stitch count: 24 stitches
(Sc 2, dec) × 6.
Stitch count: 18 stitches
(Sc 1, dec) × 6. Stuff evenly but keep the shape compressible for sculpting.
Stitch count: 12 stitches
Dec × 6. Fasten off, leaving an 80 cm tail. Thread through the 6 remaining front loops, draw closed, and secure. Keep the tail for sculpting. This closure is the top pole.
Stitch count: 6 stitches
With brown, ch 4. Sl st in the 2nd ch from the hook and in each of the next 2 ch. Fasten off, leaving a 20 cm tail. Keep both yarn ends for attaching the base.
Stitch count: 3 stitches
With green, ch 5. Sc in the 2nd ch from the hook, hdc in the next ch, dc in the next ch, and 3 sc in the last ch. Rotate to work along the unused side of the foundation: dc in the next ch, hdc in the next ch, and sc in the last ch, opposite the first sc. Join with a sl st to the first sc; the join does not count. Fasten off, leaving a 20 cm tail. The joined end is the leaf base.
Stitch count: 9 stitches
Tips
Both sides of the four worked foundation chains are used; the far end holds 3 sc.
With orange, make a magic ring and work 4 sc into it. Tighten the ring.
Stitch count: 4 stitches
Sc in each st around.
Stitch count: 4 stitches
(Sc 1, inc) × 2.
Stitch count: 6 stitches
Sc in each st around.
Stitch count: 6 stitches
(Sc 1, inc) × 3.
Stitch count: 9 stitches
Sc in each st around.
Stitch count: 9 stitches
(Sc 2, inc) × 3.
Stitch count: 12 stitches
Sc in each st around.
Stitch count: 12 stitches
(Sc 3, inc) × 3.
Stitch count: 15 stitches
(Sc 4, inc) × 3.
Stitch count: 18 stitches
(Sc 5, inc) × 3.
Stitch count: 21 stitches
(Sc 6, inc) × 3.
Stitch count: 24 stitches
(Sc 7, inc) × 3.
Stitch count: 27 stitches
(Sc 8, inc) × 3.
Stitch count: 30 stitches
(Sc 4, inc) × 6.
Stitch count: 36 stitches
Sc in each st around.
Stitch count: 36 stitches
(Sc 5, inc) × 6. On the final stitch, complete its last pull-through with black. Cut and secure the orange end inside.
Stitch count: 42 stitches
With black, sc in each st around. On the final stitch of Rnd 19, complete its last pull-through with orange. Cut and secure the black end inside.
Stitch count: 42 stitches
Tips
The two black rounds form the integrated hat band.
With orange, work in FLO: (sc 2, inc) × 14. Leave the back loops unused.
Stitch count: 56 stitches
Work through both loops: (sc 3, inc) × 14.
Stitch count: 70 stitches
Sc in each st around. Join with a sl st to the first sc; the join does not count. Fasten off and weave in this end. Keep the hat hollow with its underside open.
Stitch count: 70 stitches
Tips
The unstuffed hat has a 42-stitch cone opening and a 70-stitch outer brim.
With black, make a magic ring and work 6 sc into it. Tighten the ring.
Stitch count: 6 stitches
Place one Inner ear on the front of each Outer ear, matching their tip directions. Center the pink triangle with a visible black border and its base above Outer ear Row 7. Sew around all three pink edges with the pink tail, catching only the front of the black fabric, then secure the ends on the rear. Do not stuff. Pin the two finished ears symmetrically to the upper sides of the Head, with pink faces forward. Run each black Row 7 base diagonally across Head Rnds 6–10: its upper corner nearer the crown and its lower corner nearer the outer cheek. Curve the base slightly to follow the head. Sew the entire 12-stitch base securely to the head, leaving both side edges and the tip free. Weave in the black tails.
With pink yarn, place a small inverted triangular satin-stitched nose centered between the eyes, across 2 stitches at Head Rnd 14. Add one short vertical stitch down to Rnd 15. Secure pink ends inside the lower head opening. With three strands of cream embroidery thread, make three straight whiskers on each cheek. Place their inner ends beside the nose around Head Rnds 14–15 and their outer ends 4 stitches farther toward each side, spread across Rnds 13–16. Keep them flat against the fabric; do not leave loose thread loops. Secure the thread ends inside the lower opening.
Align the open 18-stitch Head edge with the open 18-stitch Body neck. Point the face toward the chosen Body front. Use the Body sewing tail to sew one Head edge stitch to each Body neck stitch all the way around, adding a final small amount of stuffing at the neck before the last few stitches. Keep stuffing out of the seam. Close the join completely, reinforce it with a second pass, secure both remaining tails, and bury them inside.
Choose the upward-facing toe surface of each Hind leg. With pink yarn, outline and fill one small oval pad centered across approximately 3 stitches and 2 rounds within Hind leg Rnds 2–4. Place three smaller pads just above it toward Rnds 4–5, each formed with two short parallel stitches over one stitch width. Secure and bury all pink ends. Set the cat on a flat surface. Place one Hind leg on each lower front side, with Rnd 1 pointing forward and the pink pads visible from the front and above. Sew the rear upper surface of each leg, across its Rnds 7–9, to Body Rnds 5–8. Keep the toe ends free and place both undersides level with the Body base. Check the sitting balance, reinforce both seams, and bury the tails.
Bend Tail Rnds 1–8 into a hook. With a separate length of black yarn, make two small anchoring stitches joining one side of Tail Rnd 2 to the same side of Tail Rnd 9, keeping the rounded tip visible and the curve uncrushed. Secure and bury both ends. Place the closed 3-stitch Tail base at the left rear of the cat, which appears on the viewer's right in a front view. Sew the base securely to Body Rnds 5–7 with the shaft rising upward beside the body. Use a second black yarn length to tack Tail Rnd 16 to Body Rnd 13 at the rear side. This separate shaft anchor supports the upright curve. Secure and bury all tails.
Use the long orange tail from the Pumpkin top closure. Take the yarn down the outside to the bottom pole, pass the needle through the center of the stuffed pumpkin, and bring it out at the top pole. Gently tighten to form one groove. Make five more outside-to-bottom and through-center-to-top passes, spacing the six outside paths about 4 stitches apart around Pumpkin Rnds 5–8. Even the tension so six rounded ribs form without exposing stuffing. Secure the strand at the top and keep a sewing length. Attach the base of the Pumpkin stem directly over the top closure using both brown ends, leaving the narrow strip standing upward. Sew the Pumpkin leaf base beside the stem, with its far curved end pointing outward. Secure and bury the brown and green ends.
Sew each Arm 4-stitch closing edge to one upper side of Body Rnds 16–18, just below the head seam. Position both rounded paw tips forward and inward. Set the Pumpkin against the front of Body Rnds 8–14 with the stem upright and leaf visible; its back should touch the torso. Use orange yarn to sew three separate areas of the Pumpkin back to Body Rnds 10–13, passing under stitches rather than through the sculpting strands. Then use separate short black yarn lengths to sew the inside of each Arm paw, around Arm Rnds 3–4, to the corresponding Pumpkin side around Pumpkin Rnds 5–7. Keep the black stitches underneath the paws. Reinforce the shoulder and pumpkin seams, then secure and bury every remaining tail.
Keep the Witch hat unstuffed. Bend the narrow tip toward one side. With orange yarn, tack the side of Witch hat Rnd 3 to the same side of Rnd 8 with two small stitches to retain the fold, then secure the ends inside the cone. Choose the front of the band. With three strands of gold embroidery thread, outline a rectangle spanning approximately 5 stitches across Witch hat Rnds 18–19; use short backstitches for all four sides and add one vertical center bar. Secure thread ends inside the hat. Perch the hat tilted slightly backward between the ears, with the buckle forward and both pink ear inserts visible. The hat is a sewn crown decoration rather than a fitted removable accessory. With orange yarn, make three secure attachment areas between the underside of the brim near Witch hat Rnd 20 and the Head crown around Rnds 5–8: one at the rear and one on each side, avoiding the ears and eye backs. Keep the hollow underside unfilled. Secure and bury the attachment ends.
Check that both ears, both hind legs, both arms, the tail base and shaft anchor, the pumpkin, its stem and leaf, and all three hat anchors are secure. Confirm the 18-stitch neck seam is completely closed, both eye backs remain seated, and no stuffing or loose embroidery loops are exposed. Weave in any remaining ends. Set the cat on a level surface, arrange the brim and curl, and measure the actual seated height from base to hat tip. Record that result and any adjustments for human review; the 18 cm value remains a target until tested.
Use strong light while counting black stitches; check each shaping round before continuing.
Pin the head, hind legs, arms, and pumpkin together temporarily and check the seated balance before sewing.
Use several small pumpkin-sculpting passes with gentle tension instead of pulling one strand hard enough to cut into the crochet.
Keep the hat unstuffed so its tip can bend and its brim can sit between the ears.
Work Witch hat Rnds 18–19 in orange instead of black, retaining 42 stitches in each round. Continue the orange brim exactly as written. Omit the gold buckle embroidery and gold thread; every other component and attachment remains the same.
After closing the Pumpkin, make eight sculpting passes instead of six. Space their paths approximately 3 stitches apart around the 24-stitch middle rounds. Keep the same gentle tension, stem, leaf, and body attachment.
For the selected cotton yarn, polyester stuffing, plastic eyes, and embroidered details, gently spot-clean with a damp cloth and mild soap. Avoid soaking the finished decoration or pulling the sculpting strands. Reshape the hat and tail by hand and let the piece air-dry fully. Follow the actual yarn and eye suppliers' care guidance if it is more restrictive.
No. It is an original reference-inspired development design. The hidden construction and exact materials of the reference are not established, and this pattern has not been physically tested.
The 2.75 mm hook is an authored starting selection, and approximately 18 cm is only a design target. No measured gauge is available. Confirm the actual seated height including the hat with a sample and measuring tape.
Actual consumption has not been measured, so yarn amounts are left null. Black is used for the largest number of components, orange for the hat and pumpkin, and pink, brown, and green for smaller details. Record weighed usage during the first physical test.
The default design sews both to the cat: the hat is anchored at three crown points, and the pumpkin is attached to the torso and paws. They are not removable accessories in this construction.
It is rated intermediate because it combines small continuous rounds, paired components, chain-oval construction, embroidery, yarn sculpting, and precise assembly.
Get free crochet patterns and maker tips from Hookfolk.
Login to save your progress
Create a free account or log in to save this pattern, track your progress, and access it on any device.
Have you tried this pattern?
Comments
Be the first to share your experience.