
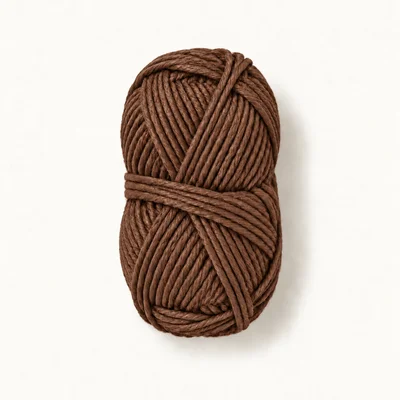
Yarn in brown
DK (3) · 100% cotton
Authored selection for the head, body and two wings. Consumption has not been measured.
Amigurumi
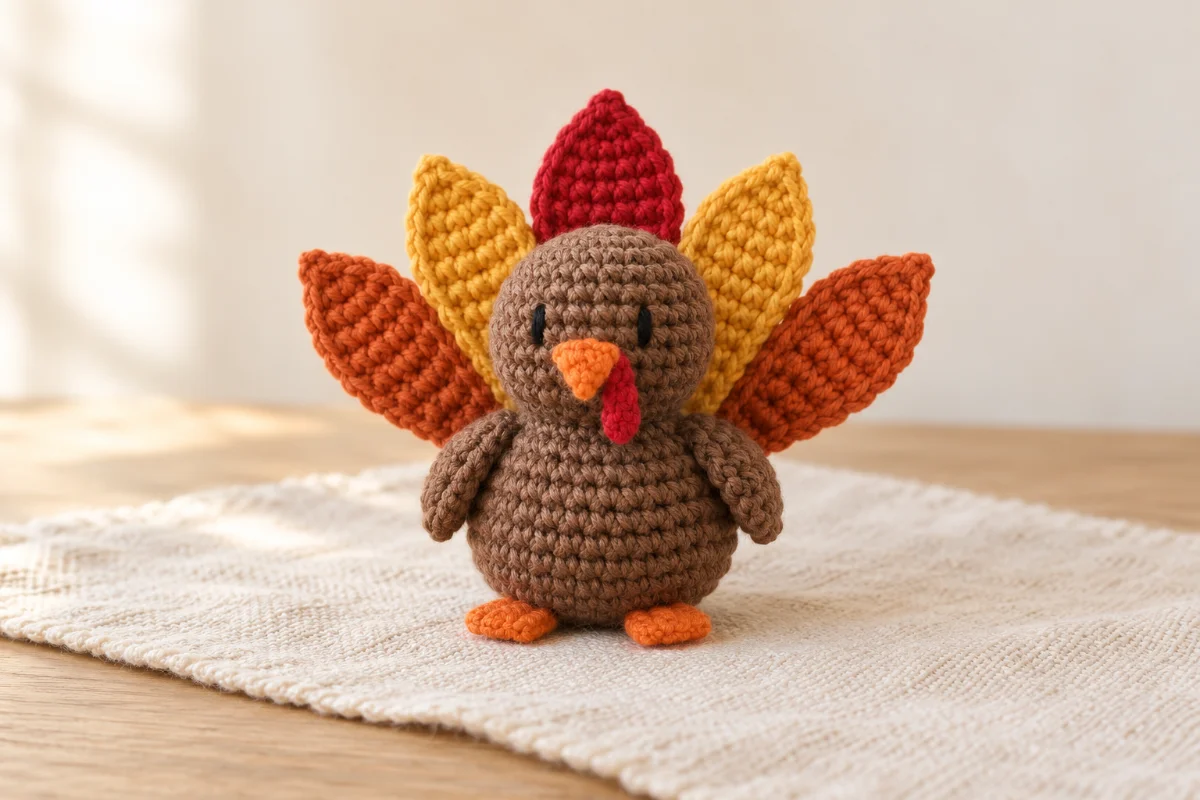
A little brown turkey with a five-feather autumn tail
Create a small turkey with a rounded body, embroidered eyes, orange beak, red wattle and five flat tail feathers. This original development draft was designed without a reference image and requires human review and physical testing before publication. Materials and hook are authored selections; finished dimensions are unmeasured design targets.
Nobody has made this one start to finish yet. Check your stitch counts as you go, and tell us if something does not add up.
Worked in 6 pieces
Head and body, Wing, Tail feather, Beak, Wattle, Foot
Some sewing required
See Assembly & finishing.
Needs stuffing
Polyester fiberfill
Gather these before you begin.
DK (3) · 100% cotton
Authored selection for the head, body and two wings. Consumption has not been measured.
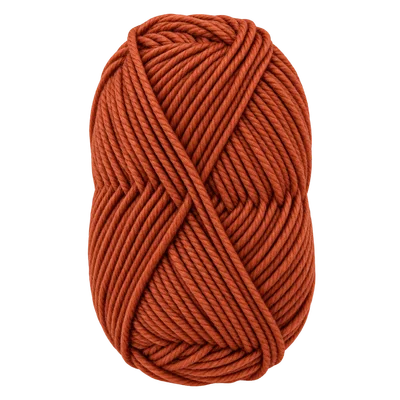
DK (3) · 100% cotton
Authored selection for two outer tail feathers; use the same yarn range as the brown.

DK (3) · 100% cotton
Authored selection for two inner tail feathers.
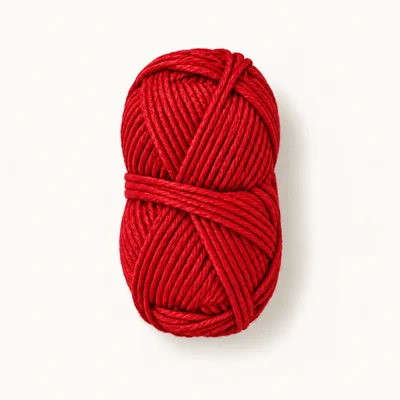
DK (3) · 100% cotton
Authored selection for the central tail feather and wattle.
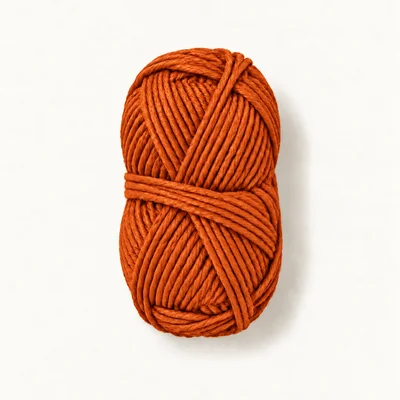
DK (3) · 100% cotton
Authored selection for the beak and two flat feet.
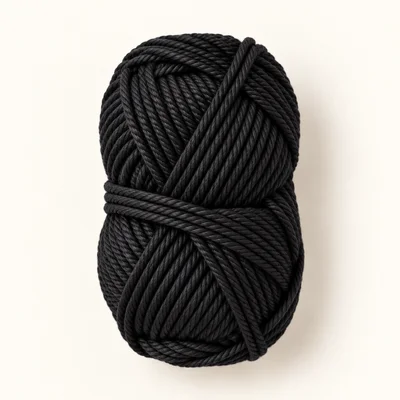
DK (3) · 100% cotton
Authored selection for two short embroidered eyes.
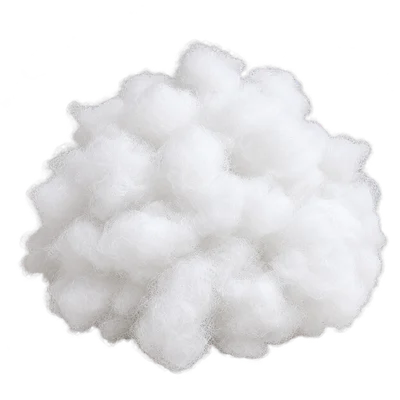
Polyester
For the head and body only; the other pieces remain unstuffed.
DK acrylic yarn
May create a softer body and a less rigid feather fan; dimensions and consumption may change.
Use the same yarn weight for every component, reassess hook size for dense fabric and follow the yarn manufacturer's care guidance.
Sport-weight cotton yarn
Produces a smaller turkey when paired with an appropriately smaller hook.
Keep all stitch counts unchanged, use the same weight for every color and confirm the finished proportions during testing.
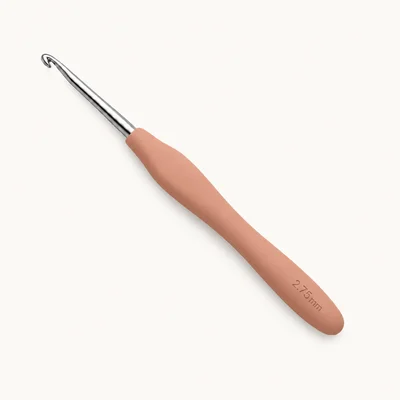
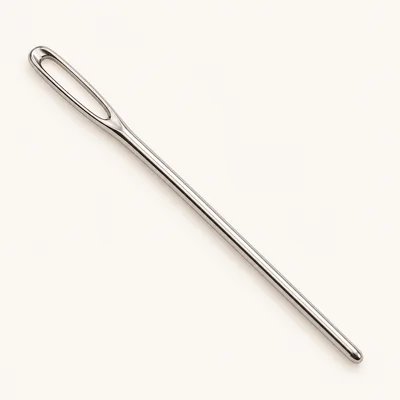
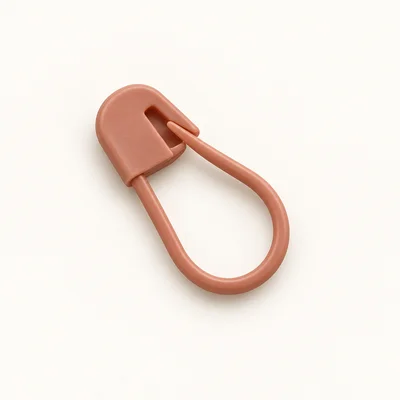
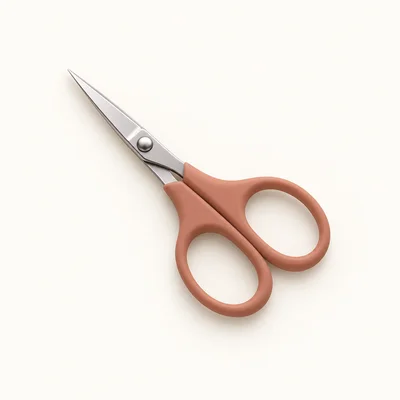
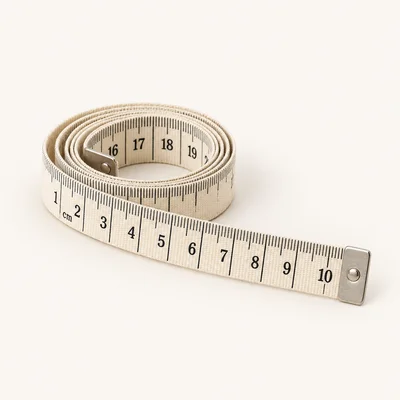
Check off each step to make sure you are ready. Preparation stays in this browser until you log in.
0 / 9 complete
Follow each step at your own pace.
Round 1 of 34
0%
Progress stays in this browser until you log in.
With brown, make a magic ring and work 6 sc into it. Tighten the ring.
Stitch count: 6 stitches
Inc in each st around.
Stitch count: 12 stitches
(Sc 1, inc) × 6.
Stitch count: 18 stitches
(Sc 2, inc) × 6.
Stitch count: 24 stitches
(Sc 3, inc) × 6.
Stitch count: 30 stitches
(Sc 4, inc) × 6.
Stitch count: 36 stitches
Sc in each st around for 5 rounds.
Stitch count: 36 stitches
Tips
The body forms a rounded cup with 36 stitches in each round.
(Sc 4, dec) × 6.
Stitch count: 30 stitches
(Sc 3, dec) × 6.
Stitch count: 24 stitches
(Sc 2, dec) × 6. Stuff the body evenly, keeping the base slightly flattened.
Stitch count: 18 stitches
Sc in each st around.
Stitch count: 18 stitches
(Sc 2, inc) × 6.
Stitch count: 24 stitches
(Sc 3, inc) × 6.
Stitch count: 30 stitches
Sc in each st around for 4 rounds.
Stitch count: 30 stitches
Tips
A smaller round head rises above the narrowed neck.
(Sc 3, dec) × 6.
Stitch count: 24 stitches
(Sc 2, dec) × 6. Stuff the head and fill the neck without stretching the stitches.
Stitch count: 18 stitches
(Sc 1, dec) × 6. Add the final small amount of stuffing through the remaining opening.
Stitch count: 12 stitches
Dec × 6. Fasten off with a 15 cm tail. Thread the tail through the front loops of all 6 remaining stitches, pull the opening closed and secure the end inside.
Stitch count: 6 stitches
With brown, make a magic ring and work 6 sc into it. Tighten the ring.
Stitch count: 6 stitches
Inc in each st around.
Stitch count: 12 stitches
Sc in each st around for 2 rounds. Fasten off with a sewing tail. Leave unstuffed and flatten the opening into two layers of 6 stitches; do not crochet the layers together.
Stitch count: 12 stitches
Tips
Each wing is a small unstuffed pocket with an open flattened edge.
With the selected feather color, ch 3. Sc in the 2nd ch from the hook and in the last ch.
Stitch count: 2 stitches
Ch 1. Turn. Inc in each st.
Stitch count: 4 stitches
Ch 1. Turn. Inc, sc 2, inc.
Stitch count: 6 stitches
Ch 1. Turn. Sc in each st across.
Stitch count: 6 stitches
Ch 1. Turn. Dec, sc 2, dec.
Stitch count: 4 stitches
Ch 1. Turn. Dec × 2.
Stitch count: 2 stitches
Ch 1. Turn. Dec. Fasten off with a sewing tail. Weave in the foundation tail, keeping the finishing tail for assembly.
Stitch count: 1 stitches
Tips
Each feather is a flat tapered shape. Row 1 is the base; Row 7 is the outward-facing tip.
With orange, ch 5. Sc in the 2nd ch from the hook and in each remaining ch across.
Stitch count: 4 stitches
Ch 1. Turn. Dec × 2.
Stitch count: 2 stitches
Ch 1. Turn. Dec. Fasten off with a sewing tail. Weave in the foundation tail.
Stitch count: 1 stitches
With red, ch 4. Sc in the 2nd ch from the hook and in each remaining ch across. Fasten off with a sewing tail. Weave in the foundation tail.
Stitch count: 3 stitches
With orange, ch 4. Sc in the 2nd ch from the hook and in each remaining ch across.
Stitch count: 3 stitches
Ch 1. Turn. Sc in each st across. Fasten off with a sewing tail. Weave in the foundation tail.
Stitch count: 3 stitches
With brown, make a magic ring and work 6 sc into it. Tighten the ring.
Stitch count: 6 stitches
Lay all five feathers flat with Row 1 bases together and Row 7 tips pointing outward. Viewed from the front of the fan, arrange rust, golden yellow, red, golden yellow, rust. Set the red feather upright, the gold feathers approximately 30 degrees to either side and the rust feathers approximately 60 degrees to either side. Overlap neighboring lower side edges so the feathers touch through Rows 1–3 while their tips remain separate. Using the matching feather tails, sew each adjacent pair together along these overlapping lower edges. Keep the fan flat and retain the remaining tails for attachment.
Choose the front of the head and body; the opposite side is the back. Center the red feather behind the head. Place the gathered feather bases against the back of the body across body Rounds 7–10, with the tips rising behind the head. Sew all five bases securely to the body using their matching tails. Catch the fan against body Rounds 11–12 with two additional small brown stitches, one on either side of the central feather, to support its upright position. Keep the upper feather tips free. Secure and bury all tail ends.
With each wing tail, sew the two flattened opening layers together through all 6 opposing stitch pairs. Position one closed edge on each side of the body across body Rounds 10–12, centered at the left and right sides. Sew each closed edge to the body, angling the rounded end downward and slightly toward the front. Add one small stitch through the lower edge of each wing and the body to hold its position. Secure and bury the tails.
Place one end of the wattle on the front of the head between head and body Rounds 18 and 19, slightly to the turkey's left of center. Sew that end down so the strip hangs toward the neck; add a small stitch at its lower end to keep it against the face. Center the beak's 4-stitch foundation edge horizontally across the front of the head between Rounds 19 and 20. Its pointed Row 3 end faces downward and partly overlaps the wattle's top. Sew the foundation edge and one stitch at each upper corner to the face, leaving the point free. Secure and bury both tails.
With black yarn, embroider two short vertical eyes between head and body Rounds 20 and 21, positioned approximately 6 stitches apart across the front and centered above the beak. Make each eye with two passes over one round of height without pulling a dent into the head. Secure the yarn and bury the ends inside the stuffing.
Place both feet beneath the front of the body, leaving approximately 2 body stitches between them. Sew each foot's Row 2 edge to the underside across body Rounds 3–4, with its foundation edge projecting forward as a small flat tab. Leave the forward edges free. Secure and bury both tails. Check every attachment, remove temporary yarn ties and gently shape the body base. Measure the completed turkey and record the actual dimensions for development review. The turkey is a soft ornament and is not designed to stand reliably without support.
Count the 18 neck stitches before increasing into the head; an extra decrease here changes the head shaping.
Lay out the whole feather fan before sewing so its red center lines up with the center of the head.
Sew through the body fabric without passing the needle straight through the entire stuffed body.
Use light stuffing near the base so it can be gently flattened without creating visible gaps.
Keep every stitch count and attachment unchanged. Replace rust with olive, golden yellow with cream and the central red feather with terracotta. Retain red for the wattle and orange for the beak and feet.
Replace the two vertical eyes with two shallow curved embroidered lines between head and body Rounds 20 and 21. Make each curve over 2 stitches, with a small anchoring stitch at its midpoint. Leave approximately 3 stitches between the curves.
For the selected cotton yarn and polyester stuffing, spot clean gently with cool water and mild detergent. Avoid rubbing the embroidered face. Reshape the feather fan and dry flat completely. Follow the actual yarn label if it gives more restrictive instructions.
It is rated intermediate because it combines continuous rounds, a narrow neck, small flat decreases, embroidery and several precisely placed sewn pieces.
No. The head and body are continuous, but the wings, feather fan, beak, wattle and feet are sewn on.
No. The dimensions are development targets and yarn consumption is unmeasured. This original draft needs human review and a physical sample.
The soft body and small flat feet do not guarantee balance. Display it with support if necessary.
No. All five feathers are single-layer flat pieces. Their overlapping lower edges and attachment stitches support the fan.
Get free crochet patterns and maker tips from Hookfolk.
Login to save your progress
Create a free account or log in to save this pattern, track your progress, and access it on any device.
Have you tried this pattern?
Comments
Be the first to share your experience.