
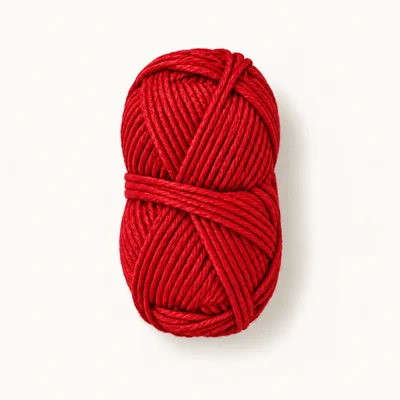
Yarn in red
Sport (2) · 100% cotton
Authored yarn selection for the cap. Consumption has not been measured.
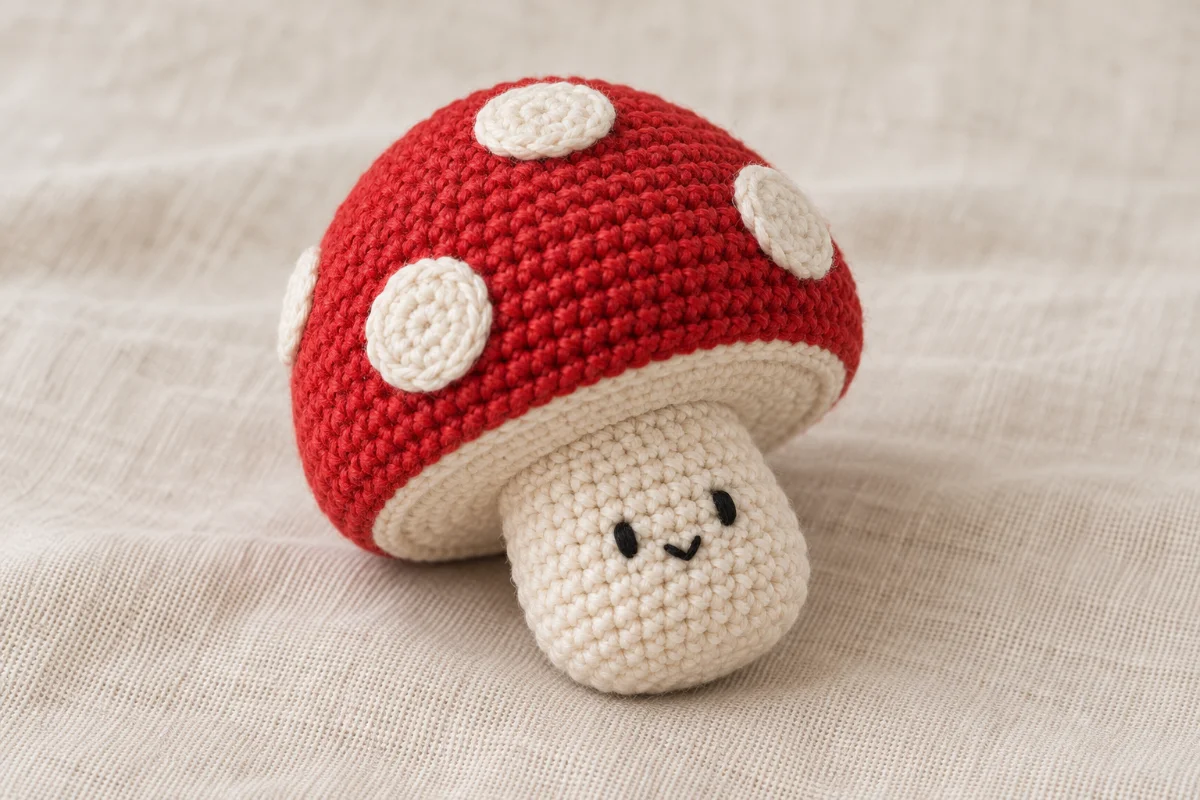
Amigurumi
A spotted red mushroom with a cream stem and embroidered smile
Crochet a miniature mushroom with a rounded red cap, five cream spots, and a smiling stem. The cap, underside, and stem form one continuous stuffed piece; the spots are sewn on. This original development draft uses an independently authored design rather than a supplied visual reference and requires human review and physical testing.
Nobody has made this one start to finish yet. Check your stitch counts as you go, and tell us if something does not add up.
Worked in 2 pieces
Spot, Mushroom
Some sewing required
See Assembly & finishing.
Needs stuffing
Polyester fiberfill
Gather these before you begin.
Sport (2) · 100% cotton
Authored yarn selection for the cap. Consumption has not been measured.

Sport (2) · 100% cotton
Authored yarn selection for the underside, stem, and five spots. Use the same yarn line as the red yarn; consumption has not been measured.
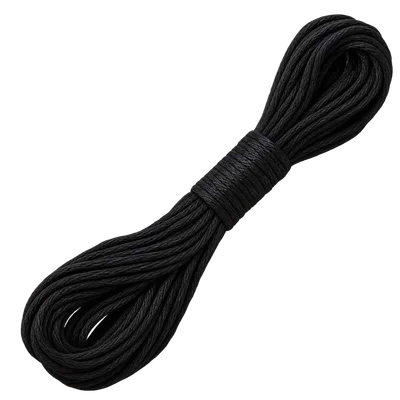
100% cotton
Authored selection for the embroidered eyes and smile. Use two strands together.
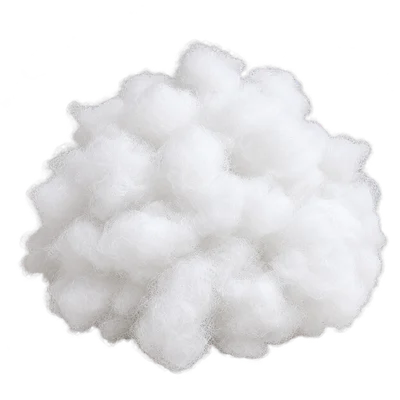
Polyester
For lightly filling the cap and more firmly filling the stem. Consumption has not been measured.
Sport-weight acrylic yarn in place of cotton
Changes stitch definition, stretch, stuffing behavior, and potentially finished size.
Use matching yarn weights for red and cream. Swatch for dense fabric and follow the replacement yarn's care instructions.
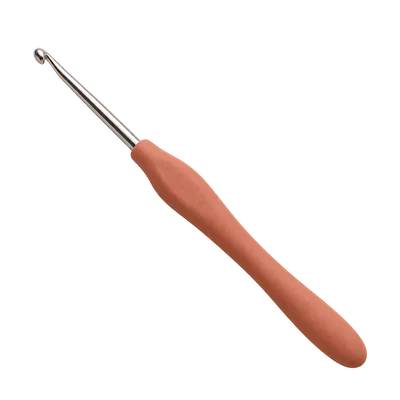
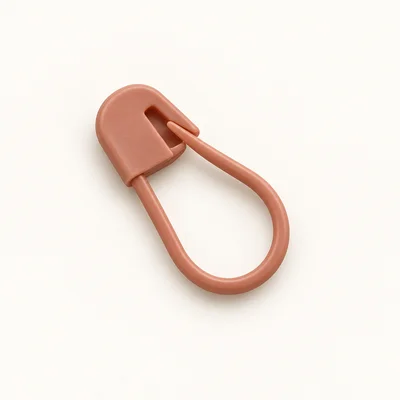
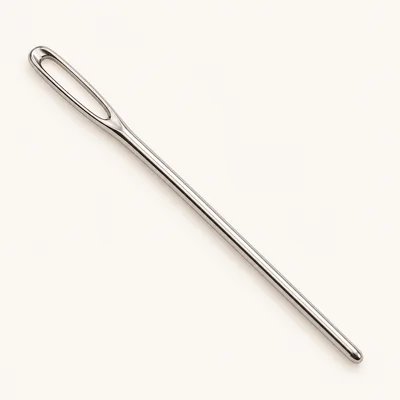
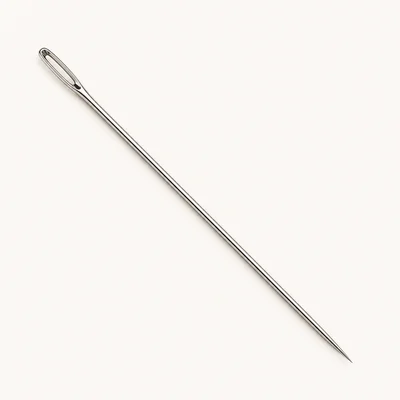

Check off each step to make sure you are ready. Preparation stays in this browser until you log in.
0 / 7 complete
Follow each step at your own pace.
Round 1 of 16
0%
Progress stays in this browser until you log in.
With cream, make a magic ring and work 6 sc into it. Tighten the ring. Cut the yarn, leaving a 20 cm tail, and pull the working loop through to fasten off.
Stitch count: 6 stitches
Tips
Make five circles. Secure each starting tail on the wrong side without distorting the circle; retain its finishing tail for sewing.
With red, make a magic ring and work 6 sc into it.
Stitch count: 6 stitches
Inc in each st around.
Stitch count: 12 stitches
(Sc 1, inc) × 6.
Stitch count: 18 stitches
(Sc 2, inc) × 6.
Stitch count: 24 stitches
(Sc 3, inc) × 6.
Stitch count: 30 stitches
(Sc 4, inc) × 6.
Stitch count: 36 stitches
(Sc 5, inc) × 6.
Stitch count: 42 stitches
Sc in each st around for 2 rounds. Change to cream on the final pull-through of the last stitch.
Stitch count: 42 stitches
Tips
The red cap is complete and remains open. Pause to sew on all five spots as described in assembly before continuing.
Working in back loops only for this entire round, (sc 5, dec) × 6. For each dec, insert the hook through the back loop of each of the next 2 stitches, yarn over and draw through both back loops, then yarn over and draw through both loops on the hook.
Stitch count: 36 stitches
Tips
The unused front loops form a narrow rim around the red cap. Return to ordinary sc and front-loop invisible decreases after this round.
(Sc 4, dec) × 6.
Stitch count: 30 stitches
(Sc 3, dec) × 6.
Stitch count: 24 stitches
Tips
Add small tufts of fiberfill to the cap through the opening. Keep the cap rounded above and its cream underside shallow; do not pack it into a ball.
(Sc 2, dec) × 6.
Stitch count: 18 stitches
Tips
The remaining opening forms the top of the stem. Keep the cap stuffing above this opening.
Sc in each st around for 5 rounds.
Stitch count: 18 stitches
Tips
Pause to embroider the face as described in assembly while the stem is still open. Then stuff the stem in small tufts, filling the neck beneath the cap without stretching the stitches.
(Sc 1, dec) × 6.
Stitch count: 12 stitches
Tips
Add the final small tuft of stuffing through the opening. Keep the base soft enough to flatten slightly.
Dec × 6. Cut the yarn, leaving a 20 cm tail, and pull the working loop through to fasten off.
Stitch count: 6 stitches
Tips
Six stitches remain for the gathered closure described in assembly.
With cream, make a magic ring and work 6 sc into it. Tighten the ring. Cut the yarn, leaving a 20 cm tail, and pull the working loop through to fasten off.
Stitch count: 6 stitches
Tips
Make five circles. Secure each starting tail on the wrong side without distorting the circle; retain its finishing tail for sewing.
Pause after Mushroom Rnd 9. Place one spot over the cap's starting ring. Place the other four spots evenly around the cap, with their centers near Mushroom Rnds 5–6 and a visible red gap between neighboring spots. Keep every spot entirely above the cap rim. Position each spot with its right side facing outward. Using its cream tail, whipstitch through each of its six edge stitches and a small adjacent stitch of the red cap. Keep the circles flat rather than gathered. Secure and weave each tail inside the open cap. Continue with Mushroom Rnd 10.
Pause after Mushroom Rnd 18. Choose the front of the stem, keeping the round-start line toward the back. With two strands of black embroidery floss, make two vertical eyes spanning between Mushroom Rnds 15 and 16, leaving three unworked stitch columns between them. Work each eye twice over the same span. Center a shallow V-shaped smile below the eyes: bring the needle out at one upper corner between Rnds 16 and 17, insert it one stitch toward the center and one round lower, then bring it out at the opposite upper corner and insert it at the same lower center point. Secure the floss inside the open stem without pulling the face inward. Stuff the stem and continue with Mushroom Rnd 19.
After Mushroom Rnd 20, thread the cream tail through the front loop of each of the six remaining stitches. Pull gently to close the opening, secure the tail, and bury it through the stuffing. Trim the end. Massage the stuffing to form a rounded cap, shallow underside, and centered stem. Press the stem base lightly between your fingers without stretching it. Check every spot attachment and all secured ends. Measure the sample's height and cap width to assess the intended size targets.
Use small stitches when attaching the spots so cream sewing yarn does not extend across the red gaps.
Add cap stuffing gradually. Excess filling makes the underside bulge and reduces the mushroom silhouette.
Hold the stem beneath the cap while adding stuffing to keep the neck centered.
Replace red yarn with brown yarn of the same weight and fiber for Mushroom Rnds 1–9. Keep all five spots, the underside, and the stem cream; follow the original stitch counts and assembly.
Omit the black embroidery floss and the face embroidery stage. Keep all crochet, spot attachment, stuffing, and closure instructions unchanged.
For the selected cotton yarn and polyester filling, gently spot clean with cool water and a small amount of mild detergent. Avoid twisting. Reshape and air dry fully; follow the actual yarn and filling labels if their instructions differ.
No. The cap, underside, and stem are continuous, but all five spots are sewn on and the face is embroidered.
It is intended for beginners who can maintain a stitch count in continuous rounds. The additional techniques are invisible decreases, one back-loop shaping round, spot sewing, and simple embroidery.
No measured gauge is established. The authored starting selection is sport-weight cotton with a 2.5 mm hook. Swatch for firm fabric that conceals stuffing and confirm dimensions during the sample.
Consumption and making time have not been established. The design contains one 20-round mushroom and five single-round spots; record yarn use and time during physical testing.
Freestanding balance is not established. The small rounded stem may need support when displayed.
Get free crochet patterns and maker tips from Hookfolk.
Login to save your progress
Create a free account or log in to save this pattern, track your progress, and access it on any device.
Have you tried this pattern?
Comments
Be the first to share your experience.