

Yarn in lavender
DK (3) · 100% cotton
Authored material selection for the head, arms, and underside. Consumption has not been measured.
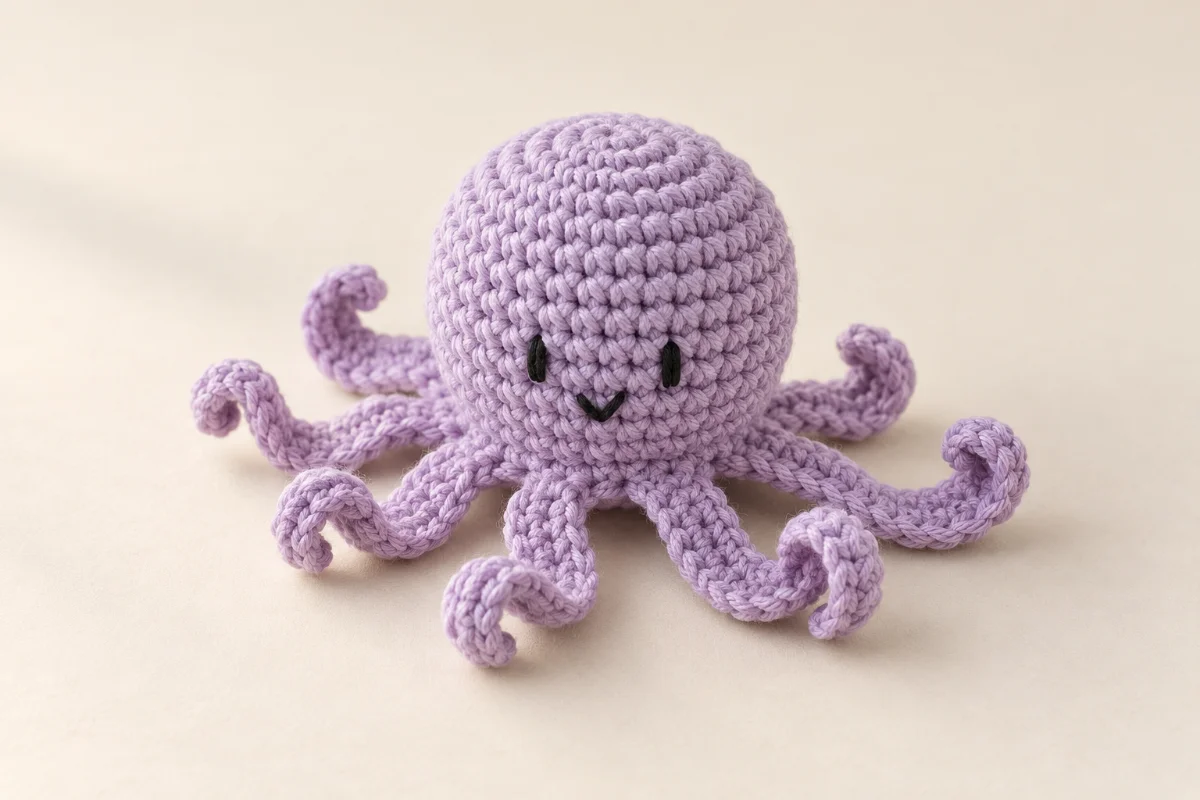
Amigurumi
A little rounded octopus with eight curly arms
Crochet a small octopus with a rounded head, eight integrated curly arms, and an embroidered face. This original development draft uses an authored design rather than a supplied visual reference and requires human review and physical testing.
Nobody has made this one start to finish yet. Check your stitch counts as you go, and tell us if something does not add up.
Construction
One piece with integrated curly arms.
No sewing required
Needs stuffing
Polyester fiberfill
Gather these before you begin.
DK (3) · 100% cotton
Authored material selection for the head, arms, and underside. Consumption has not been measured.
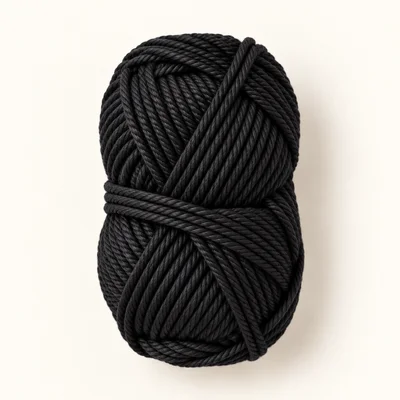
Fingering (1) · 100% cotton
Authored selection for embroidering two small eyes and a smile; use a short length. Consumption has not been measured.
Polyester
For the head only. Leave all eight arms unstuffed.
Smooth DK acrylic yarn for the lavender cotton
The head may feel softer and the curls may hold a different shape; size and consumption can change.
Retain all stitch counts and choose a hook that produces closed fabric. Follow the replacement yarn's care instructions.
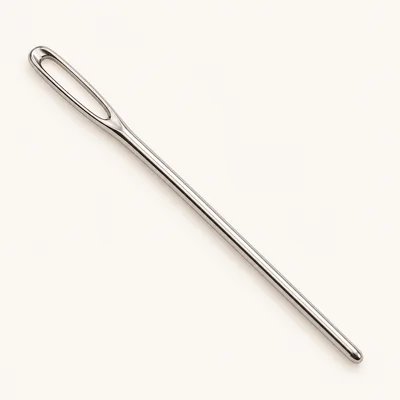
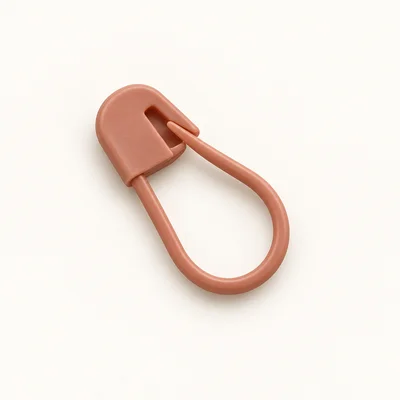
× 2
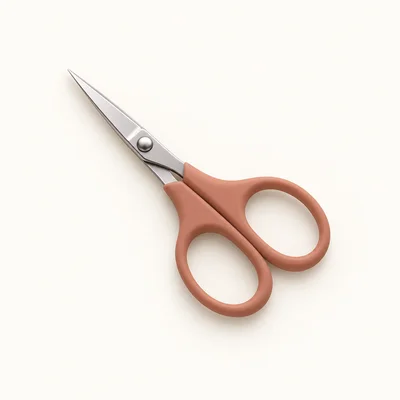
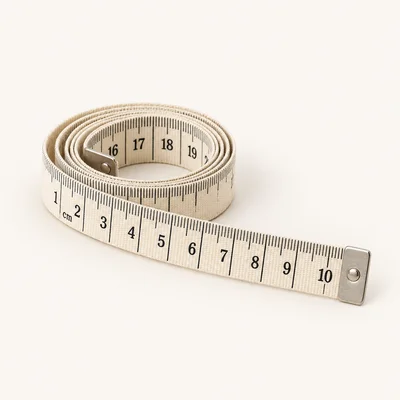
Check off each step to make sure you are ready. Preparation stays in this browser until you log in.
0 / 9 complete
Follow each step at your own pace.
Round 1 of 12
0%
Progress stays in this browser until you log in.
With lavender, make a magic ring and work 6 sc into it. Pull the ring closed.
Stitch count: 6 stitches
Inc in each st around.
Stitch count: 12 stitches
(Sc 1, inc) 6 times.
Stitch count: 18 stitches
(Sc 2, inc) 6 times.
Stitch count: 24 stitches
(Sc 3, inc) 6 times.
Stitch count: 30 stitches
Sc in each st around for 4 rounds.
Stitch count: 30 stitches
Tips
The head has a rounded crown and four straight rounds, with 30 stitches in each round.
(Sc 3, dec) 6 times.
Stitch count: 24 stitches
Tips
There are 24 stitches around the open lower edge. Keep the lavender working loop secured while adding the face.
Secure the lavender working loop with a marker. Choose the front opposite the round-start marker. With black yarn, embroider two short vertical eyes, each spanning the height of Head Rnd 7. Leave 4 stitch columns between the eyes. Below them, between Head Rnds 8 and 9, make a small V-shaped smile using 2 straight stitches: place the upper endpoints 2 stitch columns apart and the shared lower point one round lower, centered between them. Secure the black ends inside the open head and trim. Resume the lavender working loop.
Stitch count: 24 stitches
Tips
The face is complete, black ends are secured inside, and all 24 rim stitches remain available.
Work only into the front loops of Head Rnd 10. Repeat the following sequence exactly 8 times: sc in the FLO of the next head st; ch 13; beginning in the 2nd ch from the hook, work 2 sc in each of the 12 chains back toward the head; sl st through both top loops of the rim sc made immediately before this chain; sc in the FLO of each of the next 2 head stitches. After the eighth repeat, all 24 head front loops have been used. Do not fasten off. Each arm has 24 sc; each repeat uses 3 head stitches. The 24 rim sc are counted separately from the arm stitches and anchoring slip stitches.
Stitch count: 24 stitches
Tips
Eight arms surround the head. There are 24 unused back loops immediately inside their bases.
Fold the arms outward to expose the reserved back loops of Head Rnd 10. Without cutting the yarn, insert the hook into the first reserved back loop and begin the underside. Working into these reserved loops only, (sc 2, dec) 6 times. Each dec uses the next 2 reserved back loops. Mark the first underside sc. Ignore the stitches of the arm pass.
Stitch count: 18 stitches
Tips
All 24 reserved back loops are used exactly once, producing 18 underside stitches. The arms sit outside this new round.
Working through both loops of the underside stitches, (sc 1, dec) 6 times. Add small tufts of fiberfill through the remaining opening. Fill the head evenly without packing the lower edge tightly; keep the arms unstuffed.
Stitch count: 12 stitches
Tips
The head is stuffed and the underside has 12 stitches. The base should remain gently flattened rather than bulging.
Dec 6 times. Cut the lavender yarn, leaving a 15 cm tail, and pull the tail through the working loop.
Stitch count: 6 stitches
Tips
Six stitches surround the small final opening; close it with the yarn tail during finishing.
With lavender, make a magic ring and work 6 sc into it. Pull the ring closed.
Stitch count: 6 stitches
Thread the lavender tail onto the tapestry needle. Pass it through the front loop of each of the 6 stitches from Underside Rnd 3, in round order. Pull gently to close the opening. Secure the tail with a small backstitch through the underside fabric, then pass it through the stuffed head and bring it out on the opposite side. Trim close so the end retracts inside.
Check that all 8 arms are outside the closed underside and free from trapped loops. Gently roll each arm between your fingers in its natural curling direction. Spread the arms around the head without stretching them straight. Weave any remaining lavender starting tail through the inside of the crown before burying and trimming it; do not attach any arm with a separate seam.
Mark the first reserved back loop before starting the arm pass so the underside starting point stays easy to find.
Count 12 worked chains on every arm. Missing the chain nearest the head produces a shorter curl.
Keep the anchoring slip stitch loose enough to avoid pinching the arm base.
Use small tufts of stuffing to preserve the head shape while keeping the underside shallow.
During each of the eight arm repeats, replace ch 13 with ch 10. Beginning in the 2nd chain from the hook, work 2 sc in each of 9 chains, giving 18 sc per arm. Keep the anchoring slip stitch, three rim stitches per repeat, all head counts, and all underside counts unchanged.
Complete the lavender arm pass, then change to a second shade of the same selected yarn when pulling up the first loop of Underside Rnd 1. Work the entire underside in that shade with unchanged counts. Secure both color-change ends inside before stuffing.
For the selected cotton yarn and polyester filling, gently hand wash with mild detergent if their labels permit. Support the head, avoid pulling the arms, press out water without wringing, and reshape the curls before air drying completely.
Check every material label before washing. Reassess care if substituting yarn or filling.
No crocheted pieces are sewn together. All eight arms are crocheted directly onto the head. A needle is used to embroider the face, close the final opening, and secure ends.
This leaves 24 back loops available for the underside. The underside uses those original head loops rather than the new arm-pass stitches.
The individual stitches are simple, but returning to reserved loops and managing eight chain branches require careful stitch recognition. The pattern is rated intermediate for these construction steps.
No. The dimensions are unmeasured design targets, and no measured gauge is available. Yarn, hook, tension, stuffing, and how the curls settle affect the finished size.
No. This original development draft requires human review and physical testing before publication.
Get free crochet patterns and maker tips from Hookfolk.
Login to save your progress
Create a free account or log in to save this pattern, track your progress, and access it on any device.
Have you tried this pattern?
Comments
Be the first to share your experience.