
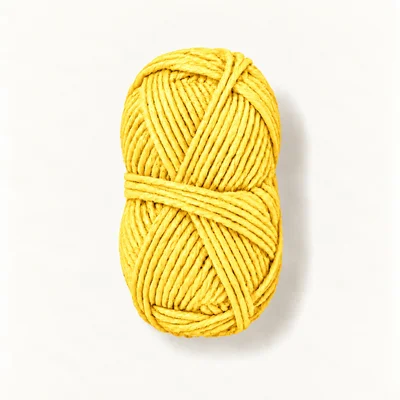
Yarn in yellow
15 g
Worsted (4) · 100% cotton · 15 g
About 15 g is an approximate allowance for both stars and the joining round. Cotton gives crisp points; acrylic is softer and slightly fuzzier.
Amigurumi
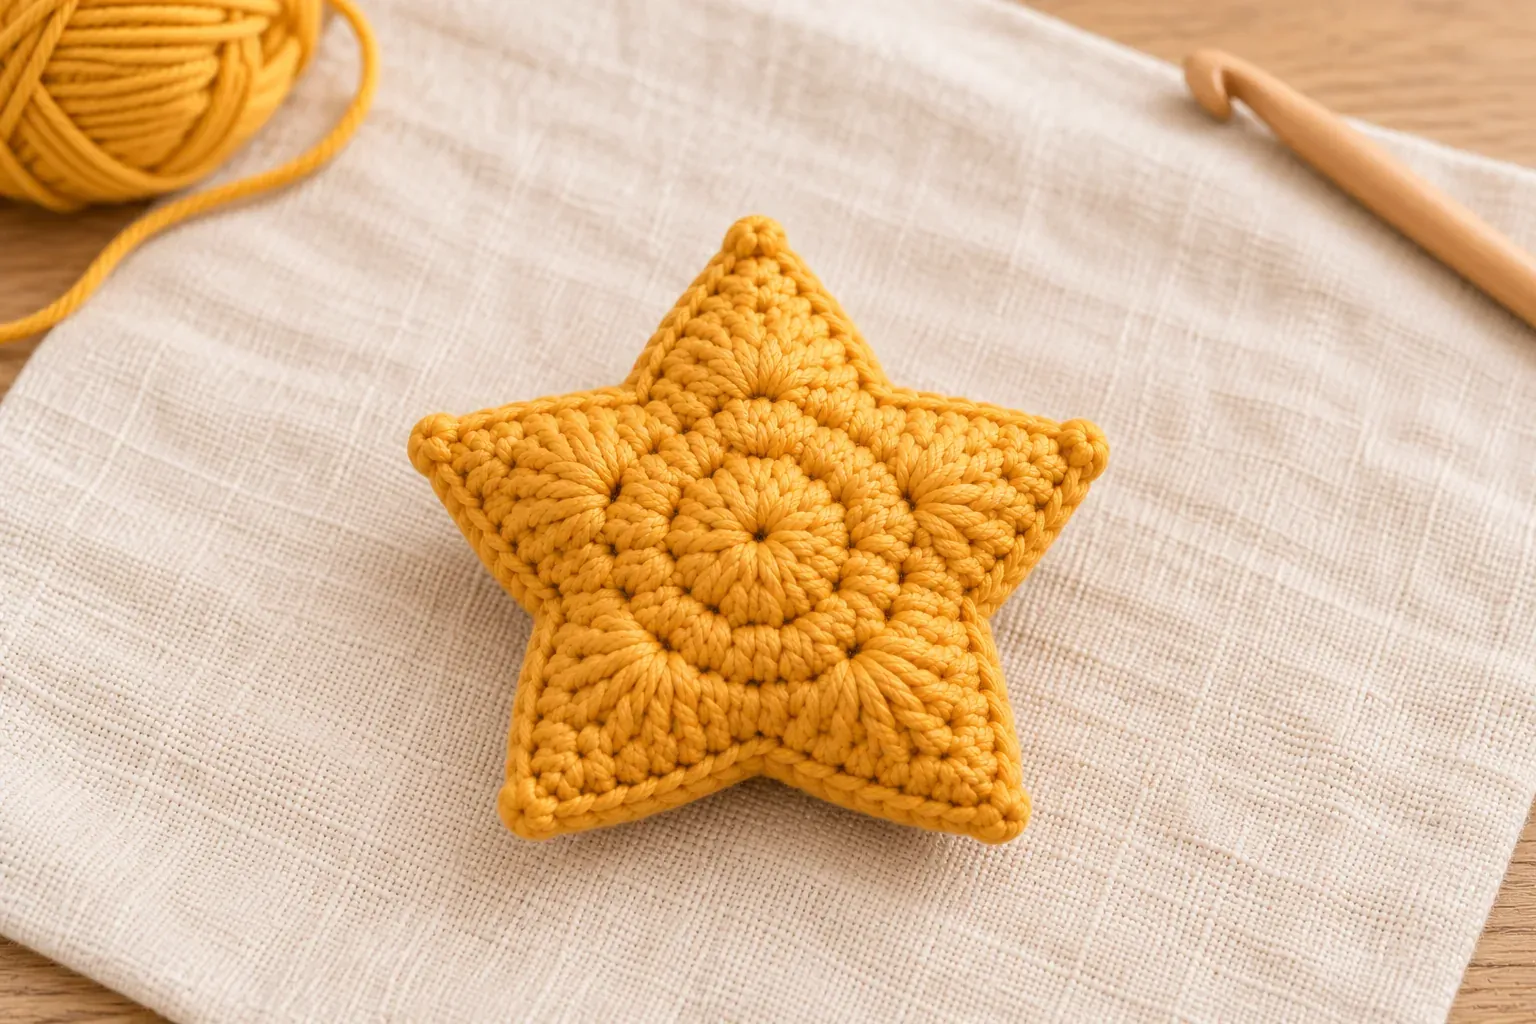
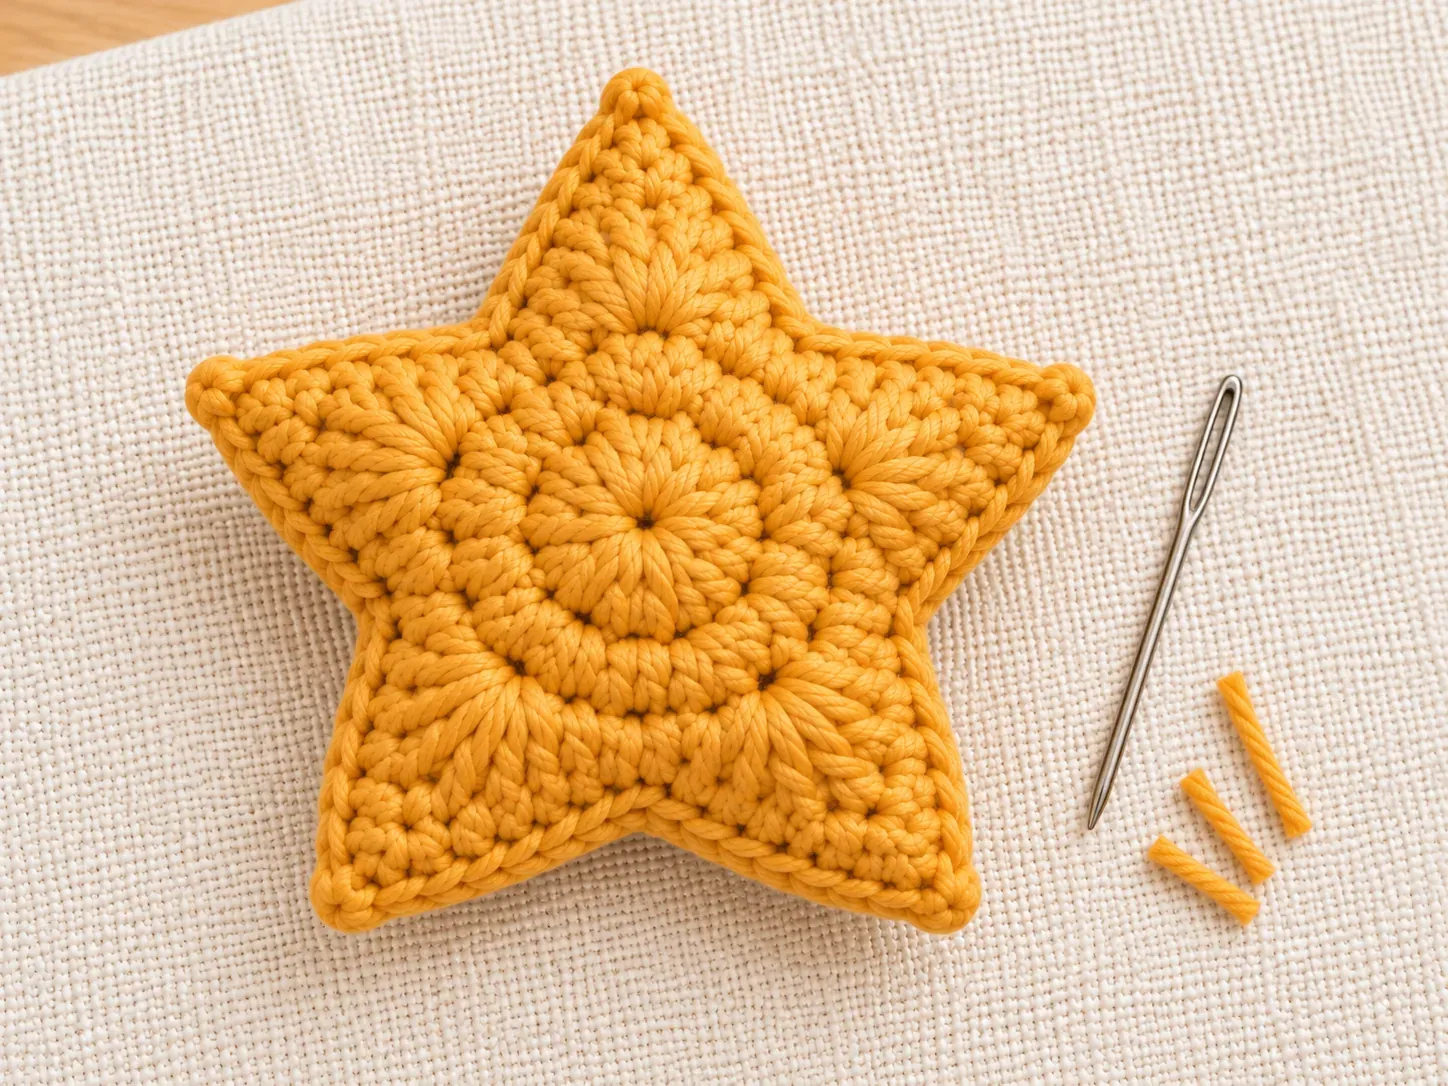
A stuffed five-point star shape made from two flat stars crocheted together, not the star stitch
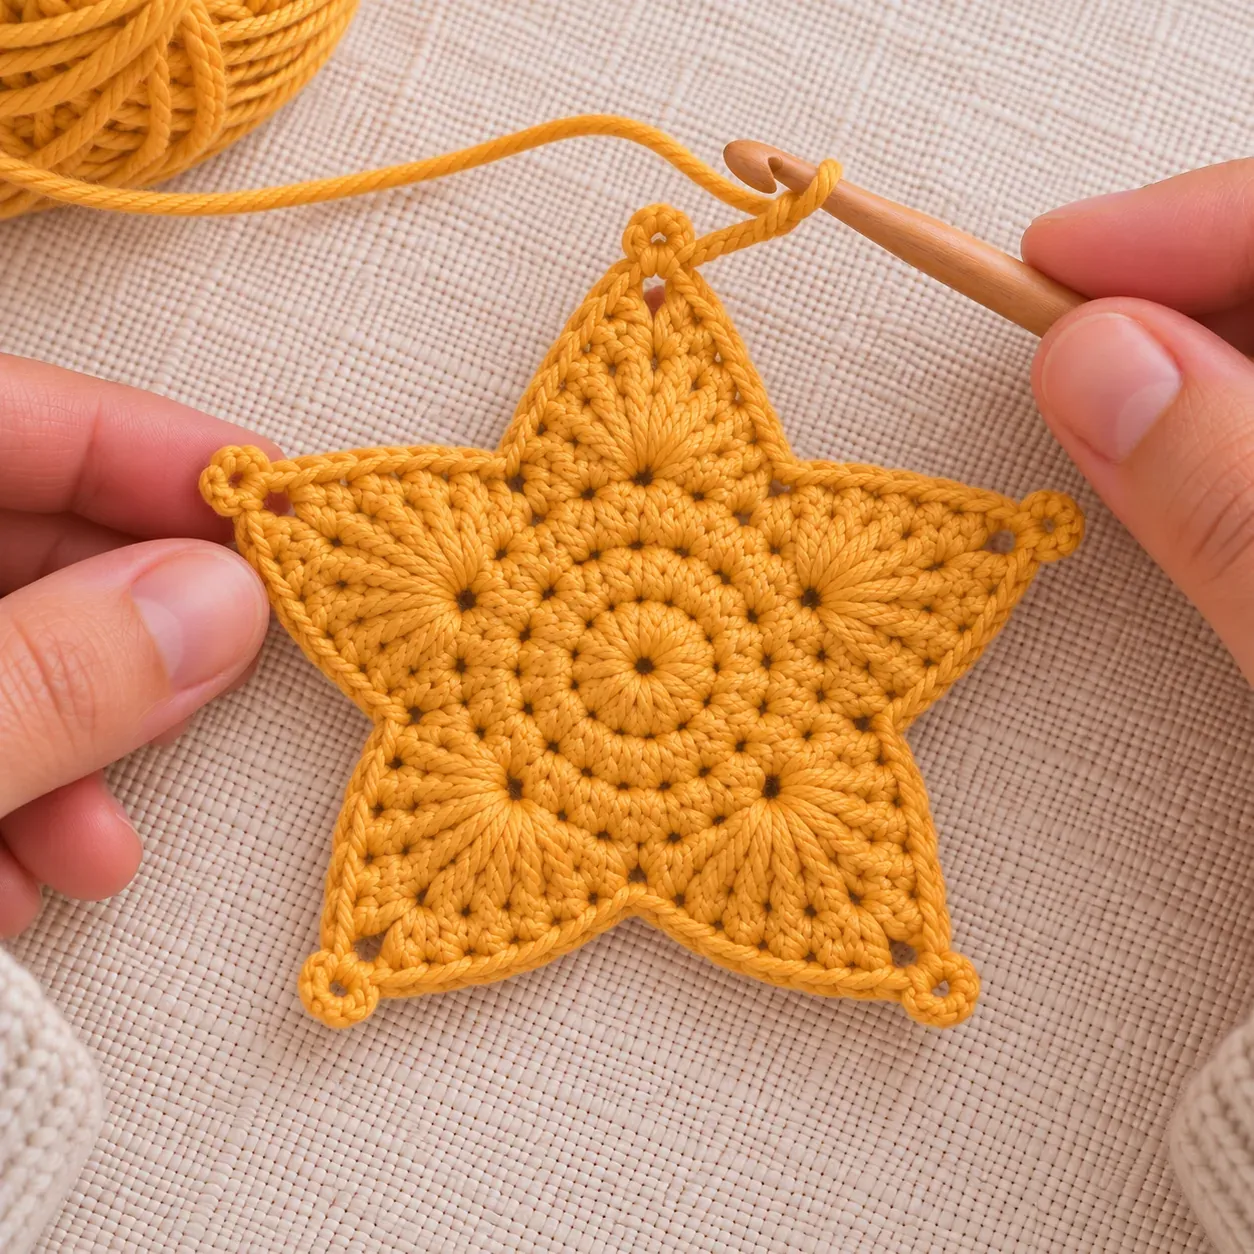
This is a stuffed, five-pointed star shape, not the crochet star stitch. You crochet two flat stars in six short rounds, then join them with single crochet through both layers and stuff as you go, so there is nothing to sew together. The finished star is soft, plump and about 3.5 in / 9 cm across, made with beginner stitches and one ball of worsted yarn.
Nobody has made this one start to finish yet. Check your stitch counts as you go, and tell us if something does not add up.
Construction
Two flat stars worked in rounds, crocheted together through both layers and stuffed
No sewing required
Needs stuffing
Polyester fiberfill
Gather these before you begin.
15 g
Worsted (4) · 100% cotton · 15 g
About 15 g is an approximate allowance for both stars and the joining round. Cotton gives crisp points; acrylic is softer and slightly fuzzier.
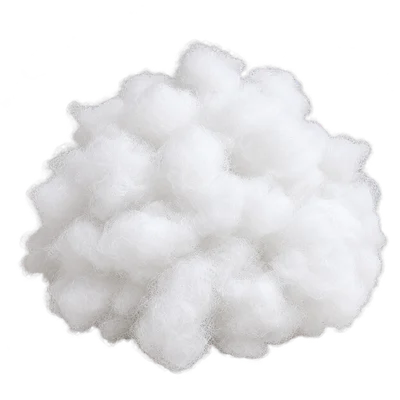
5 g
Polyester
About a small handful, approximately 5 g. Use less for a flatter star.
Acrylic worsted yarn instead of cotton
Softer, slightly fuzzier stitches with a little more stretch; the star may come out slightly larger.
Keep a hook small enough that the fabric stays tight.
DK (3) yarn with a 3 mm hook
A smaller star using less yarn.
The stitch counts do not change.
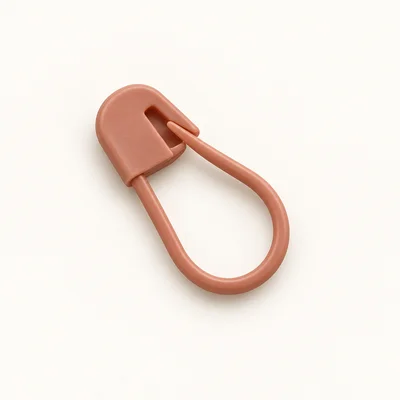
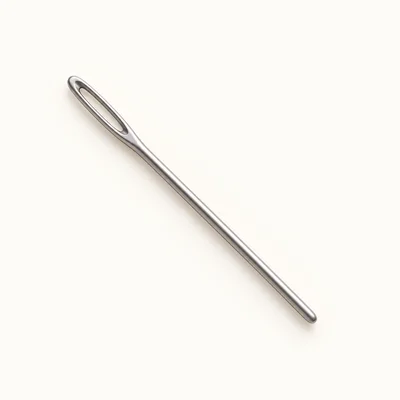
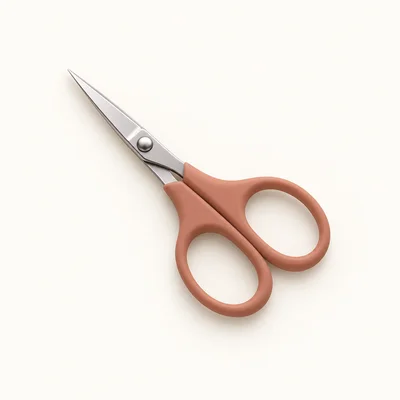
Check off each step to make sure you are ready. Preparation stays in this browser until you log in.
0 / 6 complete
Follow each step at your own pace.
Round 1 of 6
0%
Progress stays in this browser until you log in.
With yellow, make a magic ring and work 5 sc into it. Pull the ring closed.
Stitch count: 5 stitches
Tips
5 sc in a tight circle with no hole in the center. Rnds 1–5 are worked twice, once for each star.
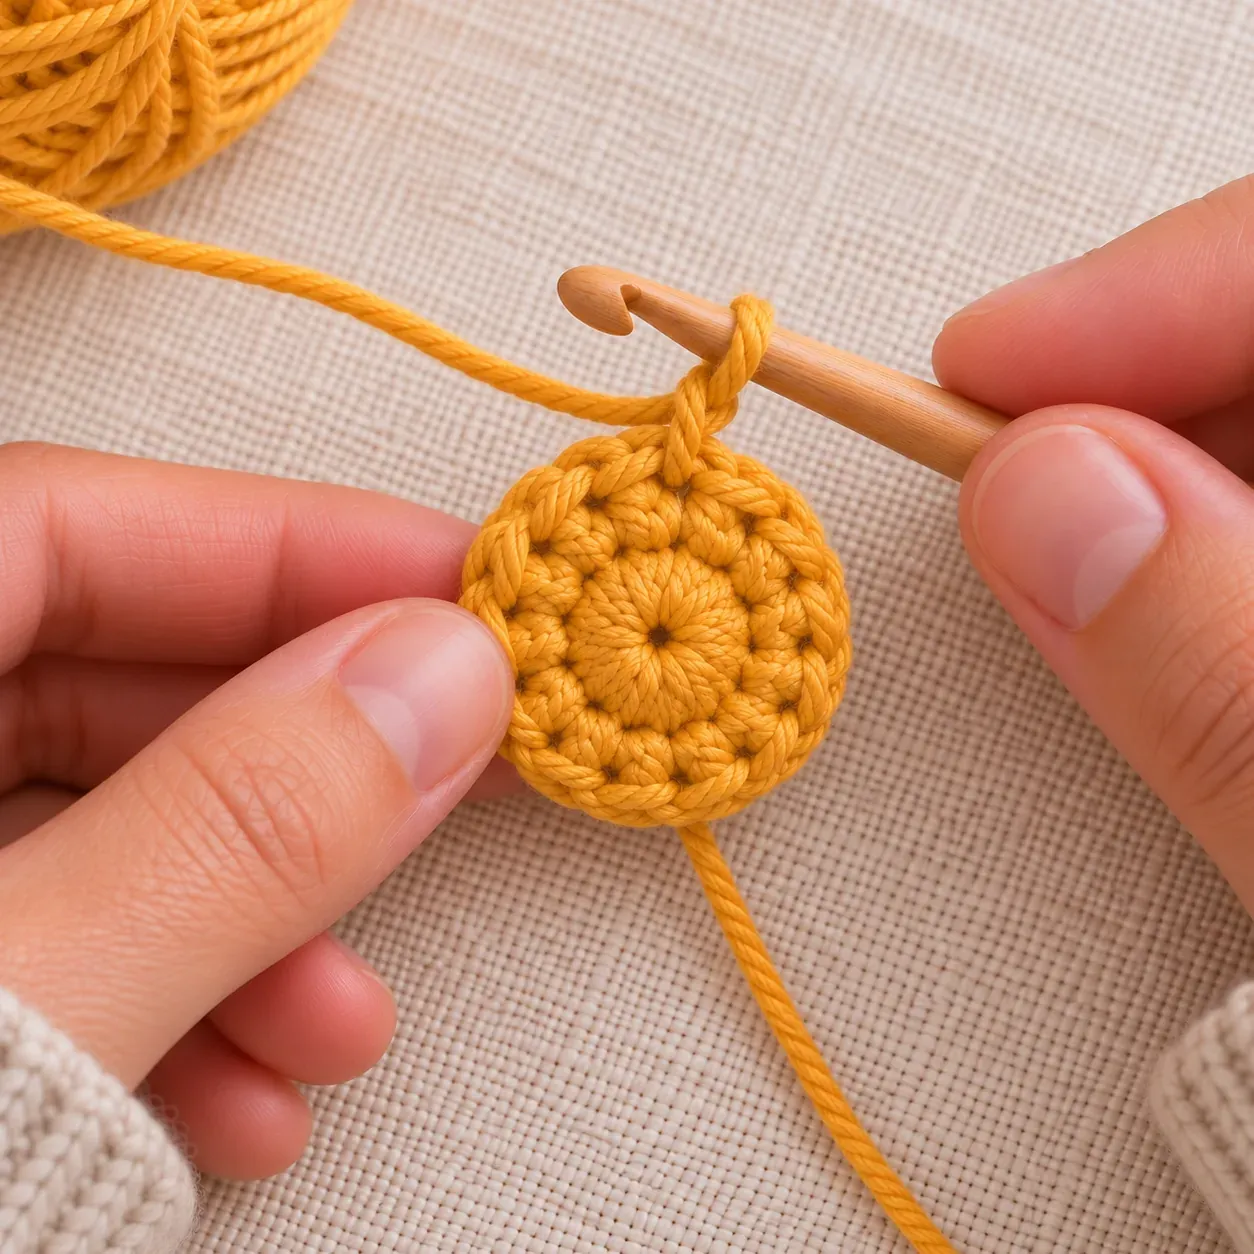
Inc in each st around.
Stitch count: 10 stitches
Tips
10 sts. The circle lies flat.
(Sc 1, inc) × 5.
Stitch count: 15 stitches
Tips
15 sts. Five increases, evenly spaced.
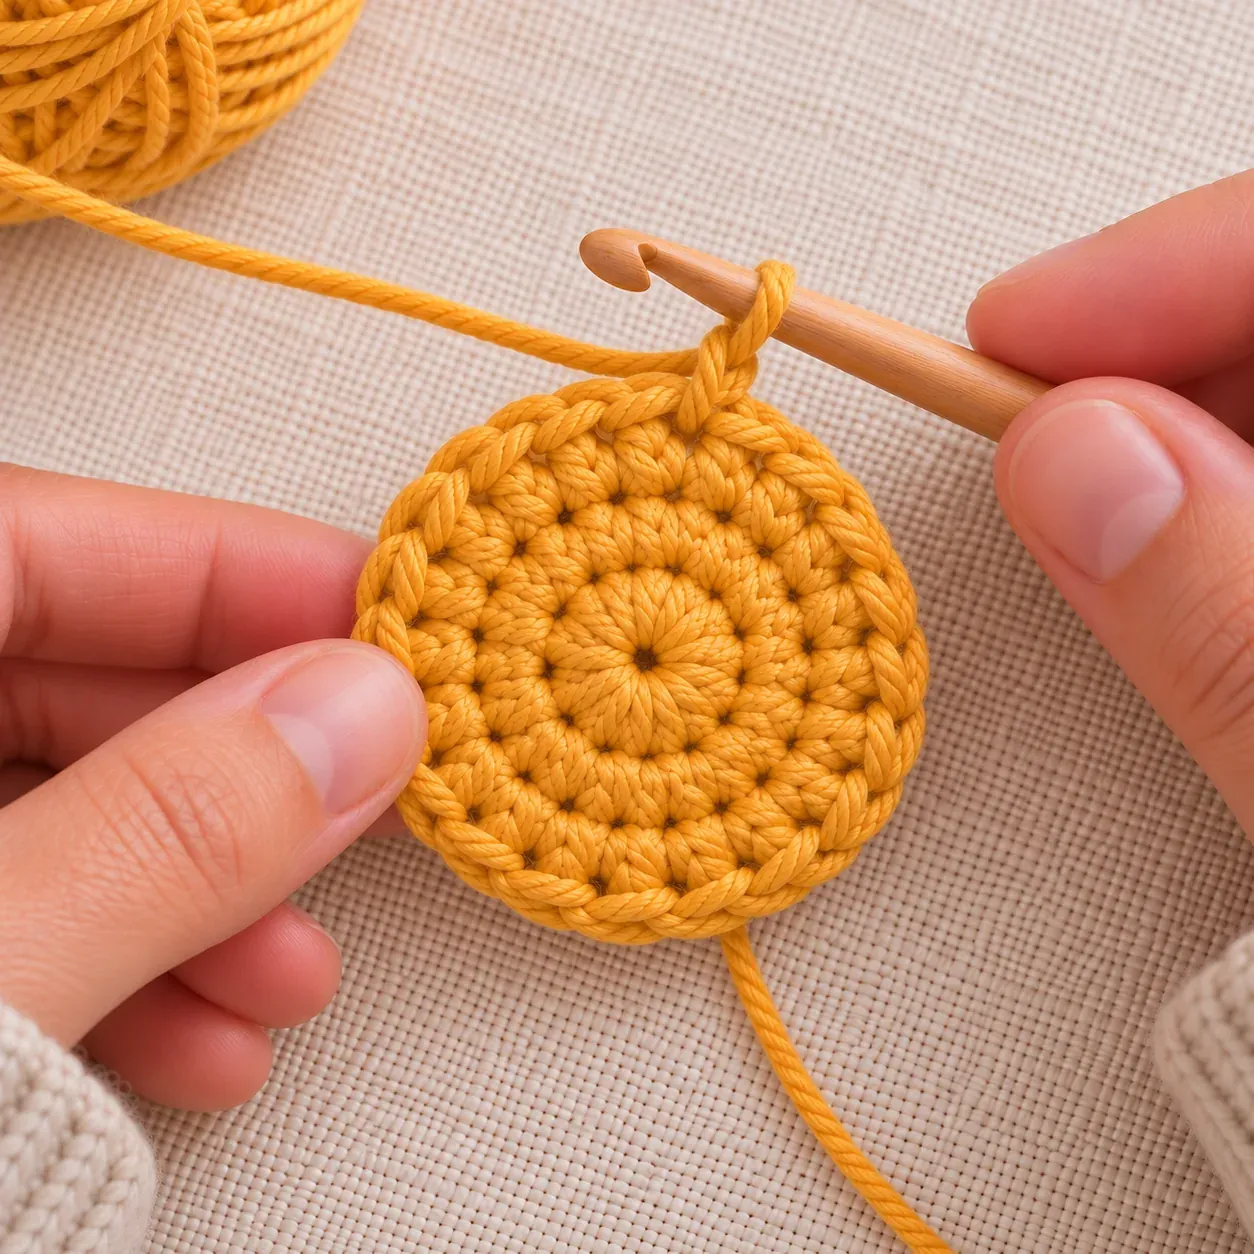
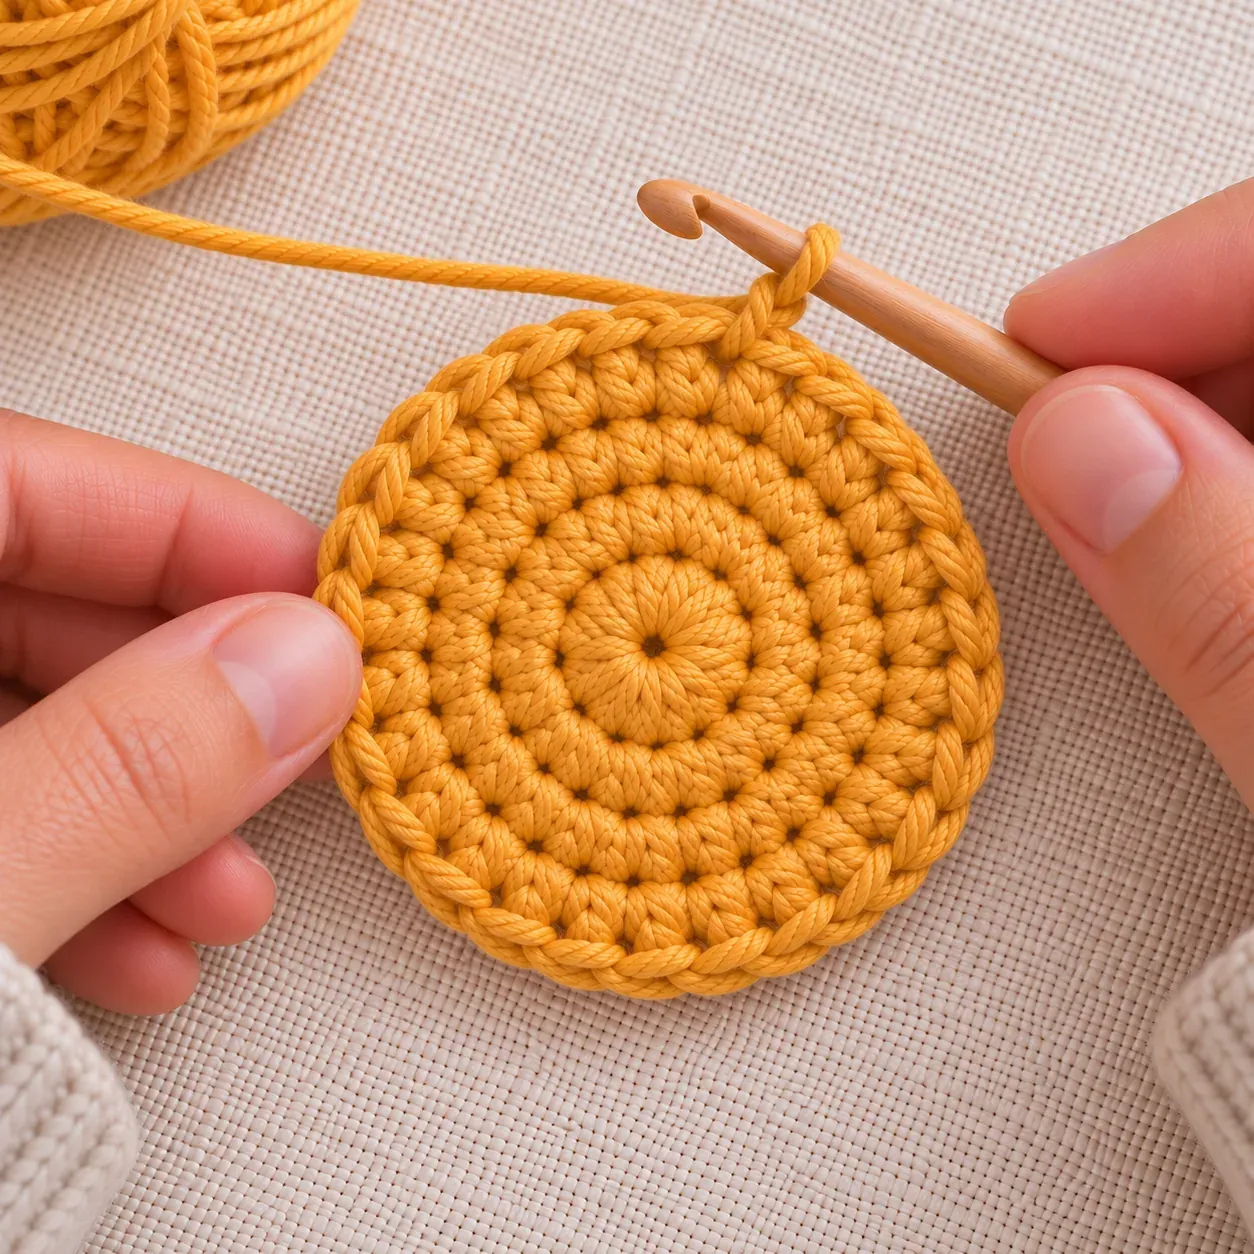
(Sc 2, inc) × 5.
Stitch count: 20 stitches
Tips
20 sts. The circle still lies flat, and the increases line up into five faint corners.
(Sc in the next st; hdc and dc in the next st; tr, ch 2 and tr in the next st; dc and hdc in the next st) × 5. Sl st in the first sc to join. First star: fasten off and weave in the tail. Second star: do not fasten off; keep the loop on the hook for Rnd 6.
Stitch count: 35 stitches
Tips
35 sts plus 5 ch-2 spaces: each point has 7 sts (sc, hdc, dc, tr, tr, dc, hdc) with a ch-2 space at its tip. The joining sl st is not counted. You have 2 flat stars, one fastened off and one with a live loop.
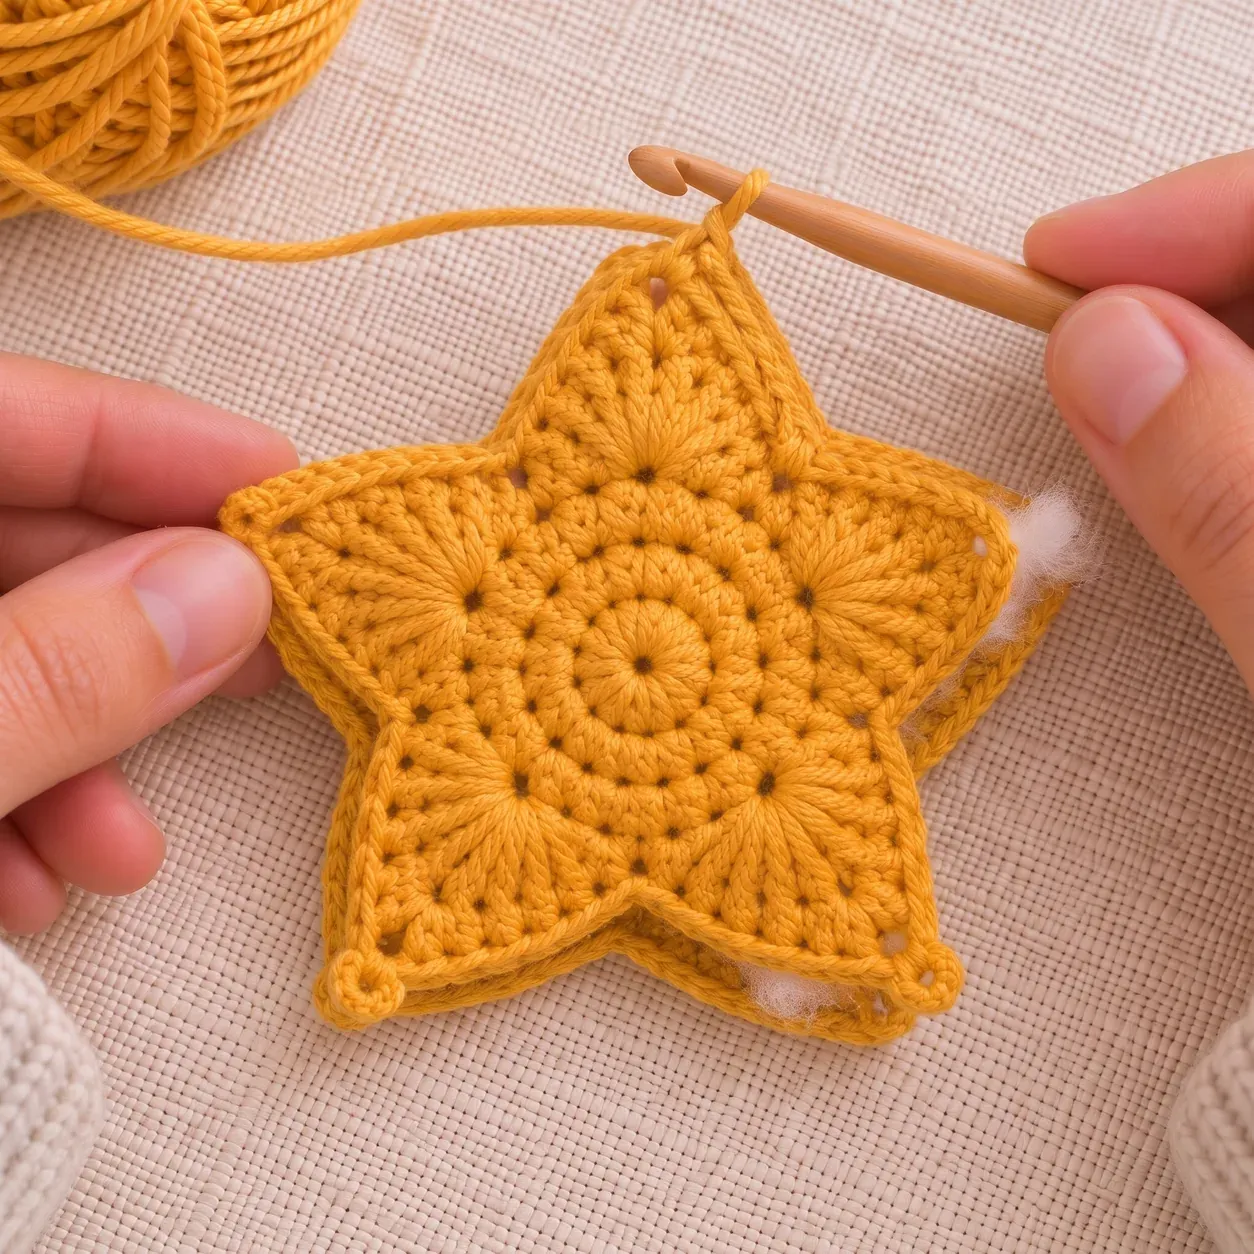
Before joining, weave the magic-ring starting tail of each star into its wrong side and trim it, so both tails end up hidden inside the finished star. The right side of each star is the side that was facing you as you crocheted; the other side is the wrong side. Hold the two stars wrong sides together, so both right sides face out, with the points and stitches matched and the second star facing you. Ch 1. Working through both layers each time, sc in the first sc of Rnd 5 (where you joined) and in each of the next 3 sts, (sc, ch 2, sc) in the ch-2 sp, sc in each of the next 3 sts; *sc in each of the next 4 sts, (sc, ch 2, sc) in the ch-2 sp, sc in each of the next 3 sts; repeat from * 3 more times. When four points are joined, stuff the star, pushing stuffing into each point with the back of the hook, then finish the round. Sl st in the first sc to join. Fasten off, leaving a 15 cm tail.
Stitch count: 45 stitches
Tips
45 sc plus 5 ch-2 tips: 9 sc per point. The edges are closed all the way around, the star is evenly plump, and each point has a small tip. The ch 1 and the joining sl st are not counted.
With yellow, make a magic ring and work 5 sc into it. Pull the ring closed.
Stitch count: 5 stitches
Tips
5 sc in a tight circle with no hole in the center. Rnds 1–5 are worked twice, once for each star.
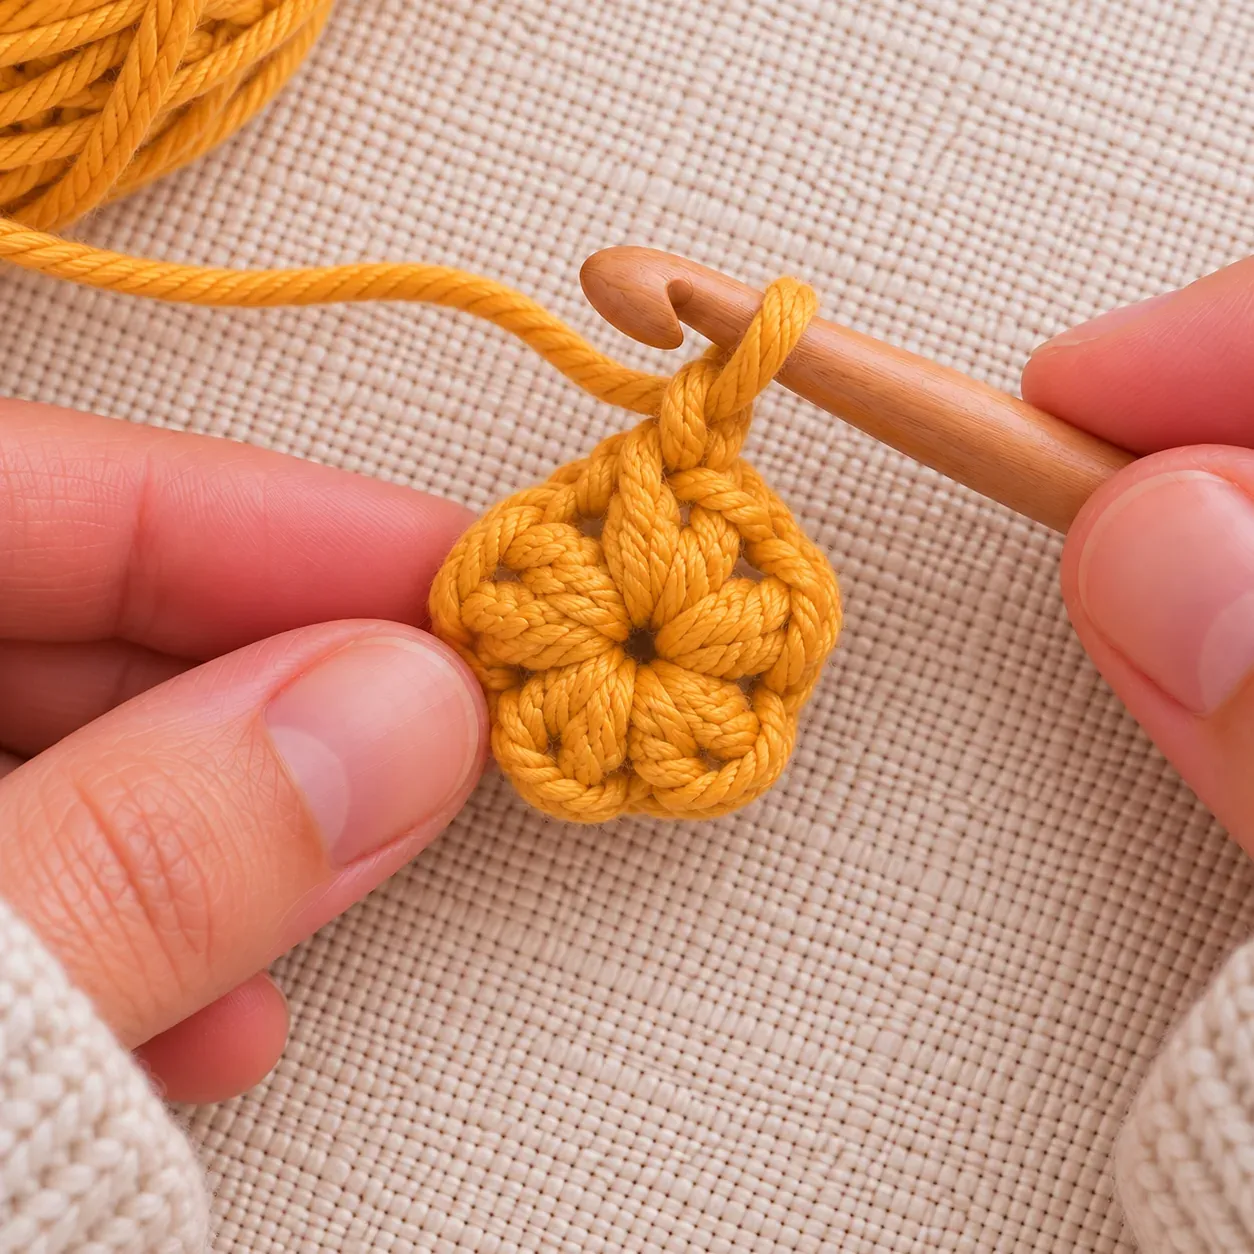
Thread the 15 cm tail from Rnd 6 on the yarn needle, pass it through the star from one edge to the opposite side two or three times, and trim it close so the end sinks inside. Gently pinch each point between your fingers to shape it and spread the stuffing evenly.
Count after Rnd 5 by points: each point has 7 sts, so 5 points make 35.
When holding the stars together, line up the chain-2 tips first; the rest of the stitches then match.
Stuff a little at a time and push it into each point with the back of the hook before closing the last point.
Use super bulky (6) yarn and a 9 mm hook with the same stitch counts. Scaling by hook size, that gives a star of roughly 8–10 in / 20–25 cm from point to point; this is an approximate estimate, so measure your own. It needs considerably more yarn and stuffing. Crochet tightly so the stuffing stays hidden.
After the joining sl st at the end of Rnd 6, ch 15 and sl st into the same st to form a hanging loop, then fasten off and hide the tail inside.
You also need one 30 cm / 12 in chenille stem (pipe cleaner). Make the stars in bulky (5) yarn with a 5 mm hook; by hook-size scaling the star comes out roughly 5 in / 13 cm across (approximate). Work Rnd 6 as written through the first four points, then stop before the fifth point. Fold the chenille stem in half and slide it between the two layers, fold toward the center of the star and both ends pointing out through the open edge at the tip of the fifth point. Add stuffing around the stem on both sides. Finish the round as written: sc in each of the next 4 sts, then work (sc, ch 2, sc) in the ch-2 sp with the stem ends passing out between the two sc, under the ch 2, then sc in each of the next 3 sts and join. The stem is not crocheted over; it sits between the layers and only its ends stick out of the bottom point. The round still has 45 sc and 5 ch-2 tips. Bend the ends around the top of the tree to hold the star upright.
Make only one star and stop after Rnd 5 for a flat star you can use as an appliqué or coaster-style decoration.
Spot clean with a damp cloth and mild soap, then let it air dry. Cotton can be gently hand washed in cool water; squeeze out the water without wringing and reshape the points while damp.
No. This pattern makes a stuffed five-pointed star shape. The star stitch is a textured stitch for blankets and other flat fabric.
Yes. You need a magic ring, single crochet and increases for the center, then hdc, dc and tr for the points. Each point is the same sequence of 7 stitches.
No. Rnd 6 joins them with single crochet through both layers, and you stuff the star before the last point closes. You only use the yarn needle to hide the tails.
About 1 hour for both stars and the joining round at a relaxed beginner pace. That is an estimate, not a timed result; your time will vary with your tension and experience.
With worsted yarn and a 3.5 mm hook it comes out at roughly 3.5 in / 9 cm across. Thicker yarn and a bigger hook make it larger without changing the counts.
Get free crochet patterns and maker tips from Hookfolk.
Login to save your progress
Create a free account or log in to save this pattern, track your progress, and access it on any device.
Have you tried this pattern?
Comments
Be the first to share your experience.