

Yarn in pink
DK (3) · 100% cotton
Pink DK cotton is an authored material and color selection for this original draft, not a reference-image fact. The amount is unmeasured; use enough for two lobes, the body, and the loop.
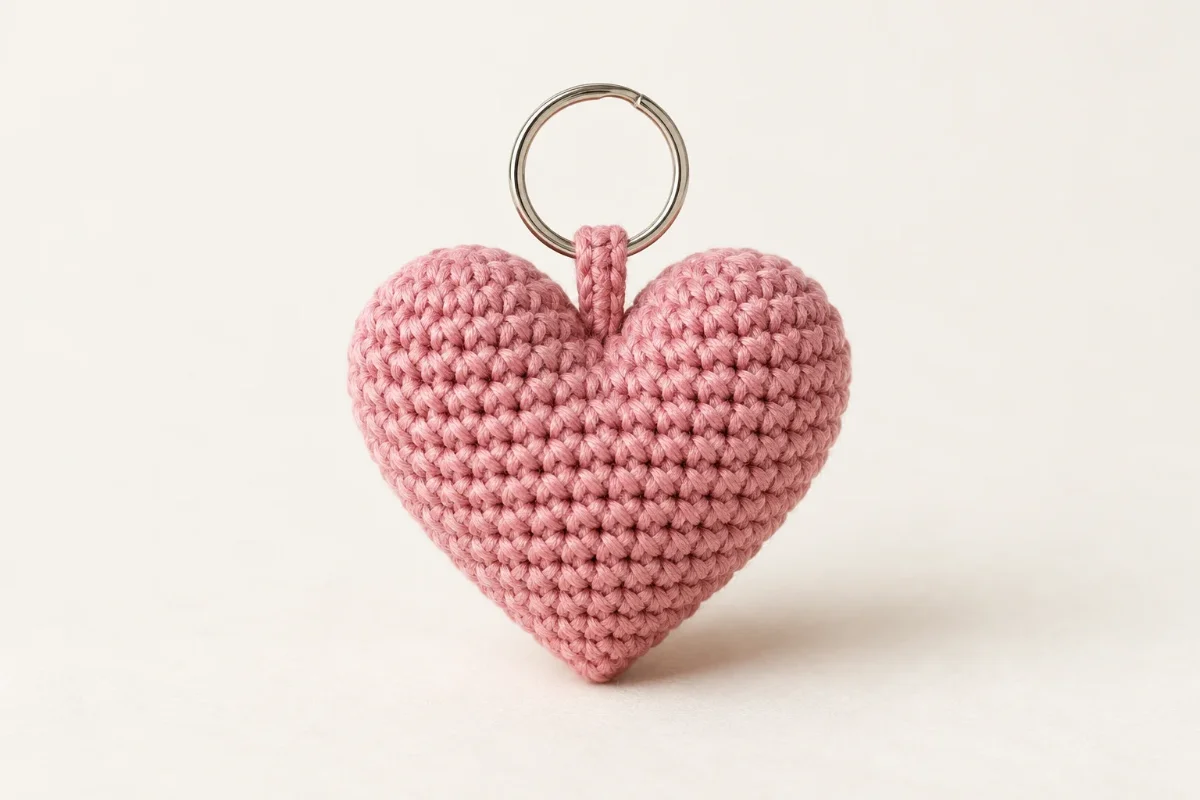
Amigurumi
A small, stuffed crochet heart with a sewn-on hanging loop.
An original development draft authored from the requested name without a reference image. Make two small crocheted lobes, join them into a heart, taper and stuff the body, then sew on a loop for a key ring. This untested draft requires human review and physical testing.
Nobody has made this one start to finish yet. Check your stitch counts as you go, and tell us if something does not add up.
Worked in 4 pieces
Lobe A, Lobe B, Heart body, Hanging loop
Some sewing required
See Assembly & finishing.
Needs stuffing
Polyester fiberfill
Gather these before you begin.
DK (3) · 100% cotton
Pink DK cotton is an authored material and color selection for this original draft, not a reference-image fact. The amount is unmeasured; use enough for two lobes, the body, and the loop.
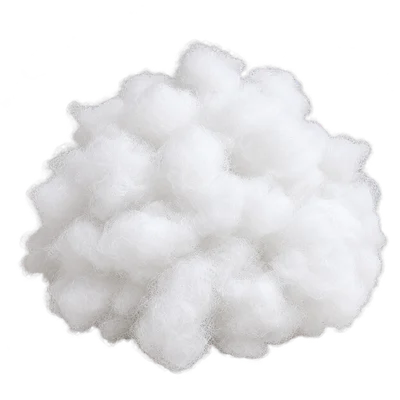
Polyester
Authored stuffing selection. Use small amounts to fill the heart evenly; consumption is unmeasured.

1 piece
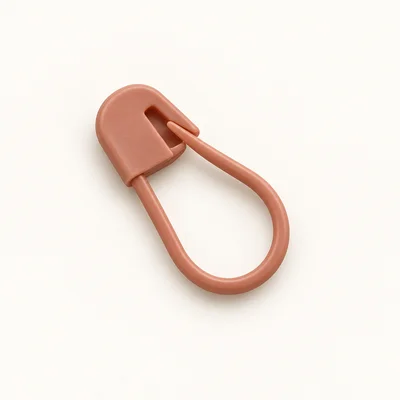
One small split ring, attached through the crocheted loop.
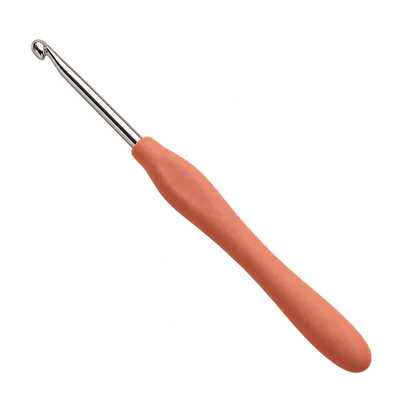
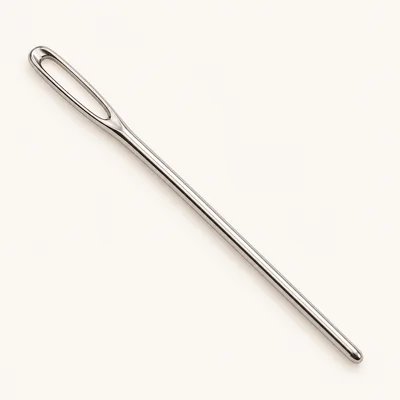
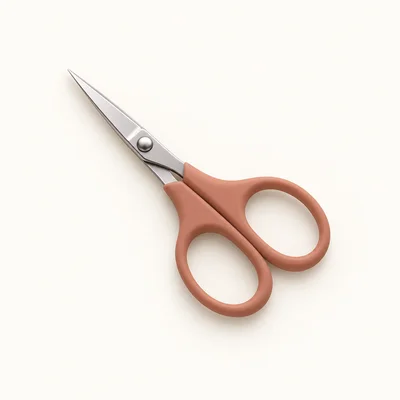
Check off each step to make sure you are ready. Preparation stays in this browser until you log in.
0 / 5 complete
Follow each step at your own pace.
Round 1 of 13
0%
Progress stays in this browser until you log in.
With pink yarn, make a magic ring and work 6 sc into it. Pull the ring closed.
Stitch count: 6 stitches
Inc in each st around.
Stitch count: 12 stitches
Sc in each st around. Fasten off, leaving a long tail for sewing.
Stitch count: 12 stitches
Tips
Lobe A has 12 stitches around its open rim. Keep its rim open and reserve the long tail for tacking the lobes together.
With pink yarn, make a magic ring and work 6 sc into it. Pull the ring closed.
Stitch count: 6 stitches
Inc in each st around.
Stitch count: 12 stitches
Sc in each st around. Do not fasten off.
Stitch count: 12 stitches
Tips
Both lobes have 12 stitches around their open rims. Lobe B still has its working yarn attached.
Place the lobes side by side with their open rims facing the same direction and their inner edges touching. With the working yarn still attached to Lobe B, sc in each of its 12 rim stitches, then sc in each of Lobe A’s 12 rim stitches, keeping the lobes beside one another as you work. Sl st to the first sc to close the round; do not count the joining sl st.
Stitch count: 24 stitches
Tips
The two open lobes are connected around a 24-stitch rim. The joined rounds that follow taper this rim into the heart body.
Ch 1; it does not count as a stitch. (Sc 4, dec) × 4 around. Sl st to the first sc; do not count the joining sl st.
Stitch count: 20 stitches
Ch 1; it does not count as a stitch. (Sc 3, dec) × 4 around. Sl st to the first sc; do not count the joining sl st.
Stitch count: 16 stitches
Ch 1; it does not count as a stitch. (Sc 2, dec) × 4 around. Sl st to the first sc; do not count the joining sl st.
Stitch count: 12 stitches
Ch 1; it does not count as a stitch. (Sc, dec) × 4 around. Sl st to the first sc; do not count the joining sl st.
Stitch count: 8 stitches
Tips
Eight stitches remain. Lightly stuff both lobes and the body through the opening. Add small amounts at a time so the shape stays even and the opening remains accessible for the final round.
Ch 1; it does not count as a stitch. Add or adjust the stuffing before closing. Dec in each pair of sts around. Sl st to the first decrease; do not count the joining sl st. Fasten off, leaving a tail. Thread the tail through the front loops of the 4 remaining stitches and pull closed.
Stitch count: 4 stitches
Ch 13. Sc in the 2nd ch from the hook and in each ch across. Fasten off, leaving a long tail for attaching the loop.
Stitch count: 12 stitches
With pink yarn, make a magic ring and work 6 sc into it. Pull the ring closed.
Stitch count: 6 stitches
After the joined rim is complete, use Lobe A’s long tail to tack the two facing inner sidewalls together with three small whipstitches near the cleft. Keep both open rims clear and do not pull the seam so tightly that the lobes flatten. Weave in the remaining Lobe A tail.
At the Heart body · Rnd 8 checkpoint, add small amounts of stuffing through the lower opening, distributing it into both lobes and the tapered body. Complete Heart body · Rnd 9, then draw the tail through the four remaining front loops and pull the opening closed. Weave the tail securely into the body.
Fold the 12-stitch strip in half to make a loop. Place its two ends side by side at the cleft between the lobes, with the loop projecting above the heart. Use the long tail to sew both ends firmly to the body over several stitches, passing through the body fabric more than once. Weave in the tail. Thread the split key ring through the crocheted loop.
Spot clean the crocheted heart gently and let it air dry fully. Avoid soaking the attached metal key ring.
No. Approximately 4 cm excluding the loop is an unmeasured design target. The actual size depends on yarn, hook, tension, and stuffing, and this draft has not been physically tested.
Yes. Pink is an authored color choice for this draft; another color can be used without changing the stitch counts.
Yes. Tack the two lobes together near the cleft and sew both ends of the hanging loop securely to the heart.
The amounts have not been measured. The design uses a small amount of DK yarn for two lobes, the body, and the loop, plus a small amount of polyester fiberfill.
Get free crochet patterns and maker tips from Hookfolk.
Login to save your progress
Create a free account or log in to save this pattern, track your progress, and access it on any device.
Have you tried this pattern?
Comments
Be the first to share your experience.