
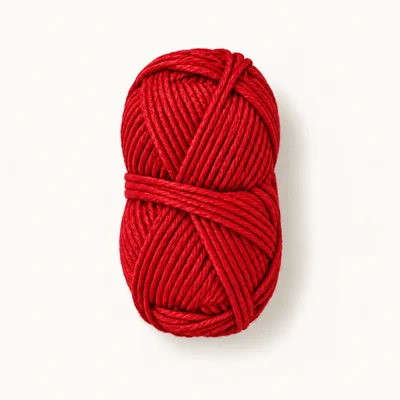
Yarn in red
DK (3)
Authored color selection for the suit and hat; amount and fiber are not established. Choose a smooth yarn suitable for amigurumi.
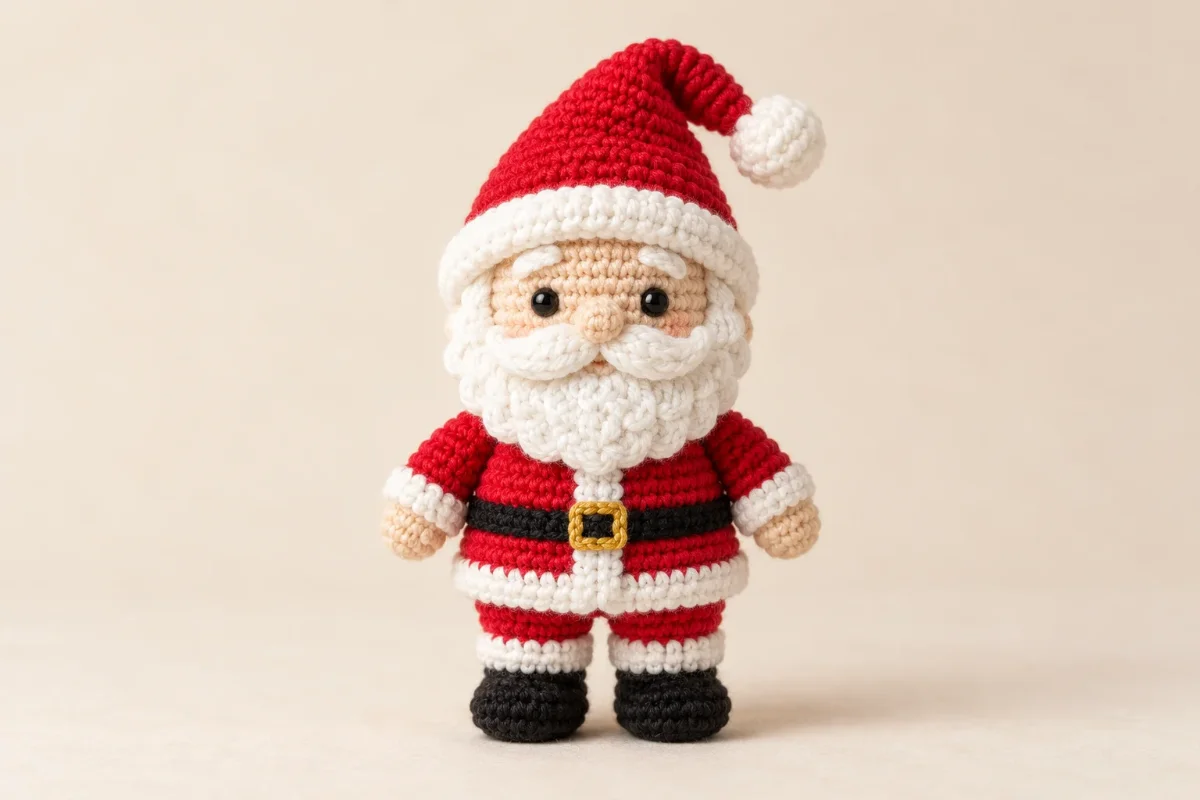
Amigurumi
A little Santa in a red suit, fluffy beard, and pointed hat
This original Mini Santa Claus Amigurumi is a HookFolk development draft for human review. Crochet the body, head, limbs, beard, hat, and pom-pom, then sew the pieces together and embroider the buckle. The design selections and size target are authored choices, not recovered source facts; the pattern remains untested.
Nobody has made this one start to finish yet. Check your stitch counts as you go, and tell us if something does not add up.
Worked in 9 pieces
Body, Head, Leg, Arm, Beard, Mustache lobe, Nose, Pom-pom, Hat
Some sewing required
See Assembly & finishing.
Needs stuffing
Polyester fiberfill
Gather these before you begin.
DK (3)
Authored color selection for the suit and hat; amount and fiber are not established. Choose a smooth yarn suitable for amigurumi.
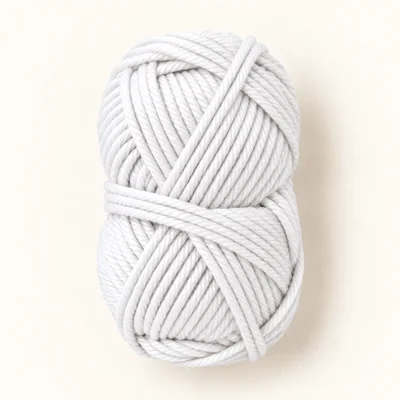
DK (3)
Authored color selection for the beard, cuffs, coat trim, hat brim, and pom-pom; amount and fiber are not established.
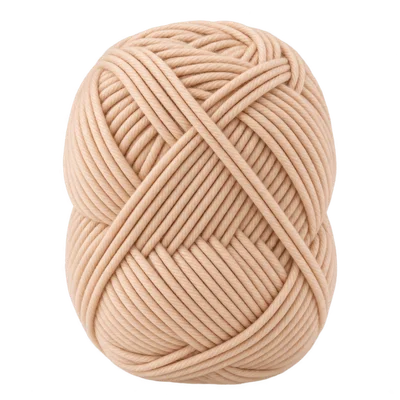
DK (3)
Authored color selection for the head and hands; amount and fiber are not established.
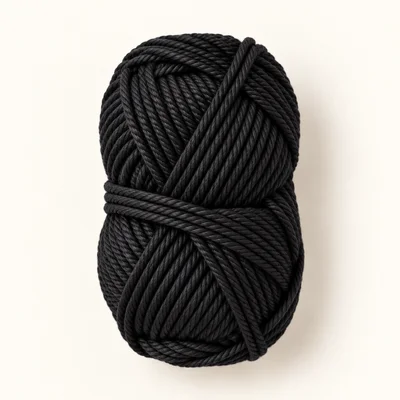
DK (3)
Authored color selection for the boots and belt; amount and fiber are not established.

DK (3)
Small authored color selection for embroidering the belt buckle; amount and fiber are not established.
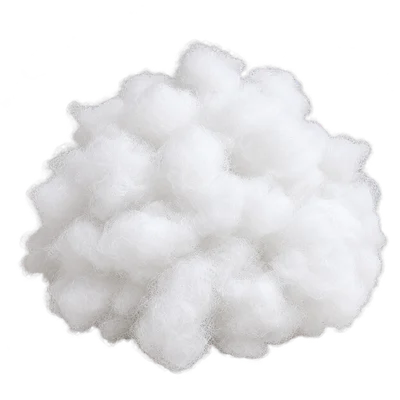
Polyester
Amount is not established; use enough to shape the head, body, limbs, mustache lobes, and pom-pom.
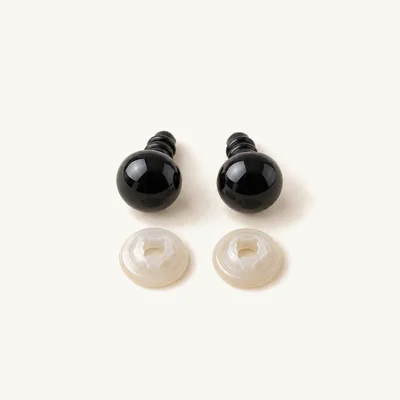
2 pieces
6 mm eyes are an authored design selection; install securely before stuffing and closing the head. Use embroidered eyes instead for a toy intended for a child under 3 years.
DK (3) yarn
Changing yarn weight or fiber can alter the doll's size, stitch definition, and fabric firmness.
Keep the hook size appropriate for the chosen yarn and crochet densely enough to contain the stuffing. Recheck the proportions before assembly.
Safety eyes
Embroidered eyes remove the hard eye components and may slightly change the expression.
Add embroidered eyes before stuffing and joining the head.
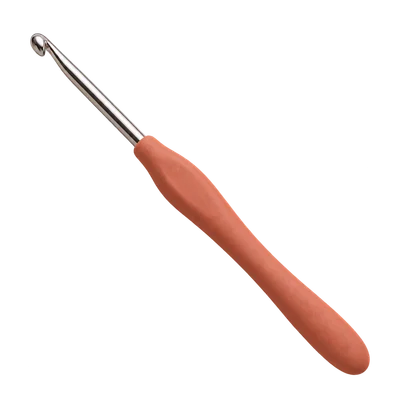
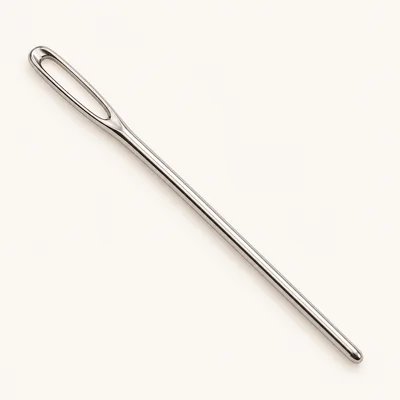
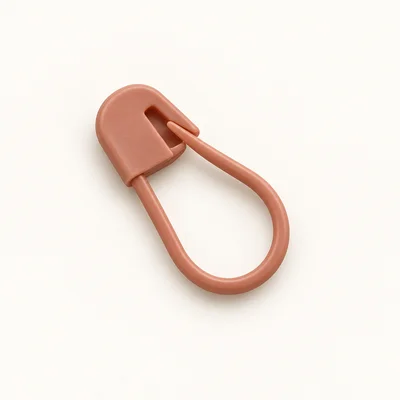
× 2
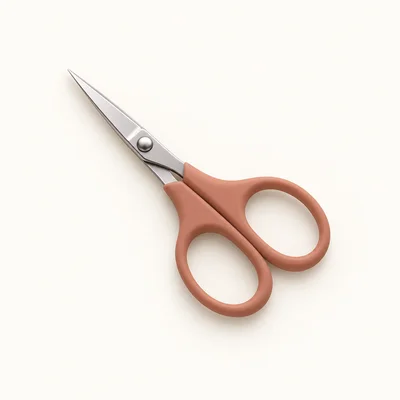
Check off each step to make sure you are ready. Preparation stays in this browser until you log in.
0 / 5 complete
Follow each step at your own pace.
Round 1 of 52
0%
Progress stays in this browser until you log in.
With red, work 6 sc into a MR.
Stitch count: 6 stitches
Inc in each st around.
Stitch count: 12 stitches
(Sc 1, inc) × 6.
Stitch count: 18 stitches
(Sc 2, inc) × 6.
Stitch count: 24 stitches
With red, sc in each st around for 4 rounds.
Stitch count: 24 stitches
Change to white. Sc in each st around.
Stitch count: 24 stitches
Change to red. Sc in each st around.
Stitch count: 24 stitches
Change to black. Sc in each st around.
Stitch count: 24 stitches
Change to red. Sc in each st around.
Stitch count: 24 stitches
Sc in each st around for 2 rounds.
Stitch count: 24 stitches
(Sc 2, dec) × 6.
Stitch count: 18 stitches
Sc in each st around. Fasten off, leaving a long sewing tail. Stuff the body firmly enough to hold its shape.
Stitch count: 18 stitches
With skin-tone yarn, work 6 sc into a MR.
Stitch count: 6 stitches
Inc in each st around.
Stitch count: 12 stitches
(Sc 1, inc) × 6.
Stitch count: 18 stitches
(Sc 2, inc) × 6.
Stitch count: 24 stitches
Sc in each st around for 4 rounds.
Stitch count: 24 stitches
(Sc 2, dec) × 6.
Stitch count: 18 stitches
Sc in each st around. Before stuffing, place the safety eyes between Rnds 6 and 7, about 5 stitches apart, centered on the face. Stuff the head, then fasten off leaving a long tail; keep the 18-stitch opening unclosed for joining to the body.
Stitch count: 18 stitches
With black, work 6 sc into a MR.
Stitch count: 6 stitches
Inc in each st around.
Stitch count: 12 stitches
With black, sc in each st around for 2 rounds.
Stitch count: 12 stitches
Change to red. Sc in each st around for 4 rounds. Lightly stuff and fasten off, leaving a long sewing tail; leave the 12-stitch opening unclosed.
Stitch count: 12 stitches
With skin-tone yarn, work 6 sc into a MR.
Stitch count: 6 stitches
Inc in each st around.
Stitch count: 12 stitches
With skin-tone yarn, sc in each st around for 2 rounds.
Stitch count: 12 stitches
Change to red. Sc in each st around for 3 rounds.
Stitch count: 12 stitches
Change to white. Sc in each st around.
Stitch count: 12 stitches
Change to red. Sc in each st around. Lightly stuff the hand and lower arm. Fasten off, leaving a long sewing tail; leave the 12-stitch opening unclosed.
Stitch count: 12 stitches
With white, ch 11. Sc in the 2nd ch from the hook and in each ch across.
Stitch count: 10 stitches
Ch 1, turn. Inc, sc 8, inc.
Stitch count: 12 stitches
Ch 1, turn. Inc, sc 10, inc.
Stitch count: 14 stitches
Ch 1, turn. Sc in each st across.
Stitch count: 14 stitches
Ch 1, turn. Dec, sc 10, dec.
Stitch count: 12 stitches
Ch 1, turn. Dec, sc 8, dec. Fasten off, leaving a sewing tail.
Stitch count: 10 stitches
With white, work 6 sc into a MR.
Stitch count: 6 stitches
Inc in each st around.
Stitch count: 12 stitches
Sc in each st around. Lightly stuff each lobe. Fasten off, leaving a sewing tail.
Stitch count: 12 stitches
With skin-tone yarn, work 6 sc into a MR.
Stitch count: 6 stitches
Inc in each st around. Fasten off, leaving a sewing tail.
Stitch count: 12 stitches
With white, work 6 sc into a MR.
Stitch count: 6 stitches
Inc in each st around.
Stitch count: 12 stitches
Sc in each st around.
Stitch count: 12 stitches
Dec around. Stuff lightly, close the remaining opening, and fasten off leaving a sewing tail.
Stitch count: 6 stitches
With red, work 4 sc into a MR.
Stitch count: 4 stitches
Inc in each st around.
Stitch count: 8 stitches
(Sc 1, inc) × 4.
Stitch count: 12 stitches
(Sc 2, inc) × 4.
Stitch count: 16 stitches
(Sc 3, inc) × 4.
Stitch count: 20 stitches
(Sc 4, inc) × 4.
Stitch count: 24 stitches
With red, sc in each st around for 3 rounds.
Stitch count: 24 stitches
Change to white. Sc in each st around for 2 rounds. Fasten off, leaving a sewing tail.
Stitch count: 24 stitches
With red, work 6 sc into a MR.
Stitch count: 6 stitches
With the body upright and its red torso above the white trim and black belt, align the 18-stitch opening of the stuffed head with the 18-stitch body opening. Center the face on the front and sew the openings together stitch to stitch. Weave in the ends.
Place the two legs side by side at the lower front of the body, black boots pointing down and red sections upward. Sew each 12-stitch opening to the underside of the body, spacing the legs evenly and keeping the boots level.
Place one arm on each side of the torso with the white cuff at the hand end. Sew the 12-stitch openings to the body around Rnds 12–14, just below the head join. Angle the arms slightly outward and weave in the ends.
Center the beard on the lower front of the head with Row 1 along the upper edge and the wider rows framing the face. Sew around its edges. Sew the two stuffed mustache lobes side by side across the beard's upper edge, then sew the nose over their meeting point. Keep the eyes visible above the beard.
Sew the hat's 24-stitch white brim around the head above the eyes, centering it over the face. Let the red cone lean slightly to one side. Sew the pom-pom over the hat tip. With gold yarn, embroider a small square buckle centered on the black belt, using short stitches. Weave in all remaining ends.
Use a hook small enough to keep stuffing from showing through the fabric, while maintaining even stitches.
Before sewing the hat or beard in place, pin the pieces temporarily and check that the eyes and facial features remain visible.
For a toy intended for a child under 3 years, omit the safety eyes and embroider two small eyes in black yarn before stuffing and closing the head.
Use green instead of red for the suit and hat while keeping the white trim and beard, black boots and belt, and gold buckle.
No. Approximately 12–14 cm is an authored design target, not a measured result. Yarn, hook, tension, and stuffing affect the final height.
Yes. Embroider the eyes before stuffing and joining the head. This is the suggested option for a toy intended for a child under 3 years.
No. This is an original development draft and is marked untested; review and physical testing are needed before publication.
Get free crochet patterns and maker tips from Hookfolk.
Login to save your progress
Create a free account or log in to save this pattern, track your progress, and access it on any device.
Have you tried this pattern?
Comments
Be the first to share your experience.