
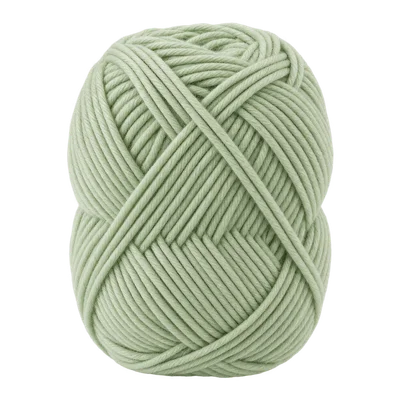
Yarn in shell green
Light worsted (Category 3)
Authored yarn selection for the shell. Consumption is not measured; choose a smooth yarn suitable for amigurumi.
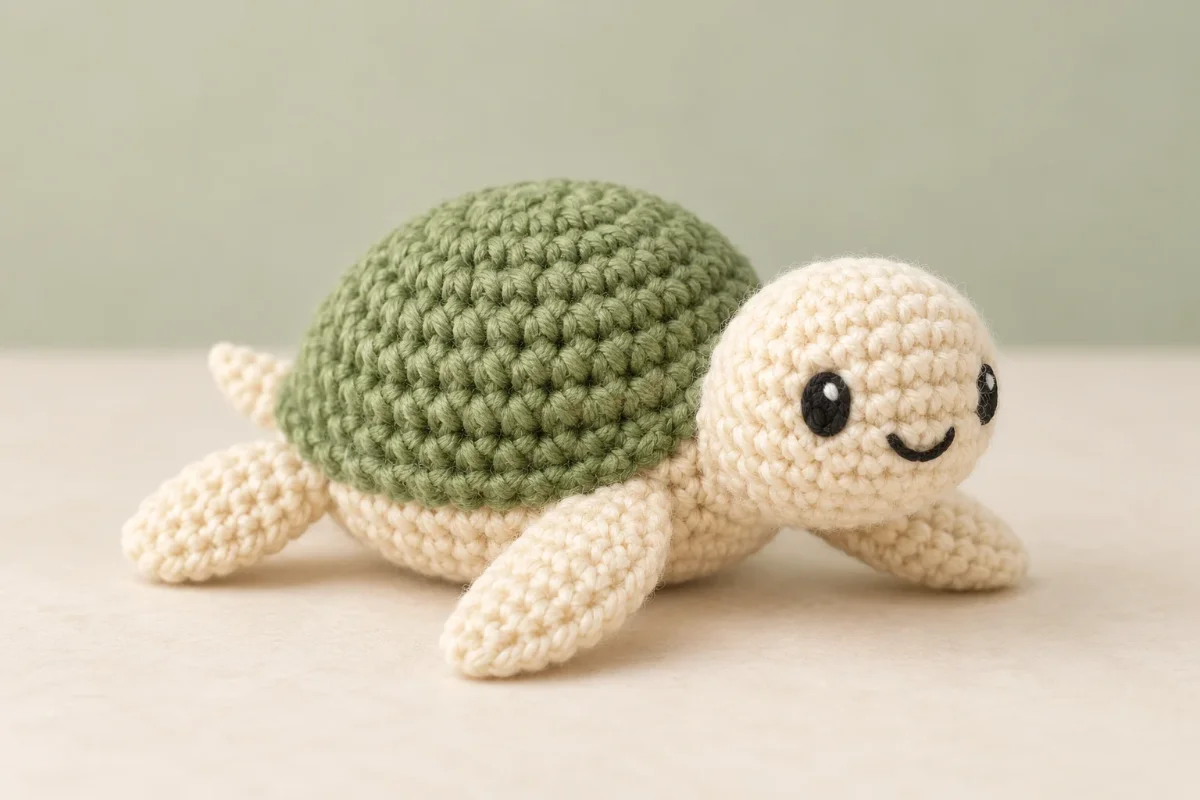
Amigurumi
A tiny turtle with a rounded shell and crochet-on flippers
Make an original HookFolk development draft of a no-sew baby turtle amigurumi. The shell and body are crocheted as one piece, with the head, flippers, and tail attached directly with crochet. The reference image was not available in this session, so the design follows the supplied pattern name and requires human review and physical testing.
Nobody has made this one start to finish yet. Check your stitch counts as you go, and tell us if something does not add up.
Worked in 5 pieces
Shell-body, Head, Flippers, Tail, Face
No sewing required
Needs stuffing
Polyester fiberfill
Gather these before you begin.
Light worsted (Category 3)
Authored yarn selection for the shell. Consumption is not measured; choose a smooth yarn suitable for amigurumi.
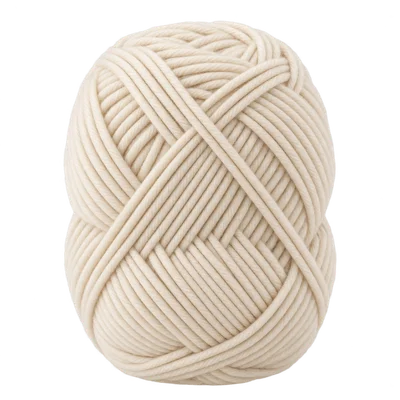
Light worsted (Category 3)
Authored yarn selection for the underside, head, flippers, and tail. Choose a contrasting color.
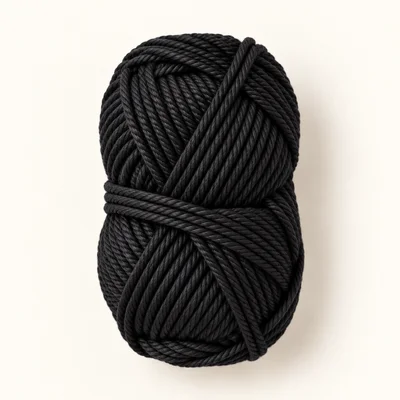
Light worsted (Category 3)
A small amount for embroidered eyes and a smile; amount is not measured.
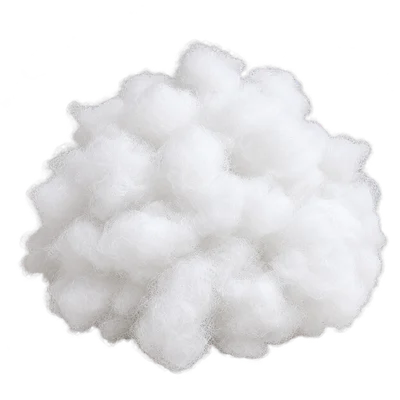
Polyester
Use a small amount to stuff the shell-body and head.
Light worsted yarn
A different yarn weight changes the finished size and fabric density.
Use a hook that produces a firm fabric and check that stuffing does not show through.
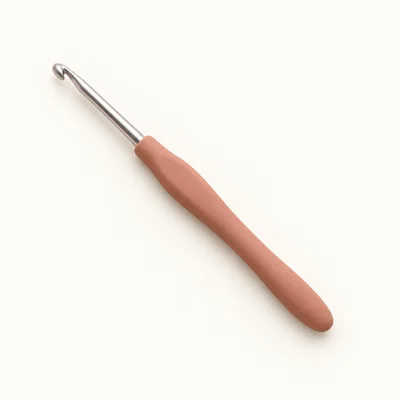
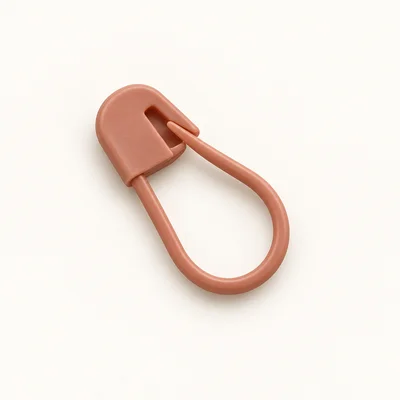
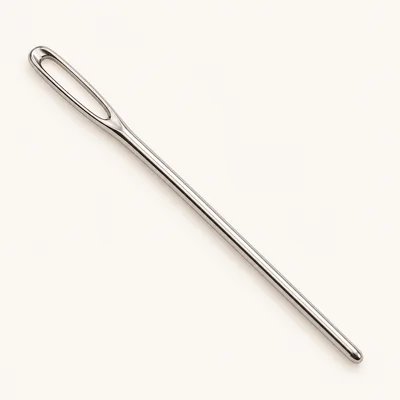
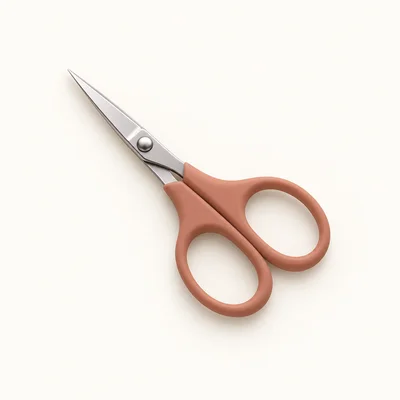
Check off each step to make sure you are ready. Preparation stays in this browser until you log in.
0 / 5 complete
Follow each step at your own pace.
Round 1 of 26
0%
Progress stays in this browser until you log in.
With shell green, work 6 sc into a MR.
Stitch count: 6 stitches
Tips
The shell center has 6 stitches.
Inc in each st around.
Stitch count: 12 stitches
(Sc 1, inc) × 6.
Stitch count: 18 stitches
(Sc 2, inc) × 6.
Stitch count: 24 stitches
Sc in each st around.
Stitch count: 24 stitches
(Sc 3, inc) × 6.
Stitch count: 30 stitches
Sc in each st around.
Stitch count: 30 stitches
Sc in each st around.
Stitch count: 30 stitches
Tips
The shell is a shallow dome.
Sc in BLO around.
Stitch count: 30 stitches
Change to the body color. Working in the unused front loops of Round 9, sc in each st around.
Stitch count: 30 stitches
Tips
The body-color underside begins beneath the shell rim.
Sc in each st around.
Stitch count: 30 stitches
Sc in each st around.
Stitch count: 30 stitches
(Sc 3, dec) × 6.
Stitch count: 24 stitches
Tips
The underside narrows evenly.
Sc in each st around.
Stitch count: 24 stitches
(Sc 2, dec) × 6.
Stitch count: 18 stitches
Tips
Stuff the shell-body firmly but evenly.
(Sc 1, dec) × 6.
Stitch count: 12 stitches
Dec × 6. Fasten off, leaving a tail. Thread the tail through the remaining front loops and pull closed.
Stitch count: 6 stitches
Tips
The shell-body is closed. Weave in the end.
With the body color, sl st into a stitch at the front of the body, just below the shell rim. Ch 2. Work 6 sc into the 2nd ch from the hook, then sl st to the first sc to close the round.
Stitch count: 6 stitches
Tips
The head begins at the front of the turtle and is attached directly to the body.
Ch 1. Inc in each sc around. Sl st to the first sc to join; the joining sl st is not counted.
Stitch count: 12 stitches
Ch 1. (Sc 1, inc) × 6. Sl st to the first sc to join; the joining sl st is not counted.
Stitch count: 18 stitches
Ch 1. Sc in each st around. Sl st to the first sc to join; the joining sl st is not counted.
Stitch count: 18 stitches
Tips
Stuff the head lightly before closing.
Ch 1. (Sc 1, dec) × 6. Sl st to the first sc to join; the joining sl st is not counted.
Stitch count: 12 stitches
Ch 1. Dec × 6. Sl st to the first sc to join; the joining sl st is not counted. Fasten off, leaving a tail. Thread the tail through the remaining stitches and pull closed. Weave in the end.
Stitch count: 6 stitches
Tips
The head is closed and crocheted onto the body.
Make four flippers directly onto the body, two on each side. For each flipper, attach the body-color yarn with a sl st at the shell-body edge, slightly toward the front from the midpoint of the side. Ch 6. Sc in the 2nd ch from the hook and in each ch across (5 sc). Sl st into the next body stitch to anchor the flipper edge. Fasten off and weave in the end.
Tips
Four flat flippers extend from the sides of the turtle; none is sewn on.
Attach the body-color yarn with a sl st at the back of the shell-body edge. Ch 4. Sc in the 2nd ch from the hook and in each ch across (3 sc). Sl st into the next body stitch to anchor the tail. Fasten off and weave in the end.
Tips
The short tail is attached directly at the back.
With black yarn and the tapestry needle, embroider two small eyes on the front of the head, one on each side. Add a short curved smile below them. Secure the embroidery ends inside the head.
Tips
The face is embroidered; no safety eyes are used.
With shell green, work 6 sc into a MR.
Stitch count: 6 stitches
Tips
The shell center has 6 stitches.
Confirm the head sits at the front below the shell rim, the four flippers are evenly spaced in pairs along the sides, and the tail is centered at the back. Each attachment is crocheted directly onto the body; no sewing is required. Weave in all yarn ends.
Keep the first stitch marker in place through the continuous shell-body rounds so the increases and decreases stay evenly spaced.
Place the head and flippers before embroidering the face so you can orient the turtle comfortably.
Change shell green to a second shell color at the start of Round 7 and carry the unused yarn inside the shell. The added color changes appearance without changing stitch counts.
Care instructions depend on the selected yarn and stuffing fiber. Check their labels before washing; no fiber-specific care method has been established for this draft.
Yes. The head, four flippers, and tail are crocheted directly onto the shell-body. The face is embroidered, and the tapestry needle is used to weave in ends.
The finished size has not been measured. It will depend on yarn, hook, and personal tension.
Yes. A different yarn and a suitably sized hook will change the finished size and may change the amount of stuffing needed. Keep stitches tight enough that the stuffing does not show.
Get free crochet patterns and maker tips from Hookfolk.
Login to save your progress
Create a free account or log in to save this pattern, track your progress, and access it on any device.
Have you tried this pattern?
Comments
Be the first to share your experience.