
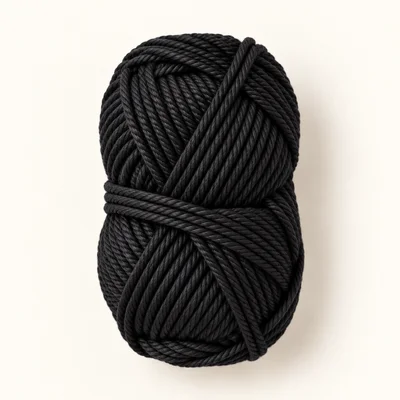
Yarn in black
Worsted weight (4) · 100% acrylic
Selected for this original design draft. Consumption is unmeasured; choose a smooth yarn that shows the stitches clearly.
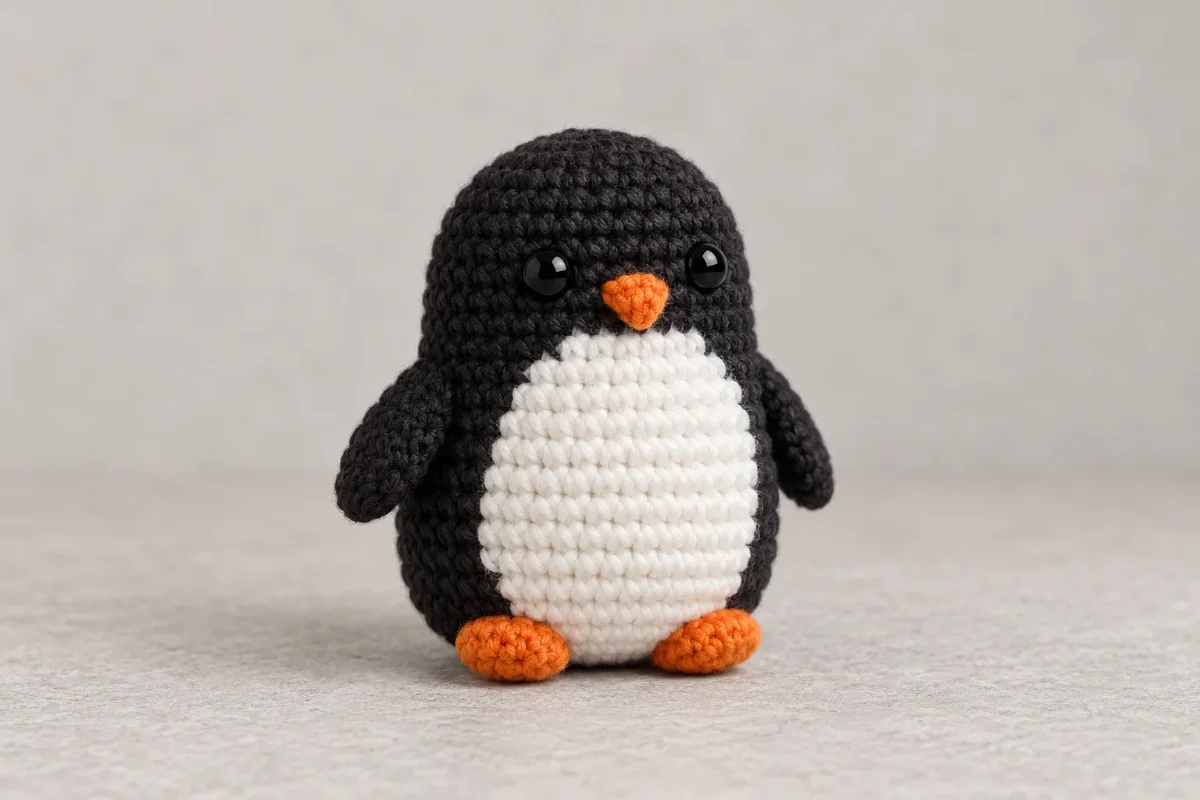
Amigurumi
A one-piece penguin with a colorwork belly and directly crocheted wings and feet
An original development draft for a small penguin amigurumi. Crochet the body in one piece with a white colorwork belly, then add the wings and feet directly to the body. This untested design draft requires human review before publication.
Nobody has made this one start to finish yet. Check your stitch counts as you go, and tell us if something does not add up.
Worked in 3 pieces
Penguin body, Wing, Foot
No sewing required
Needs stuffing
Polyester fiberfill
Gather these before you begin.
Worsted weight (4) · 100% acrylic
Selected for this original design draft. Consumption is unmeasured; choose a smooth yarn that shows the stitches clearly.
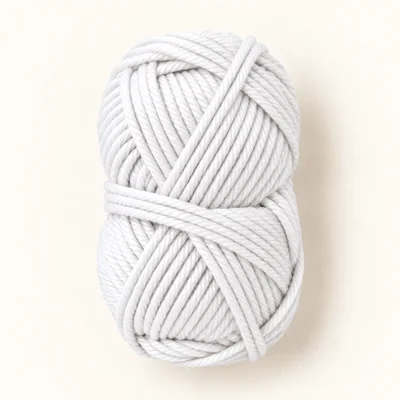
Worsted weight (4) · 100% acrylic
Selected for the colorwork belly. Consumption is unmeasured.
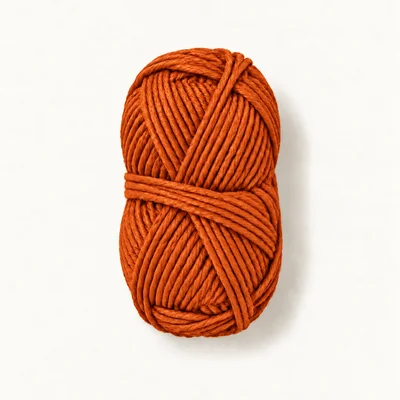
Worsted weight (4) · 100% acrylic
Selected for the directly crocheted feet and embroidered beak. Consumption is unmeasured.
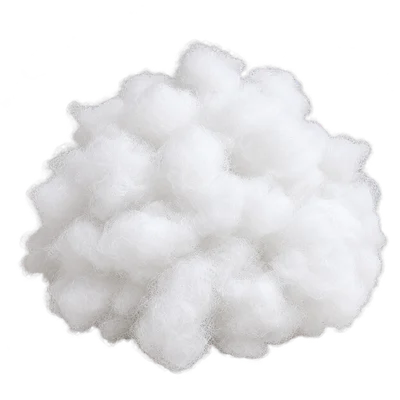
Polyester
Amount depends on the chosen yarn and stuffing firmness.
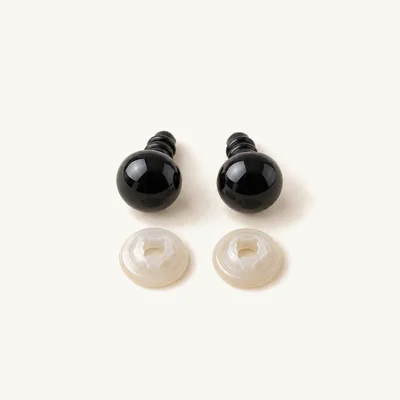
2 pieces
A 6 mm pair is an authored design selection, not a measurement from a reference.
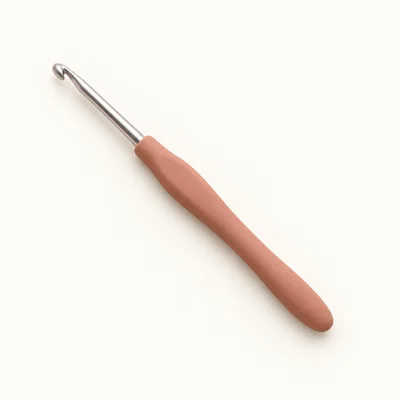
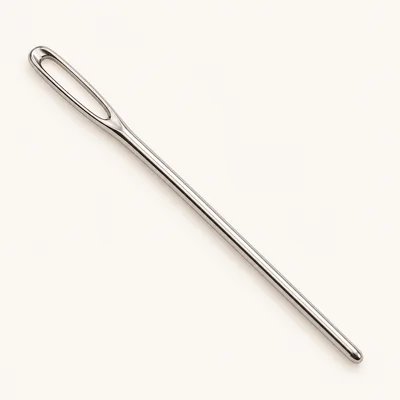
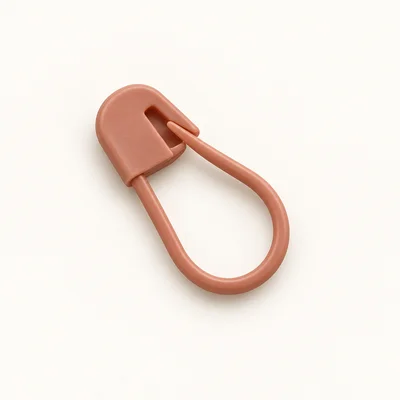
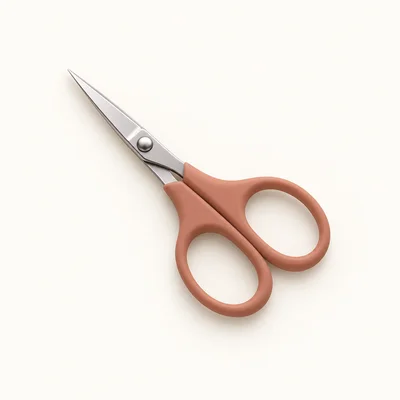
Check off each step to make sure you are ready. Preparation stays in this browser until you log in.
0 / 5 complete
Follow each step at your own pace.
Round 1 of 25
0%
Progress stays in this browser until you log in.
With black, make an MR and work 6 sc into the ring.
Stitch count: 6 stitches
Inc in each st around.
Stitch count: 12 stitches
(Sc, inc) × 6.
Stitch count: 18 stitches
(Sc 2, inc) × 6.
Stitch count: 24 stitches
(Sc 3, inc) × 6.
Stitch count: 30 stitches
(Sc 4, inc) × 6.
Stitch count: 36 stitches
With black, sc 14. Change to white and sc 8. Change to black and sc 14.
Stitch count: 36 stitches
With black, sc 13. Change to white and sc 10. Change to black and sc 13.
Stitch count: 36 stitches
With black, sc 12. Change to white and sc 12. Change to black and sc 12.
Stitch count: 36 stitches
With black, sc 12. Change to white and sc 12. Change to black and sc 12.
Stitch count: 36 stitches
With black, sc 12. Change to white and sc 12. Change to black and sc 12.
Stitch count: 36 stitches
With black, sc 13. Change to white and sc 10. Change to black and sc 13.
Stitch count: 36 stitches
With black, sc 14. Change to white and sc 8. Change to black and sc 14.
Stitch count: 36 stitches
With black, sc in each st around.
Stitch count: 36 stitches
With black, sc in each st around.
Stitch count: 36 stitches
With black, sc in each st around.
Stitch count: 36 stitches
With black, sc in each st around.
Stitch count: 36 stitches
With black, sc in each st around.
Stitch count: 36 stitches
(Sc 4, dec) × 6.
Stitch count: 30 stitches
(Sc 3, dec) × 6.
Stitch count: 24 stitches
(Sc 2, dec) × 6.
Stitch count: 18 stitches
(Sc, dec) × 6.
Stitch count: 12 stitches
Dec × 6. Fasten off, leaving a short tail, and close the remaining opening with the tail.
Stitch count: 6 stitches
Before closing the body, attach black yarn with a sl st to the side of Body Rnd 14, with the penguin's front facing you. Ch 6. Starting in the 2nd ch from the hook, sc, hdc 3, sc. Sl st into the next body stitch to anchor the wing. Fasten off. Repeat on the opposite side at the same height.
Stitch count: 5 stitches
Before closing the body, attach orange yarn with a sl st to the lower front at Body Rnd 19. Ch 4. Starting in the 2nd ch from the hook, sc, hdc, 3 dc in the last ch. Sl st into the next body stitch to anchor the foot. Fasten off. Repeat for the second foot, spaced evenly across the front.
Stitch count: 5 stitches
With black, make an MR and work 6 sc into the ring.
Stitch count: 6 stitches
Before working Body Rnd 7, place the two 6 mm safety eyes between Body Rnds 5 and 6, six stitches apart and centered on the front. Secure their backs inside the body. Embroider a small orange triangular beak centered between and just below the eyes using the tapestry needle.
Work two wings directly onto opposite sides of Body Rnd 14 as instructed. Each wing begins and ends on neighboring body stitches. These are crocheted attachments; do not sew them on.
Work two orange feet directly onto the lower front at Body Rnd 19. Stuff the body gradually before the final decrease rounds, then close the body opening after Body Rnd 23. Weave in all yarn ends with the tapestry needle.
To make the white belly narrower, work fewer white stitches centered on the front and add the same number of black stitches around it so each round still totals 36 stitches. Keep the panel centered and taper it gradually.
No pieces are sewn onto the body. The wings and feet are crocheted directly onto it. The beak is embroidered, and a tapestry needle is used to weave in yarn ends.
A finished size has not been measured. The result depends on your yarn, hook, tension, and stuffing.
Yes. A different yarn or hook may change the finished size and stitch density. Choose a hook that makes fabric dense enough to hold the stuffing, and check that the safety-eye backs fit securely.
Get free crochet patterns and maker tips from Hookfolk.
Login to save your progress
Create a free account or log in to save this pattern, track your progress, and access it on any device.
Have you tried this pattern?
Comments
Be the first to share your experience.