

Yarn in cream
Light (3) / DK · 100% cotton
Authored selection for the body, head, two outer ears, two arms, two feet, and tail. Consumption is unmeasured.
Amigurumi
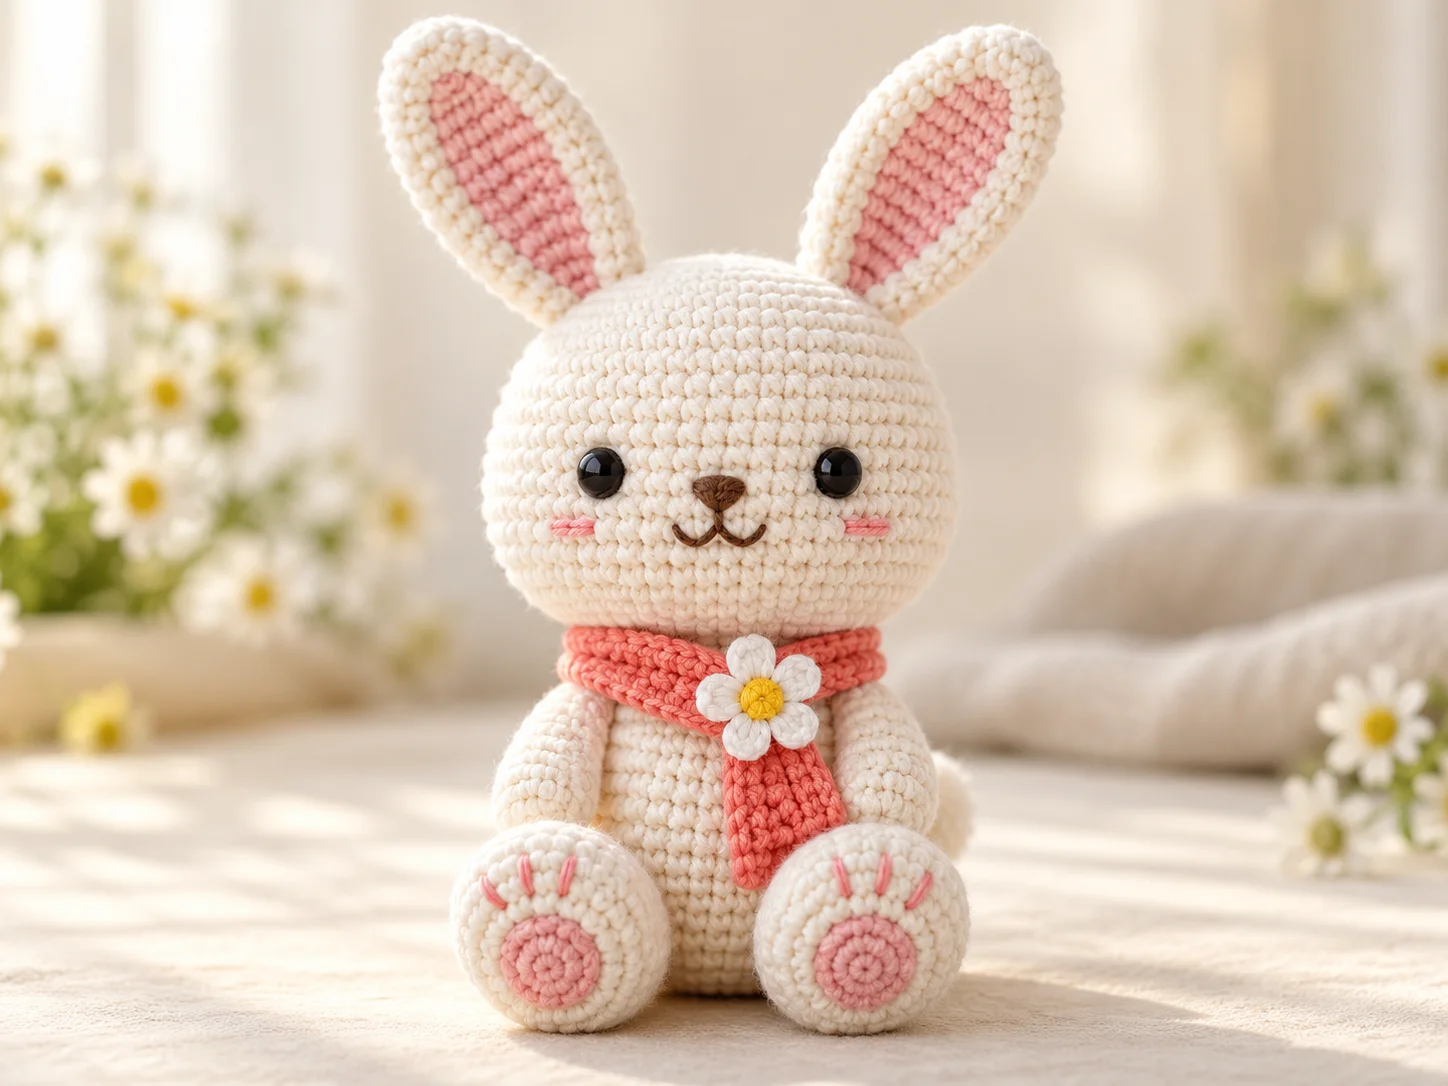
A seated amigurumi bunny with upright ears, rounded feet, and a sewn-on flower scarf.
An original reference-inspired cream bunny with pink details, a coral scarf, and a daisy. Technical specifications are design choices; human review and physical testing are required.
Nobody has made this one start to finish yet. Check your stitch counts as you go, and tell us if something does not add up.
Worked in 10 pieces
Body, Head, Outer ear, Inner ear, Arm, Foot, Paw pad, Tail, Scarf, Flower
Some sewing required
See Assembly & finishing.
Needs stuffing
Toy stuffing
Gather these before you begin.
Light (3) / DK · 100% cotton
Authored selection for the body, head, two outer ears, two arms, two feet, and tail. Consumption is unmeasured.

Light (3) / DK · 100% cotton
Authored selection for two inner ears, two paw pads, embroidered toes, and cheek accents. Consumption is unmeasured.
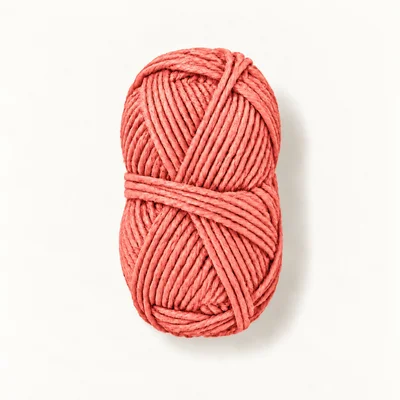
Light (3) / DK · 100% cotton
Authored selection for the scarf. Consumption is unmeasured.
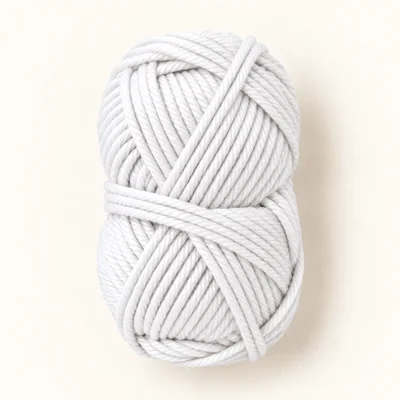
Light (3) / DK · 100% cotton
Authored selection for five flower petals. Consumption is unmeasured.
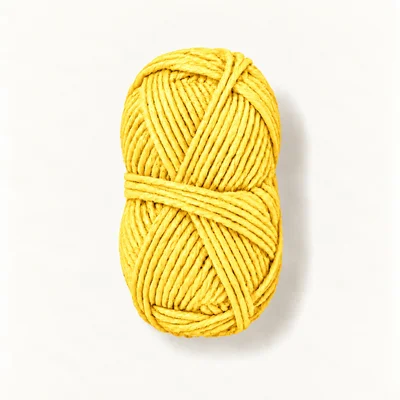
Light (3) / DK · 100% cotton
Authored selection for the flower center. Consumption is unmeasured.
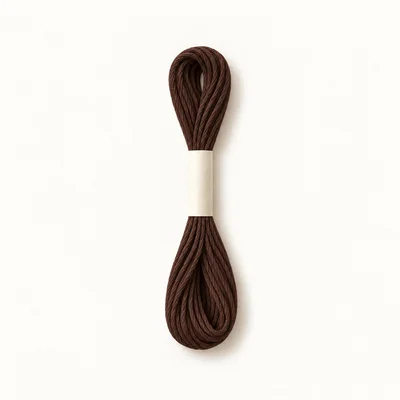
100% cotton
Authored selection for the embroidered nose and mouth; use three strands of six-strand floss.
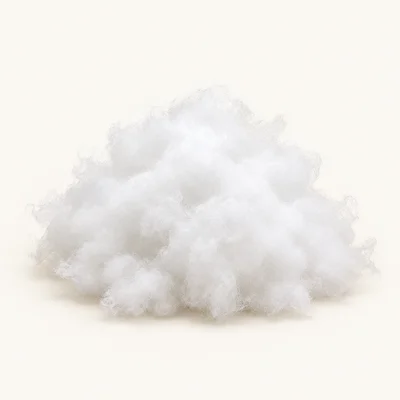
Polyester
Authored selection for the head, body, feet, tail, and lower portions of the arms. Consumption is unmeasured.
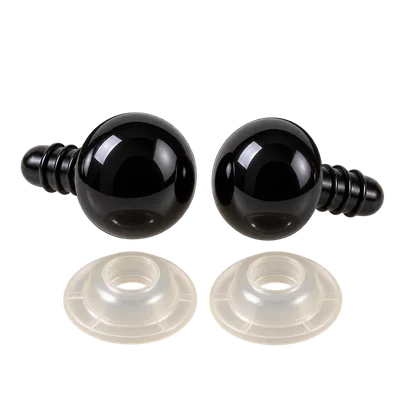
2 eyes
Authored hardware selection for this decorative design; the reference does not establish eye diameter. Fit before closing the head. Hardware eyes are unsuitable for items intended for children under three.
Cotton-blend yarn of the same nominal weight
Texture, stitch dimensions, drape, stuffing coverage, and finished size may change.
Use the same yarn family for all crocheted colors. Swatch and reassess hook size and proportions; equal labeled weight does not ensure identical results.
Embroidered eyes instead of hardware eyes
Removes the two hardware components and changes the facial finish.
Replace the two safety eyes with black cotton embroidery thread. Omit hardware installation at Head Rnds 8–13. Before stuffing, embroider a filled oval 3 stitches wide and 2 rounds high at each planned eye position, keeping 7 unworked stitches between the inner edges. Secure thread inside the head. This change alone does not establish toy safety.
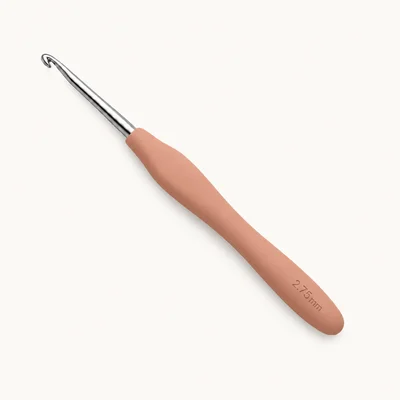
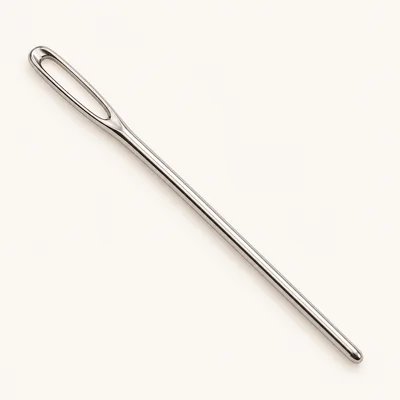
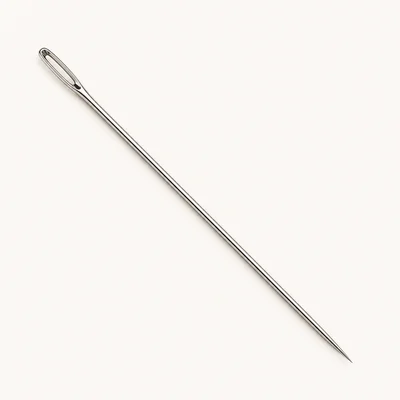
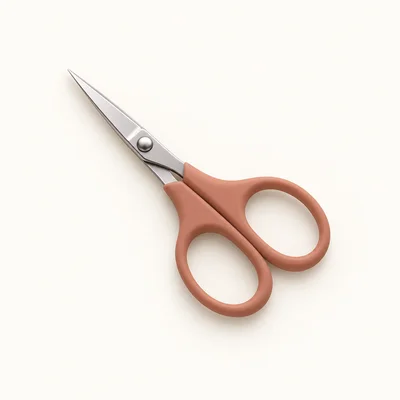
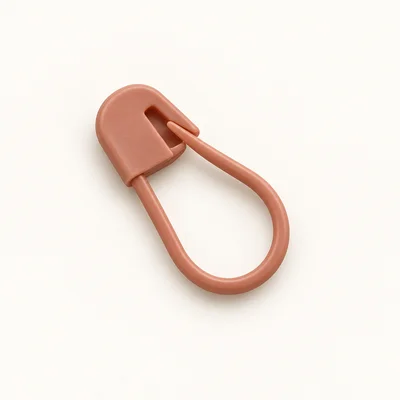
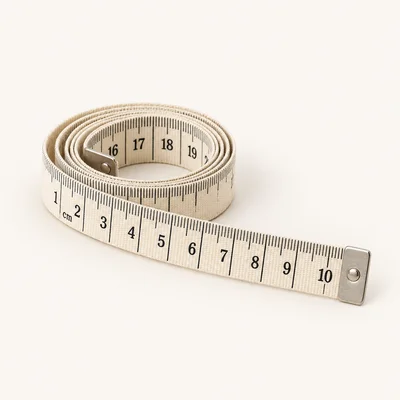
Check off each step to make sure you are ready. Preparation stays in this browser until you log in.
0 / 8 complete
Follow each step at your own pace.
Round 1 of 61
0%
Progress stays in this browser until you log in.
With cream, make a magic ring and work 6 sc into it. Pull the ring closed.
Stitch count: 6 stitches
Inc in each st around.
Stitch count: 12 stitches
(Sc 1, inc) × 6.
Stitch count: 18 stitches
(Sc 2, inc) × 6.
Stitch count: 24 stitches
(Sc 3, inc) × 6.
Stitch count: 30 stitches
(Sc 4, inc) × 6.
Stitch count: 36 stitches
Sc in each st around for 4 rounds.
Stitch count: 36 stitches
(Sc 4, dec) × 6.
Stitch count: 30 stitches
Sc in each st around for 2 rounds.
Stitch count: 30 stitches
(Sc 3, dec) × 6.
Stitch count: 24 stitches
Sc in each st around. Begin stuffing the body.
Stitch count: 24 stitches
(Sc 2, dec) × 6. Finish stuffing. Fasten off, leaving a sewing tail and the 18-stitch neck opening unclosed.
Stitch count: 18 stitches
Tips
The body has a rounded base and an open 18-stitch neck.
With cream, make a magic ring and work 6 sc into it. Pull the ring closed.
Stitch count: 6 stitches
Inc in each st around.
Stitch count: 12 stitches
(Sc 1, inc) × 6.
Stitch count: 18 stitches
(Sc 2, inc) × 6.
Stitch count: 24 stitches
(Sc 3, inc) × 6.
Stitch count: 30 stitches
(Sc 4, inc) × 6.
Stitch count: 36 stitches
(Sc 5, inc) × 6.
Stitch count: 42 stitches
Sc in each st around for 6 rounds. After Rnd 13, insert the two eyes between Head Rnds 10 and 11, symmetrically around the marked face center, leaving 7 visible stitches between the eye stems. Secure the matching backs inside. Complete the facial embroidery described in assembly before proceeding.
Stitch count: 42 stitches
Tips
The eyes are secured and the nose, mouth, and cheek accents are complete before stuffing.
(Sc 5, dec) × 6.
Stitch count: 36 stitches
(Sc 4, dec) × 6. Begin stuffing the head.
Stitch count: 30 stitches
(Sc 3, dec) × 6.
Stitch count: 24 stitches
(Sc 2, dec) × 6. Finish stuffing. Fasten off, leaving a sewing tail and the 18-stitch opening unclosed.
Stitch count: 18 stitches
Tips
The head is round, with an open 18-stitch underside to join to the body.
With cream, make a magic ring and work 6 sc into it. Pull the ring closed.
Stitch count: 6 stitches
Inc in each st around.
Stitch count: 12 stitches
(Sc 1, inc) × 6.
Stitch count: 18 stitches
Sc in each st around for 5 rounds.
Stitch count: 18 stitches
(Sc 4, dec) × 3.
Stitch count: 15 stitches
Sc in each st around.
Stitch count: 15 stitches
(Sc 3, dec) × 3.
Stitch count: 12 stitches
Sc in each st around for 3 rounds. Leave unstuffed.
Stitch count: 12 stitches
Flatten the opening so 6 stitches lie on each side. Align the next unworked stitch with the last stitch of Rnd 14 across the fold. Work 6 sc through both layers, using one stitch from each side for every sc. Fasten off, leaving a sewing tail.
Stitch count: 6 stitches
Tips
Each ear has a rounded tip and a closed base 6 sc wide.
With pink, ch 3. Sc in the 2nd ch from the hook and in the last ch.
Stitch count: 2 stitches
Ch 1. Turn. Inc in each st across.
Stitch count: 4 stitches
Ch 1. Turn. Sc in each st across. Work this row 6 times.
Stitch count: 4 stitches
Ch 1. Turn. Dec twice.
Stitch count: 2 stitches
Ch 1. Turn. Dec once. Fasten off, leaving a sewing tail.
Stitch count: 1 stitches
Tips
Each insert is a narrow flat strip with tapered ends; Row 10 is the upper tip.
With cream, make a magic ring and work 6 sc into it. Pull the ring closed.
Stitch count: 6 stitches
(Sc 1, inc) × 3.
Stitch count: 9 stitches
Sc in each st around for 3 rounds. Add a small amount of stuffing to this lower rounded end.
Stitch count: 9 stitches
(Sc 1, dec) × 3.
Stitch count: 6 stitches
Sc in each st around for 2 rounds. Keep the upper arm unstuffed.
Stitch count: 6 stitches
Flatten the opening so 3 stitches lie on each side. Work 3 sc through paired stitches of both layers, beginning with the next unworked stitch paired with the last stitch of Rnd 8. Fasten off, leaving a sewing tail.
Stitch count: 3 stitches
Tips
Each arm has a rounded stuffed hand and a flat 3-stitch attachment edge.
With cream, make a magic ring and work 6 sc into it. Pull the ring closed.
Stitch count: 6 stitches
Inc in each st around.
Stitch count: 12 stitches
(Sc 1, inc) × 6.
Stitch count: 18 stitches
Sc in each st around for 3 rounds.
Stitch count: 18 stitches
(Sc 1, dec) × 6.
Stitch count: 12 stitches
Sc in each st around. Stuff moderately, keeping the magic-ring end slightly flattened for the visible front of the paw.
Stitch count: 12 stitches
Dec 6 times. Fasten off, leaving a sewing tail. Thread the tail through the front loop of each remaining stitch, pull closed, and secure. Keep the tail available for attachment.
Stitch count: 6 stitches
Tips
The magic-ring end faces forward; the gathered end will face the body.
With pink, make a magic ring and work 6 sc into it. Pull the ring closed.
Stitch count: 6 stitches
Inc in each st around. Sl st in the first sc to finish; this joining sl st does not count. Fasten off, leaving a sewing tail.
Stitch count: 12 stitches
Tips
Each pad is a flat 12-stitch circle.
With cream, make a magic ring and work 6 sc into it. Pull the ring closed.
Stitch count: 6 stitches
Inc in each st around.
Stitch count: 12 stitches
Sc in each st around. Add a small amount of stuffing.
Stitch count: 12 stitches
Dec 6 times. Fasten off, leaving a sewing tail. Thread the tail through the front loop of each remaining stitch, pull closed, and secure. Keep the tail for attachment.
Stitch count: 6 stitches
With coral, ch 46. Sc in the 2nd ch from the hook and in each remaining ch across.
Stitch count: 45 stitches
Ch 1. Turn. Sc in each st across. Work this row twice. Fasten off, leaving a sewing tail.
Stitch count: 45 stitches
Tips
The scarf is a rectangular strip 45 stitches long and 3 rows wide.
With yellow, make a magic ring and work 5 sc into it. Pull the ring closed. Sl st in the first sc to join; the join does not count. Fasten off and secure the yellow ends on the back.
Stitch count: 5 stitches
Join white with a sl st in the first yellow sc; this is the first petal's initial sl st. In that same yellow stitch, work ch 2, 2 dc, ch 2, sl st. In each of the remaining 4 yellow stitches, work (sl st, ch 2, 2 dc, ch 2, sl st), keeping each whole petal in its own yellow stitch. Fasten off, leaving a sewing tail. Count all 20 chains and 10 dc in the ending total; exclude all anchoring sl sts.
Stitch count: 30 stitches
Tips
The flower has 5 petals, each containing 4 chains and 2 dc.
With cream, make a magic ring and work 6 sc into it. Pull the ring closed.
Stitch count: 6 stitches
At the pause after Head Rnd 13, use three strands of dark brown embroidery thread to make a filled triangular nose centered on Head Rnd 11, approximately 2 stitches wide and 1 round high. From its lower point, make a straight stitch down to Head Rnd 12, then stitch two shallow outward curves, each 1 stitch wide, to form the mouth. With pink yarn, add two short horizontal stitches immediately below each eye across Head Rnds 12–13. Secure all embroidery ends inside the head without distorting the fabric. Resume at Head Rnd 14.
Place the head's 18-stitch underside opening against the body's 18-stitch neck opening. Align the face with the body front. Using cream and a sewing tail, whipstitch through both loops of each corresponding pair of edge stitches, making 18 matched pairs around the neck. Add a little stuffing through the final gap if needed, then complete and secure the seam. Neither opening remains exposed.
Lay one pink inner ear on the forward-facing side of each outer ear. Point Inner ear Row 10 toward the rounded outer-ear tip and position the foundation end toward the closed base, leaving a visible cream border on every side. Sew each insert flat using small stitches around its entire edge, catching only the front layer of the outer ear. Position the two closed ear bases symmetrically on the crown, over Head Rnds 3–6, with the inner base corners approximately 3 head stitches apart. The tips point upward and slightly outward. Sew all 6 base stitches of each ear to the crown, then add a second line of attachment immediately behind each base through the lower outer-ear layer to support the upright position. Secure all tails.
Choose the magic-ring end of each foot as the visible front. Position one pink pad slightly below the center of this cream face, leaving cream visible around its entire edge. Sew all 12 pad-edge stitches to the foot surface. With pink yarn, embroider three separate vertical toe bars above the pad: one centered above it and one to either side. Make each bar approximately 1 cream stitch tall with two passes of yarn, leaving a cream stitch between neighboring bars. Secure the ends through the foot and bury them.
Seat the body upright and place the two feet side by side at its lower front, with pink pads facing forward and gathered ends against the body. Align the inner foot edges with a gap of about 1 body stitch. Sew the upper rear surface of each foot, over Foot Rnds 6–8, to Body Rnds 3–6, using a broad attachment area approximately 6 body stitches wide. Keep both feet at the same height. Test the seated position on a flat surface before securing the tails.
Place one arm on each side of the upper body, with the hands pointing down and slightly toward the feet. Sew each 3-stitch closed top edge horizontally to Body Rnds 14–15, approximately 4 body stitches to either side of the front center. Add one small securing stitch through the back of each upper arm into Body Rnd 13 so the hands remain forward. Secure and bury both tails.
Center the tail on the lower back opposite the face, with its gathered closure against Body Rnds 4–6. Sew around the contact area through Tail Rnds 3–4 and the body surface. Keep the tail low enough to touch the seated surface lightly without lifting the feet. Secure and bury the tail.
Wrap the scarf once around the neck seam, with its center at the back and the two ends crossing at the front. Leave enough ease to slide the blunt tapestry needle under the scarf without compressing the neck. Let one end hang slightly lower. Using coral, tack the scarf to the body at the back, both sides, and front crossing; sew the two overlapping layers together. Weave in its remaining ends. Place the flower over the front crossing with its yellow center facing outward. Sew the flower through its yellow center and the inner white petal bases to both scarf layers, keeping the petal tips free. Secure and bury the white tail.
Weave in or bury every remaining yarn end. Check both eyes, the neck seam, both outer ears and inserts, both arms, both feet and pads, the tail, scarf, and flower for secure attachment. Shape the ears and face gently, confirm the bunny sits evenly, and measure from the seated surface to the highest ear tip to compare with the intended height. Record actual size, yarn use, and any development changes during physical testing.
Keep both ears oriented with the pink inserts facing forward before securing their bases.
Attach the two feet at equal heights and let the completed bunny sit on a flat surface before tightening the final sewing stitches.
Use small amounts of stuffing and distribute it evenly so the head stays round and the feet retain a slightly flattened front.
Secure the scarf loosely around the neck and stitch the crossing in place so its placement is permanent.
Use the selected cream yarn instead of pink for both inner ears, both paw pads, all six toe bars, and both cheek accents. Keep every stitch count and attachment unchanged. Omit the pink yarn from the material list for this version.
For a sample that needs more neck ease, replace Scarf Row 1 with: ch 52; sc in the 2nd ch from the hook and in each remaining ch across, giving 51 sc. Work Scarf Rows 2–3 across all 51 stitches. Finish and secure it as described in assembly; the strip remains 3 rows wide.
For the selected cotton yarn and polyester filling, gently spot-clean with mild detergent and cool water. Avoid rubbing the embroidery or pulling the eyes. Reshape and air-dry completely. Follow the actual yarn, stuffing, and hardware care labels if they are more restrictive.
No. It is an original construction inspired by visible features of the supplied image. The source's hidden rounds, materials, measurements, and assembly are not established.
Approximately 18 cm is an intended height, not a measured result. Yarn, hook, stitch tension, stuffing, and ear placement affect size. No measured gauge or physical test is available; confirm the dimensions with a sample.
The design combines shaping, several paired components, flat inserts, facial embroidery, eye installation, petal groups, and precise sewn assembly.
Actual yarn consumption and making time are unmeasured, so the corresponding fields are null. Weigh the yarn before and after a physical sample and record your working time to establish useful values.
No wire is specified. Dense fabric, unstuffed flattened ears, and two lines of sewing at each base provide the intended support. Their final posture needs confirmation during physical testing.
This draft specifies a decorative figure with small attached components and hardware eyes, which are unsuitable for children under three. Embroidered eyes are an available substitution, but the entire construction still needs an appropriate safety assessment before any toy use.
Get free crochet patterns and maker tips from Hookfolk.
Login to save your progress
Create a free account or log in to save this pattern, track your progress, and access it on any device.
Have you tried this pattern?
Comments
Be the first to share your experience.